مجموعة بيانات Tiger-Pose
مقدمة#
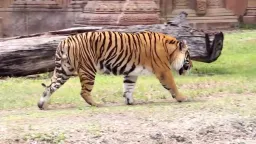
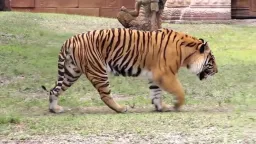
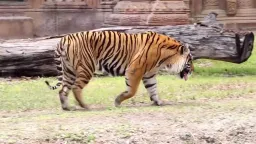
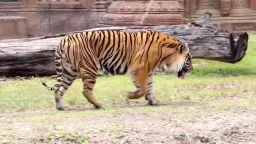
مجموعة بيانات Tiger-Pose من Ultralytics هي مجموعة صغيرة لـتقدير الوضعية، تتضمن 12 نقطة مفصلية موضّحة لكل نمر. وتتألف من 263 صورة مأخوذة من فيديو على YouTube، خُصصت 210 صور منها للتدريب و53 للتحقق، وهي مناسبة لاختبار خوارزميات تقدير الوضعية واستكشاف أخطائها وإصلاحها.
على الرغم من أن مجموعة التدريب فيها تضم 210 صور فقط، توفر مجموعة بيانات Tiger-Pose تنوعًا يجعلها مناسبة لتقييم مسارات التدريب، وتحديد الأخطاء المحتملة، كما تمثل خطوة أولى مفيدة قبل العمل على مجموعات بيانات أكبر لتقدير الوضعية.
بعد أن يعمل مسار التدريب لديك بسلاسة على هذه المجموعة الصغيرة، استبدل نقاطها الرئيسية بنقاط حيواناتك أو أغراضك، ووسّع نطاق التدريب على منصة Ultralytics دون مغادرة المتصفح.
بنية مجموعة البيانات#
- إجمالي الصور: 263 (210 للتدريب / 53 للتحقق).
- النقاط الرئيسية: 12 لكل نمر (من دون علم للرؤية).
- حجم التنزيل: ~49.8 MB.
- تخطيط الدليل: تُخزَّن النقاط الرئيسية بتنسيق YOLO ضمن
labels/{train,val}إلى جانب أدلةimages/{train,val}.
شاهد: درّب نموذج Ultralytics YOLO للوضعيات على مجموعة بيانات Tiger-Pose
ملف YAML لمجموعة البيانات#
يحدد الملف tiger-pose.yaml إعدادات مجموعة البيانات، بما في ذلك مسارات الملفات وتعريفات الفئات وإعدادات النقاط المفصلية.
# Ultralytics 🚀 AGPL-3.0 License - https://ultralytics.com/license

# Tiger Pose dataset by Ultralytics
# Documentation: https://docs.ultralytics.com/datasets/pose/tiger-pose
# Example usage: yolo train data=tiger-pose.yaml
# parent
# ├── ultralytics
# └── datasets
#     └── tiger-pose ← downloads here (49.8 MB)

# Train/val/test sets as 1) dir: path/to/imgs, 2) file: path/to/imgs.txt, or 3) list: [path/to/imgs1, path/to/imgs2, ..]
path: tiger-pose # dataset root dir
train: images/train # train images (relative to 'path') 210 images
val: images/val # val images (relative to 'path') 53 images

# Keypoints
kpt_shape: [12, 2] # number of keypoints, number of dims (2 for x,y or 3 for x,y,visible)
flip_idx: [0, 1, 2, 3, 7, 6, 5, 4, 10, 11, 8, 9]

# Classes
names:
  0: tiger

# Keypoint names per class
kpt_names:
  0:
    - nose
    - head
    - withers
    - tail_base
    - right_hind_hock
    - right_hind_paw
    - left_hind_paw
    - left_hind_hock
    - right_front_wrist
    - right_front_paw
    - left_front_wrist
    - left_front_paw

# Download script/URL (optional)
download: https://github.com/ultralytics/assets/releases/download/v0.0.0/tiger-pose.zipالاستخدام#
من أجل تدريب نموذج YOLO26n-pose على مجموعة بيانات Tiger-Pose لمدة 100 حقبة باستخدام حجم صورة يبلغ 640، يمكنك استخدام مقتطفات التعليمات البرمجية التالية.
from ultralytics import YOLO
# تحميل نموذج
model = YOLO("yolo26n-pose.pt") # تحميل نموذج مدرّب مسبقًا (موصى به للتدريب)
# تدريب النموذج
results = model.train(data="tiger-pose.yaml", epochs=100, imgsz=640)صور وتعليقات توضيحية نموذجية#
فيما يلي بعض الأمثلة على الصور من مجموعة بيانات Tiger-Pose، مع الوسوم المقابلة لها:
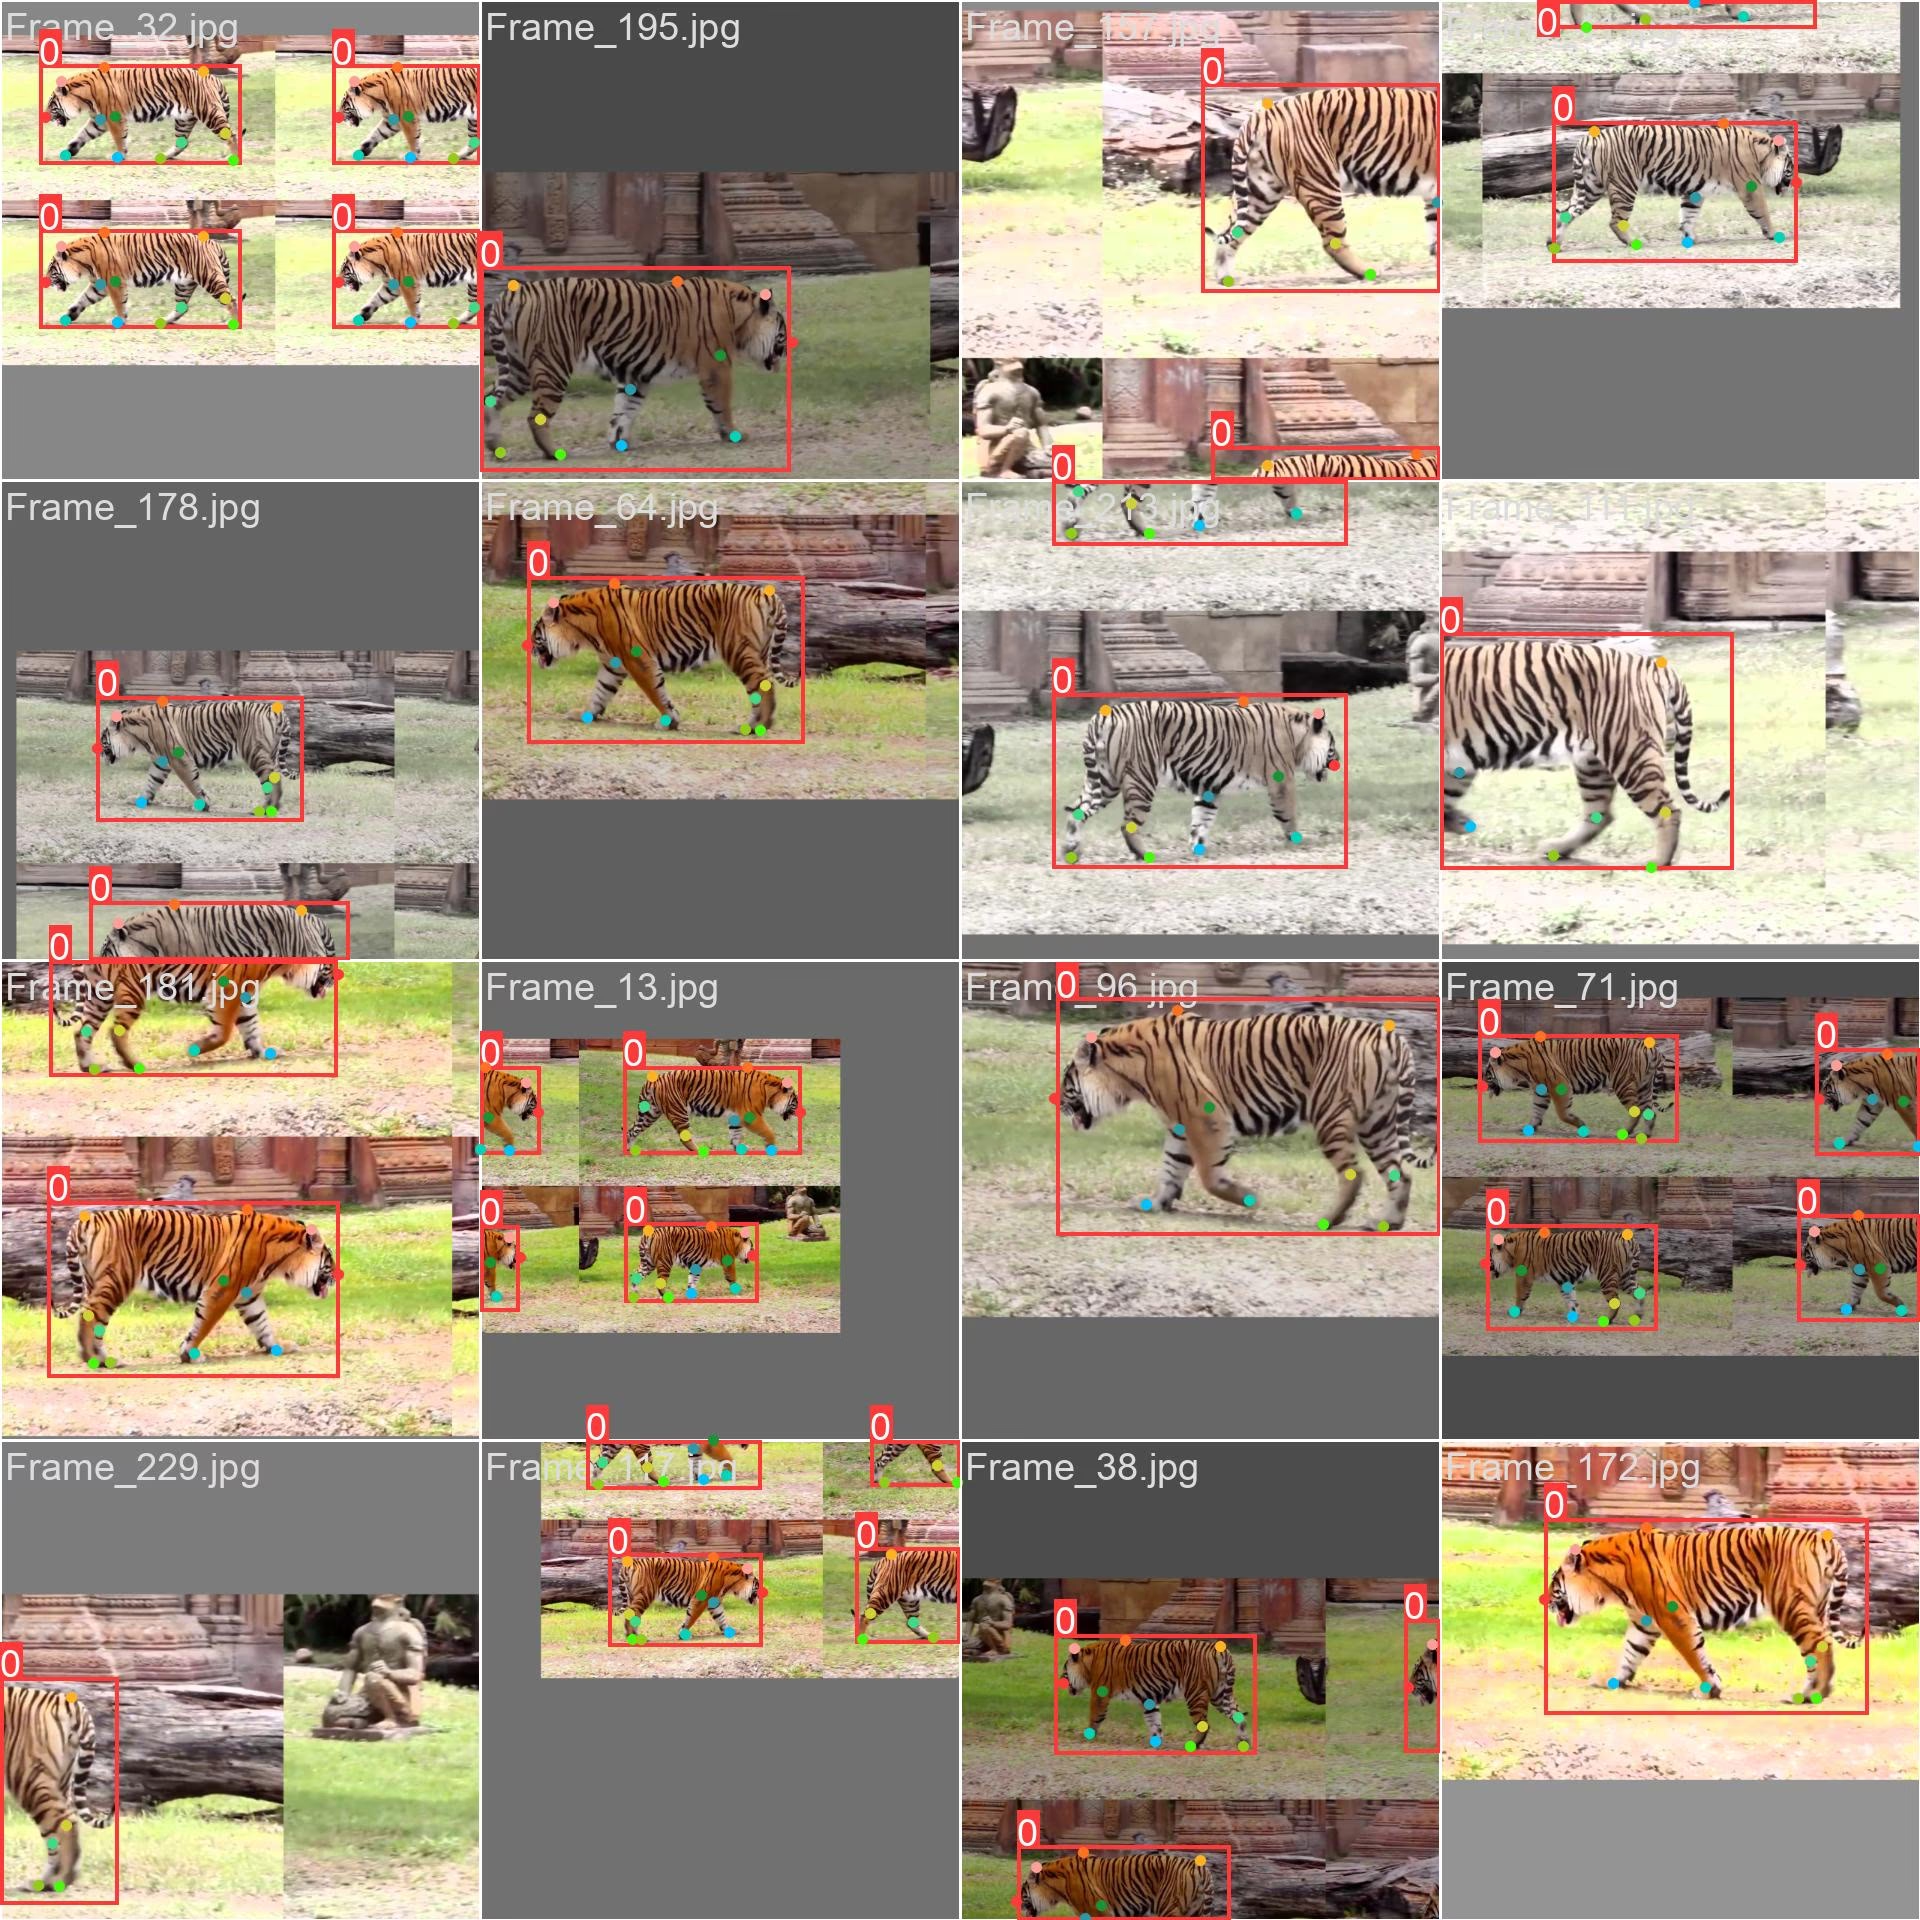
- صورة فسيفسائية: توضح هذه الصورة دفعة تدريب مكوّنة من صور مجموعة البيانات بعد دمجها بتقنية الفسيفساء. الفسيفساء تقنية تُستخدم أثناء التدريب، وتجمع صوراً متعددة في صورة واحدة لزيادة تنوع الكائنات والمشاهد في كل دفعة تدريب. ويساعد ذلك على تحسين قدرة النموذج على التعميم على أحجام الكائنات ونسب أبعادها وسياقاتها المختلفة.
يوضح المثال تنوع الصور في مجموعة بيانات Tiger-Pose وتعقيدها، وفوائد استخدام الفسيفساء أثناء عملية التدريب.
مثال على الاستدلال#
بعد التدريب، حمّل أفضل نقطة تحقق لديك ونفّذ الاستدلال على صور أو مقاطع فيديو جديدة — راجع صفحة التنبؤ للاطلاع على القائمة الكاملة للوسائط.
from ultralytics import YOLO
# تحميل نموذج
model = YOLO("path/to/best.pt") # حمّل نموذجًا مدرّبًا على tiger-pose
# تنفيذ الاستدلال
results = model.predict(source="https://youtu.be/Gc6K5eKrTNQ", show=True)الاستشهادات والشكر والتقدير#
تصدر Ultralytics وسوم مجموعة بيانات Tiger-Pose بموجب رخصة AGPL-3.0. ويظل الفيديو المصدر خاضعًا لشروطه الأصلية، التي ينبغي مراجعتها قبل استخدام الإطارات المستخرجة أو إعادة توزيعها.
الأسئلة الشائعة#
صُممت مجموعة بيانات Tiger-Pose من Ultralytics لمهام تقدير الوضعية، وتتكون من 263 صورة مصدرها فيديو على YouTube. وتنقسم مجموعة البيانات إلى 210 صور للتدريب و53 صورة للتحقق، ما يجعلها ملائمة لاختبار خوارزميات تقدير الوضعية وتدريبها وتحسينها.
حمّل
yolo26n-pose.ptواستدعِmodel.train(data="tiger-pose.yaml", epochs=100, imgsz=640)— راجع مثال التدريب أعلاه للاطلاع على مقتطفات Python وCLI كاملة، وصفحة التدريب للاطلاع على قائمة شاملة بالوسائط.يحدد الملف
tiger-pose.yamlمسار مجموعة البيانات، ودليلي صور التدريب والتحقق، وفئة واحدة (tiger)، وkpt_shape: [12, 2]— أي 12 نقطة رئيسية لكل مثيل من دون علم للرؤية. راجع ملف إعداد مجموعة بيانات Tiger-Pose من Ultralytics للاطلاع على الإعداد الدقيق.حمّل نقطة التحقق المدرّبة لديك (مثلًا
path/to/best.pt) واستدعِmodel.predict(source=..., show=True)— راجع مثال الاستدلال أعلاه للاطلاع على مقتطفات Python وCLI كاملة، وصفحة التنبؤ للاطلاع على قائمة شاملة بالوسائط.بإجمالي 263 صورة (210 للتدريب / 53 للتحقق)، وفئة واحدة، و12 نقطة رئيسية لكل مثيل، وحجم تنزيل يبلغ ~49.8 MB، فإن مجموعة Tiger-Pose صغيرة بما يكفي لإدارتها بسرعة، ومتنوعة بما يكفي للتحقق مبدئيًا من سلامة مسار تدريب الوضعية وتحديد الأخطاء قبل العمل مع مجموعات بيانات أكبر.


التعليقات17
اطرح سؤالًا، وشارك نتائجك، أو ساعد شخصًا آخر.
wcy7788
@glenn-jocherWhere should I go to Ultralytics to find the code for this?
 Glenn JocherUltralytics
You can find the code for the Tiger-Pose dataset in the
ultralytics/cfg/datasets/tiger-pose.yamlfile. For more details, please visit the Tiger-Pose documentation.
What software should be used for the training of fish key points,I should mark a few key points?
- Glenn JocherUltralytics(تم التعديل)
@wcy7788 for training fish keypoints, you can use the YOLO26-pose model. Annotate your dataset with keypoints and follow the training process similar to the Tiger-Pose example. For more details, refer to the Ultralytics documentation.
PedroPiana
In my dataset, do I necessarily need to have the Bounding Boxes?
- Glenn JocherUltralytics(تم التعديل)
Yes, for pose estimation tasks like those using the Tiger-Pose dataset, each label row includes a bounding box followed by the keypoints:
<class-index> <x> <y> <width> <height> <px1> <py1> .... The bounding box (normalized center x, y, width, height) is part of the pose label format, so annotate both the box and the keypoints for each object. 🐅For more details on setting up your dataset for pose estimation, you can refer to the Tiger-Pose dataset documentation and the pose dataset format.
teengineer
Hello, when i executed the predict code, i took a warning 'WARNING ⚠️ Environment does not support cv2.imshow() or PIL Image.show() google colab'. I worked on Google Colab. How can i see the results?
- Glenn JocherUltralytics(تم التعديل)
@teengineer hello! 😊 It seems you're facing an issue with displaying images in Google Colab due to its environment limitations. To view your results in Colab, you can use the following approach to display images directly in the notebook:
from pathlib import Path

from IPython.display import Image, display
from ultralytics import YOLO

# Load your model
model = YOLO('yolo26n.pt')  # or your custom model

# Run prediction (ensure 'save' is True to save output images)
results = model.predict(source='path/to/your/image.jpg', save=True)

# Display the saved image
display(Image(f"{results[0].save_dir}/{Path(results[0].path).name}"))  # saved output in the predict run folder
This method saves the output image and then uses IPython's display capabilities to show the image within your notebook. Hope this helps you see your results! Let us know if you have any more questions.
1 Thank you @glenn-jocher, i forgot the 'save' parameter on predict func.
Hi, I want to show prediction result on video but it throw an warning, is there a way for showing? This warning is 'WARNING ⚠️ Environment does not support cv2.imshow() or PIL Image.show()'
- Glenn JocherUltralytics(تم التعديل)
Hey there! 😊 It looks like you're trying to display video predictions in an environment that doesn't support
cv2.imshow()orPIL Image.show(), such as Google Colab. No worries, you can still view your video predictions by saving the output and then displaying it directly in the notebook. Here's a quick example on how you could modify your code to save the video predictions and then useIPython.displayto show the video:from ultralytics import YOLO from pathlib import Path from IPython.display import FileLink, display # Load your model model = YOLO('yolo26n.pt') # or your custom model # Run prediction on your video and save the output results = model.predict(source='path/to/your/video.mp4', save=True) # The output is saved in the predict run folder (results[0].save_dir), named after the source file # (.mp4 on macOS, .avi on Windows/Linux) # Generate a link to download the video file output_video_path = next(Path(results[0].save_dir).glob('*.*')) display(FileLink(output_video_path))This code will provide a link to download the video file with the predictions. Just replace
'path/to/your/video.mp4'with your actual video path. Hope this helps you view your prediction results! Let me know if there's anything else I can assist you with.1 Thank you for your time.
- Glenn JocherUltralytics
Hey there! 😊 If you're encountering the 'WARNING ⚠️ Environment does not support cv2.imshow() or PIL Image.show()' message while trying to display video predictions in Google Colab, you can save the predictions to a video file and then display it directly in the notebook. Here's a quick example on how to do it:
from ultralytics import YOLO

# Load your model
model = YOLO('yolov8n.pt')  # or your custom model

# Run prediction on your video and save the output
results = model.predict(source='path/to/your/video.mp4', save=True)

# Use the 'files.download()' function from Google Colab to download the result video
from google.colab import files
files.download('path/to/saved/video.mp4')  # Adjust the path to your saved video
This way, you can view the video with predictions by downloading it. Hope this helps! Let me know if you have any more questions.
1
Hi, can yolov8-pose make classifications such as tiger standing, tiger lying down?
- Glenn JocherUltralytics
@teengineer hey there! 🐯 YOLOv8-pose can indeed classify different tiger poses like standing or lying down, but it primarily focuses on pose estimation rather than direct classification. You'd typically train the model to recognize various keypoints on the tiger, and based on the keypoints' positions, you could infer the pose.
For example, after training with the Tiger-Pose dataset, you could analyze the keypoints to determine the pose:
from ultralytics import YOLO

# Load your trained model
model = YOLO('path/to/your/trained_model.pt')

# Run inference
results = model.predict(source='path/to/your/image.jpg')

# Analyze keypoints for pose classification
keypoints = results[0].keypoints
# Here you'd implement your logic to classify poses based on keypoints
This approach gives you the flexibility to define what constitutes a "standing" or "lying down" pose based on the keypoints' arrangement. Hope this helps! Let us know if you have more questions.
Thank you.
- Glenn JocherUltralytics
Hey there! 🐅 Absolutely, YOLOv8-pose can be tailored to classify specific tiger poses by analyzing the keypoints' arrangement. While it's primarily designed for pose estimation, you can infer poses like standing or lying down based on the keypoints. Here's a quick example using the Tiger-Pose dataset:
from ultralytics import YOLO

# Load your trained model
model = YOLO('path/to/your/trained_model.pt')

# Run inference on an image
results = model.predict(source='path/to/your/image.jpg')

# Analyze keypoints for pose classification
keypoints = results[0].keypoints
# Implement your logic here to classify poses based on keypoints
This way, you can classify the tiger's pose by examining the positions of detected keypoints. Hope this helps, and feel free to reach out if you have more questions! 🚀
2