Tiger-Pose 数据集
简介#
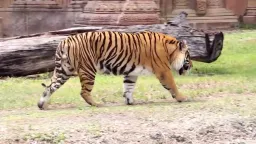
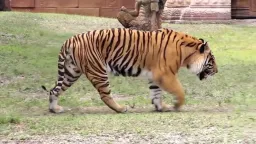
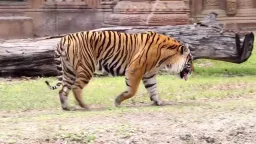
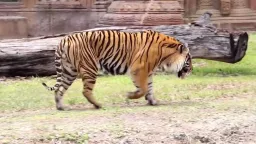
Ultralytics Tiger-Pose 数据集是一个小型姿态估计数据集,每只老虎标注了 12 个keypoints。该数据集包含从一段 YouTube 视频中提取的 263 张图像,其中 210 张用于训练,53 张用于验证,非常适合测试和排查姿态估计算法的问题。
Tiger-Pose 数据集的训练集只有 210 张图像,规模易于处理,同时又具备多样性,适合评估训练流程、发现潜在错误,也可作为使用更大型姿态估计数据集前的实用起点。
当你的训练流程能在这个小型数据集上顺利运行后,可以换用自己的动物或物体关键点数据,并直接在浏览器中通过 Ultralytics Platform 扩大训练规模。
数据集结构#
- 图像总数:263(训练集 210 张 / 验证集 53 张)。
- 关键点:每只老虎有 12 个(无可见性标记)。
- 下载大小:~49.8 MB。
- 目录布局:YOLO 格式的关键点存储在
labels/{train,val}下,与images/{train,val}目录并列。
观看: 在 Tiger-Pose 数据集上训练 Ultralytics YOLO 姿态模型
数据集 YAML#
tiger-pose.yaml 文件定义了数据集配置,包括文件路径、类别定义和关键点设置。
# Ultralytics 🚀 AGPL-3.0 License - https://ultralytics.com/license

# Tiger Pose dataset by Ultralytics
# Documentation: https://docs.ultralytics.com/datasets/pose/tiger-pose
# Example usage: yolo train data=tiger-pose.yaml
# parent
# ├── ultralytics
# └── datasets
#     └── tiger-pose ← downloads here (49.8 MB)

# Train/val/test sets as 1) dir: path/to/imgs, 2) file: path/to/imgs.txt, or 3) list: [path/to/imgs1, path/to/imgs2, ..]
path: tiger-pose # dataset root dir
train: images/train # train images (relative to 'path') 210 images
val: images/val # val images (relative to 'path') 53 images

# Keypoints
kpt_shape: [12, 2] # number of keypoints, number of dims (2 for x,y or 3 for x,y,visible)
flip_idx: [0, 1, 2, 3, 7, 6, 5, 4, 10, 11, 8, 9]

# Classes
names:
  0: tiger

# Keypoint names per class
kpt_names:
  0:
    - nose
    - head
    - withers
    - tail_base
    - right_hind_hock
    - right_hind_paw
    - left_hind_paw
    - left_hind_hock
    - right_front_wrist
    - right_front_paw
    - left_front_wrist
    - left_front_paw

# Download script/URL (optional)
download: https://github.com/ultralytics/assets/releases/download/v0.0.0/tiger-pose.zip用法#
要在 Tiger-Pose 数据集上以 640 的图像尺寸训练YOLO26n-pose模型 100 个周期,可以使用以下代码片段。
from ultralytics import YOLO

# 加载模型
model = YOLO("yolo26n-pose.pt")  # 加载预训练模型(推荐用于训练)

# 训练模型
results = model.train(data="tiger-pose.yaml", epochs=100, imgsz=640)示例图像和标注#
以下是 Tiger-Pose 数据集中的一些图像示例及其对应的标注:
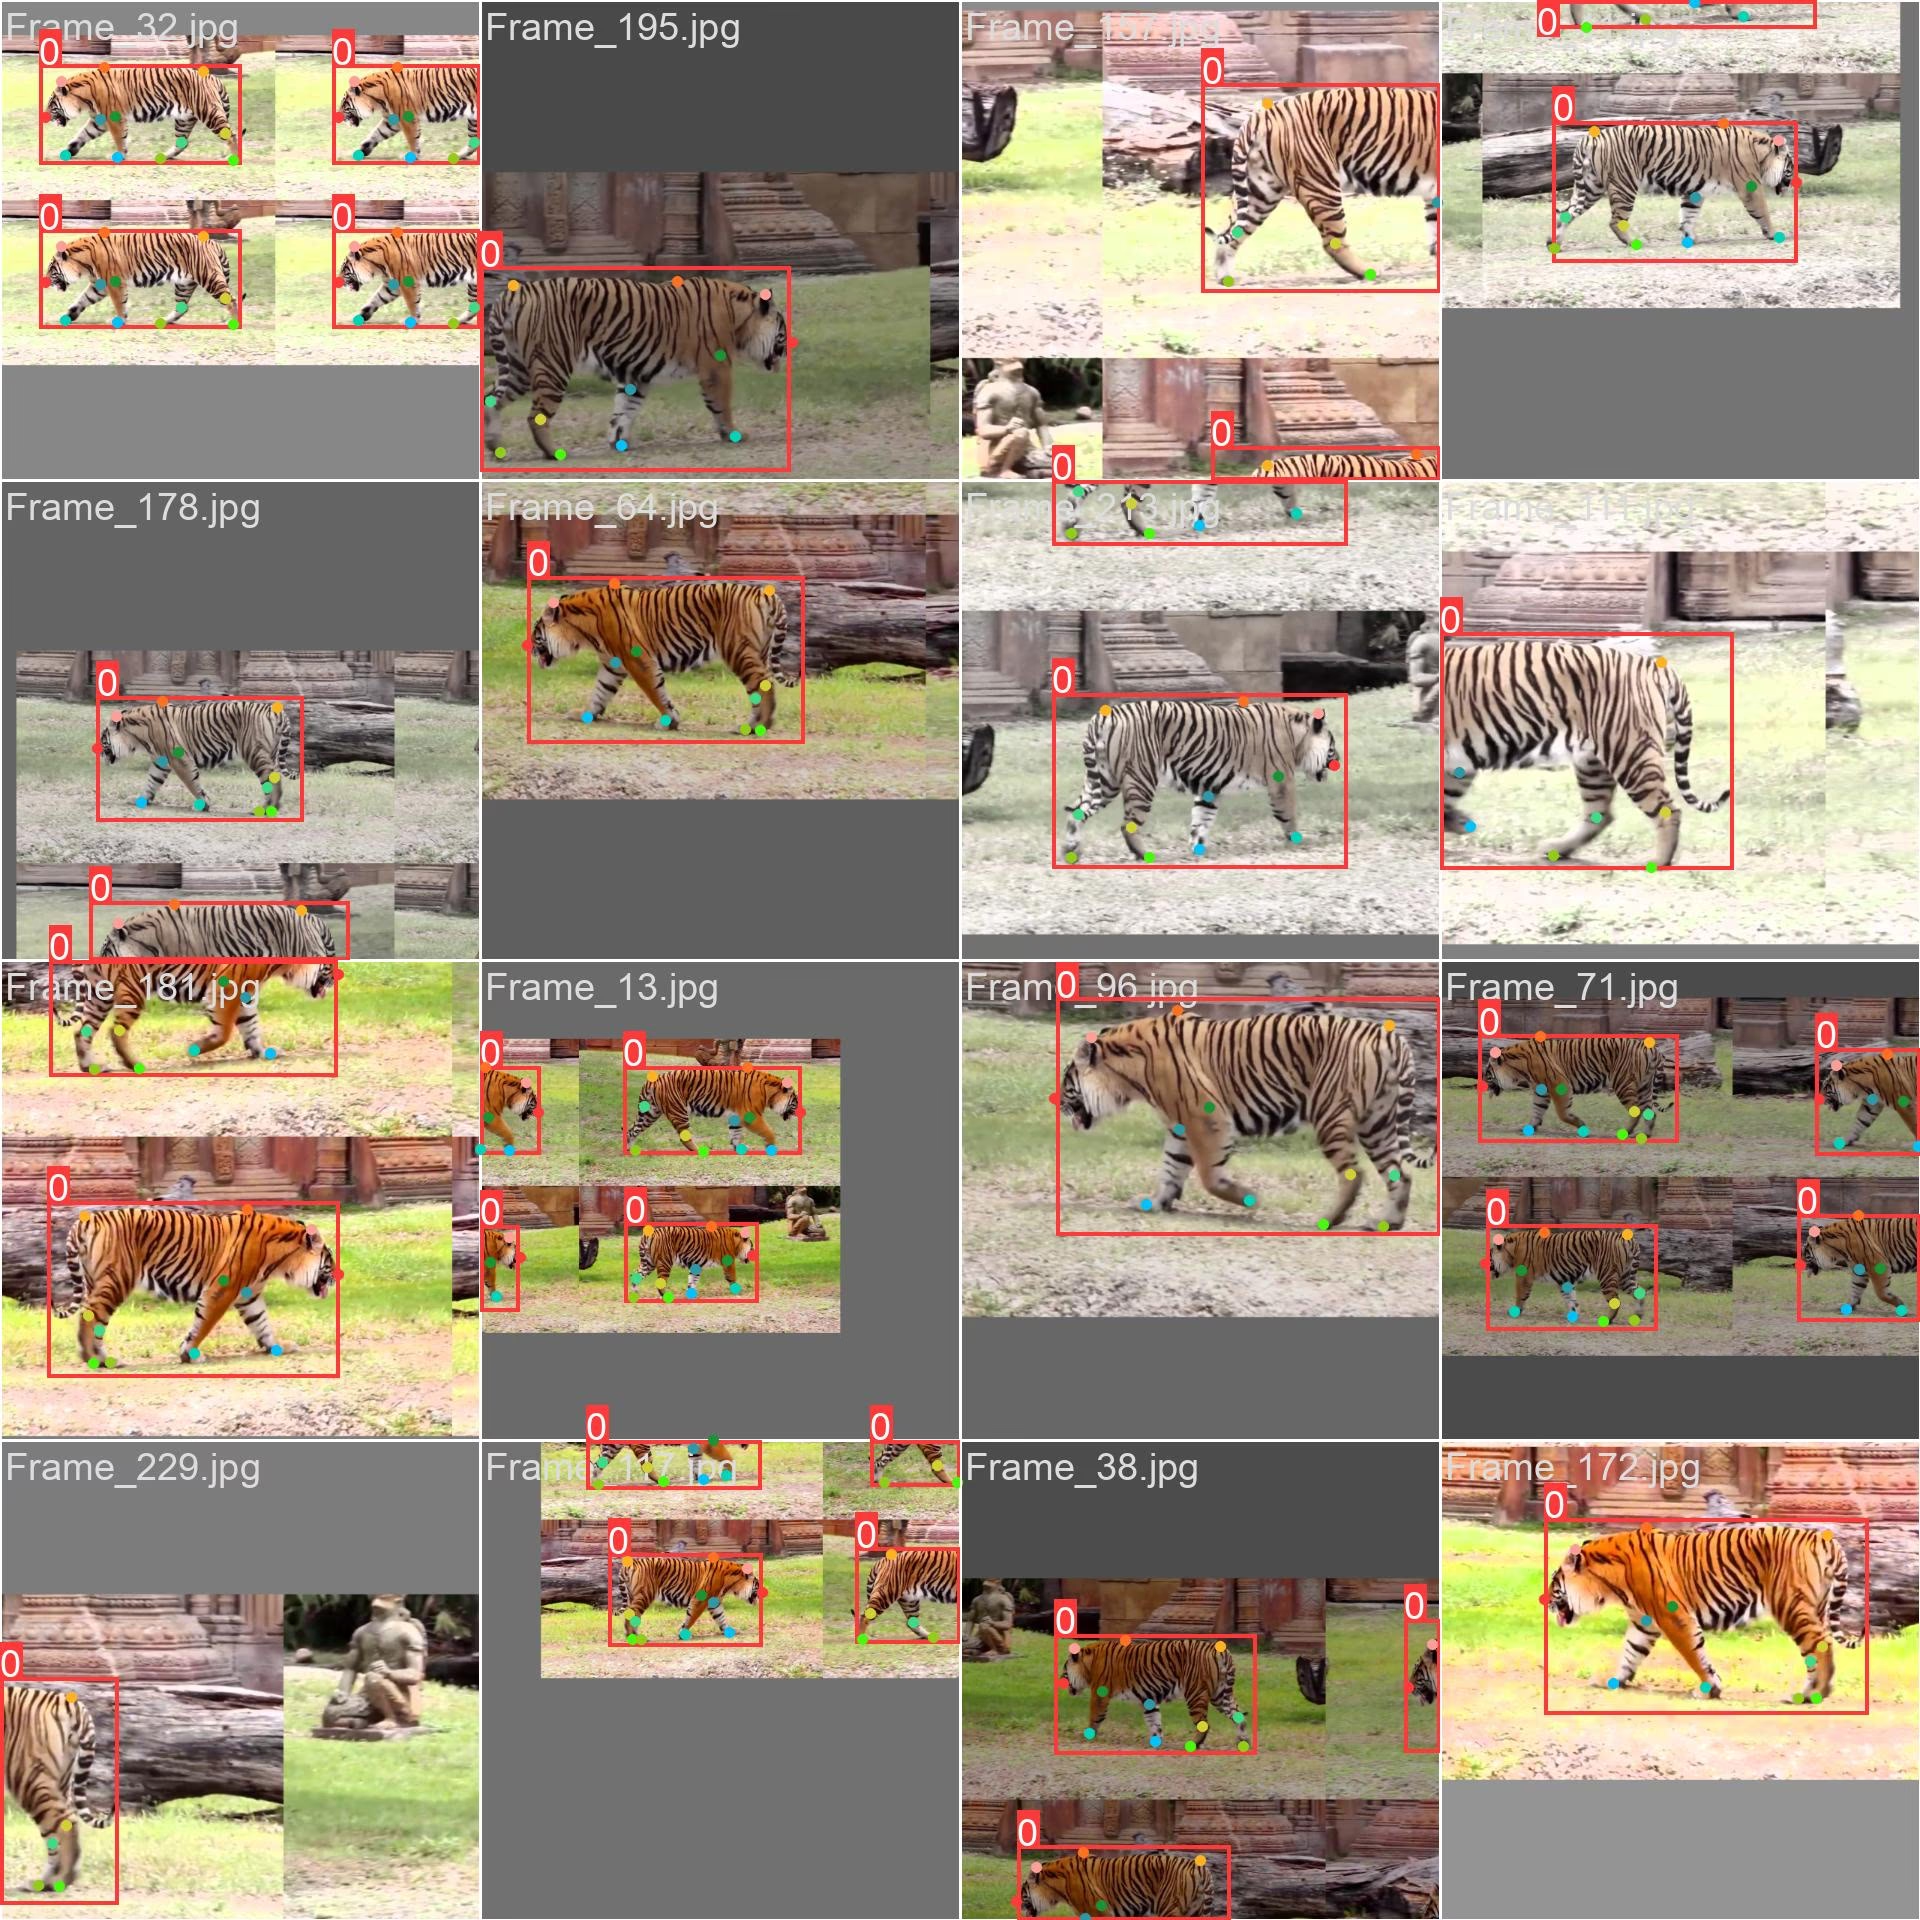
- 马赛克图像:此图像展示了由数据集马赛克图像组成的训练批次。马赛克是一种训练时使用的技术,它将多张图像合并为一张图像,从而增加每个训练批次中目标和场景的多样性。这有助于提升模型对不同目标尺寸、长宽比和上下文的泛化能力。
此示例展示了 Tiger-Pose 数据集中图像的多样性和复杂性,以及在训练过程中使用马赛克增强的好处。
推理示例#
训练完成后,加载效果最好的检查点,并对新图像或视频运行推理;完整参数列表请参阅预测页面。
from ultralytics import YOLO

# 加载模型
model = YOLO("path/to/best.pt")  # 加载使用 tiger-pose 训练的模型

# 运行推理
results = model.predict(source="https://youtu.be/Gc6K5eKrTNQ", show=True)引用与致谢#
Ultralytics 根据 AGPL-3.0 许可证发布 Tiger-Pose 数据集标注。源视频仍受其原始条款约束,使用或再分发提取的帧之前应先查看这些条款。
常见问题#
Ultralytics Tiger-Pose 数据集专为姿势估计任务设计,包含来自 YouTube 视频的 263 张图像。该数据集分为 210 张训练图像和 53 张验证图像,非常适合测试、训练和改进姿势估计算法。
tiger-pose.yaml文件定义了数据集路径、训练/验证图像目录、单个类别(tiger)和kpt_shape: [12, 2]——每个实例包含 12 个关键点,且没有可见性标记。确切配置请参阅 Ultralytics Tiger-Pose 数据集配置文件。Tiger-Pose 总共包含 263 张图像(训练集 210 张 / 验证集 53 张)、1 个类别、每个实例 12 个关键点,下载大小约为 ~49.8 MB。它规模小,便于快速处理,同时又足够多样,可用于快速检查姿势训练流程,并在使用大型数据集前发现错误。


评论17
提出问题、分享结果,或帮助其他人。
wcy7788
@glenn-jocherWhere should I go to Ultralytics to find the code for this?
 Glenn JocherUltralytics
You can find the code for the Tiger-Pose dataset in the
ultralytics/cfg/datasets/tiger-pose.yamlfile. For more details, please visit the Tiger-Pose documentation.
What software should be used for the training of fish key points,I should mark a few key points?
- Glenn JocherUltralytics(已编辑)
@wcy7788 for training fish keypoints, you can use the YOLO26-pose model. Annotate your dataset with keypoints and follow the training process similar to the Tiger-Pose example. For more details, refer to the Ultralytics documentation.
PedroPiana
In my dataset, do I necessarily need to have the Bounding Boxes?
- Glenn JocherUltralytics(已编辑)
Yes, for pose estimation tasks like those using the Tiger-Pose dataset, each label row includes a bounding box followed by the keypoints:
<class-index> <x> <y> <width> <height> <px1> <py1> .... The bounding box (normalized center x, y, width, height) is part of the pose label format, so annotate both the box and the keypoints for each object. 🐅For more details on setting up your dataset for pose estimation, you can refer to the Tiger-Pose dataset documentation and the pose dataset format.
teengineer
Hello, when i executed the predict code, i took a warning 'WARNING ⚠️ Environment does not support cv2.imshow() or PIL Image.show() google colab'. I worked on Google Colab. How can i see the results?
- Glenn JocherUltralytics(已编辑)
@teengineer hello! 😊 It seems you're facing an issue with displaying images in Google Colab due to its environment limitations. To view your results in Colab, you can use the following approach to display images directly in the notebook:
from pathlib import Path

from IPython.display import Image, display
from ultralytics import YOLO

# Load your model
model = YOLO('yolo26n.pt')  # or your custom model

# Run prediction (ensure 'save' is True to save output images)
results = model.predict(source='path/to/your/image.jpg', save=True)

# Display the saved image
display(Image(f"{results[0].save_dir}/{Path(results[0].path).name}"))  # saved output in the predict run folder
This method saves the output image and then uses IPython's display capabilities to show the image within your notebook. Hope this helps you see your results! Let us know if you have any more questions.
1 Thank you @glenn-jocher, i forgot the 'save' parameter on predict func.
Hi, I want to show prediction result on video but it throw an warning, is there a way for showing? This warning is 'WARNING ⚠️ Environment does not support cv2.imshow() or PIL Image.show()'
- Glenn JocherUltralytics(已编辑)
Hey there! 😊 It looks like you're trying to display video predictions in an environment that doesn't support
cv2.imshow()orPIL Image.show(), such as Google Colab. No worries, you can still view your video predictions by saving the output and then displaying it directly in the notebook. Here's a quick example on how you could modify your code to save the video predictions and then useIPython.displayto show the video:from ultralytics import YOLO from pathlib import Path from IPython.display import FileLink, display # Load your model model = YOLO('yolo26n.pt') # or your custom model # Run prediction on your video and save the output results = model.predict(source='path/to/your/video.mp4', save=True) # The output is saved in the predict run folder (results[0].save_dir), named after the source file # (.mp4 on macOS, .avi on Windows/Linux) # Generate a link to download the video file output_video_path = next(Path(results[0].save_dir).glob('*.*')) display(FileLink(output_video_path))This code will provide a link to download the video file with the predictions. Just replace
'path/to/your/video.mp4'with your actual video path. Hope this helps you view your prediction results! Let me know if there's anything else I can assist you with.1 Thank you for your time.
- Glenn JocherUltralytics
Hey there! 😊 If you're encountering the 'WARNING ⚠️ Environment does not support cv2.imshow() or PIL Image.show()' message while trying to display video predictions in Google Colab, you can save the predictions to a video file and then display it directly in the notebook. Here's a quick example on how to do it:
from ultralytics import YOLO

# Load your model
model = YOLO('yolov8n.pt')  # or your custom model

# Run prediction on your video and save the output
results = model.predict(source='path/to/your/video.mp4', save=True)

# Use the 'files.download()' function from Google Colab to download the result video
from google.colab import files
files.download('path/to/saved/video.mp4')  # Adjust the path to your saved video
This way, you can view the video with predictions by downloading it. Hope this helps! Let me know if you have any more questions.
1
Hi, can yolov8-pose make classifications such as tiger standing, tiger lying down?
- Glenn JocherUltralytics
@teengineer hey there! 🐯 YOLOv8-pose can indeed classify different tiger poses like standing or lying down, but it primarily focuses on pose estimation rather than direct classification. You'd typically train the model to recognize various keypoints on the tiger, and based on the keypoints' positions, you could infer the pose.
For example, after training with the Tiger-Pose dataset, you could analyze the keypoints to determine the pose:
from ultralytics import YOLO

# Load your trained model
model = YOLO('path/to/your/trained_model.pt')

# Run inference
results = model.predict(source='path/to/your/image.jpg')

# Analyze keypoints for pose classification
keypoints = results[0].keypoints
# Here you'd implement your logic to classify poses based on keypoints
This approach gives you the flexibility to define what constitutes a "standing" or "lying down" pose based on the keypoints' arrangement. Hope this helps! Let us know if you have more questions.
Thank you.
- Glenn JocherUltralytics
Hey there! 🐅 Absolutely, YOLOv8-pose can be tailored to classify specific tiger poses by analyzing the keypoints' arrangement. While it's primarily designed for pose estimation, you can infer poses like standing or lying down based on the keypoints. Here's a quick example using the Tiger-Pose dataset:
from ultralytics import YOLO

# Load your trained model
model = YOLO('path/to/your/trained_model.pt')

# Run inference on an image
results = model.predict(source='path/to/your/image.jpg')

# Analyze keypoints for pose classification
keypoints = results[0].keypoints
# Implement your logic here to classify poses based on keypoints
This way, you can classify the tiger's pose by examining the positions of detected keypoints. Hope this helps, and feel free to reach out if you have more questions! 🚀
2