Link to this sectionModel YAML Configuration Guide#
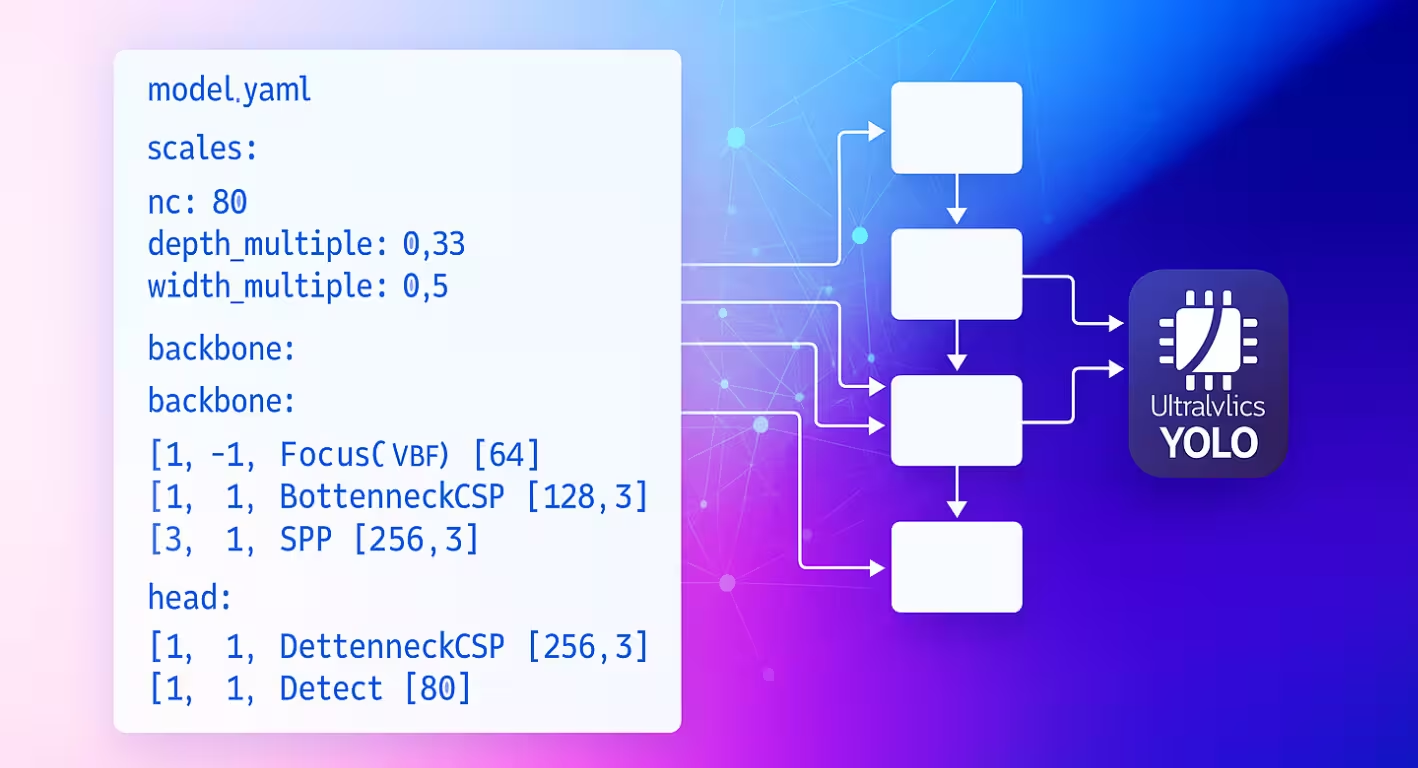
The model YAML configuration file serves as the architectural blueprint for Ultralytics neural networks. It defines how layers connect, what parameters each module uses, and how the entire network scales across different model sizes.
Link to this sectionConfiguration Structure#
Model YAML files are organized into three main sections that work together to define the architecture.
Link to this sectionParameters Section#
The parameters section specifies the model's global characteristics and scaling behavior:
# Parameters
nc: 80 # number of classes
scales: # compound scaling constants [depth, width, max_channels]
    n: [0.50, 0.25, 1024] # nano: shallow layers, narrow channels
    s: [0.50, 0.50, 1024] # small: shallow depth, standard width
    m: [0.50, 1.00, 512] # medium: moderate depth, full width
    l: [1.00, 1.00, 512] # large: full depth and width
    x: [1.00, 1.50, 512] # extra-large: maximum performance
kpt_shape: [17, 3] # pose models onlyncsets the number of classes the model predicts.scalesdefine compound scaling factors that adjust model depth, width, and maximum channels to produce different size variants (nano through extra-large).kpt_shapeapplies to pose models. It can be[N, 2]for(x, y)keypoints or[N, 3]for(x, y, visibility).
The scales parameter lets you generate multiple model sizes from a single base YAML. For instance, when you load yolo26n.yaml, Ultralytics reads the base yolo26.yaml and applies the n scaling factors (depth=0.50, width=0.25) to build the nano variant.
If your dataset specifies a different nc or kpt_shape, Ultralytics will automatically override the model config at runtime to match the dataset YAML.
Link to this sectionBackbone and Head Architecture#
The model architecture consists of backbone (feature extraction) and head (task-specific) sections:
backbone:
    # [from, repeats, module, args]
    - [-1, 1, Conv, [64, 3, 2]] # 0: Initial convolution
    - [-1, 1, Conv, [128, 3, 2]] # 1: Downsample
    - [-1, 3, C2f, [128, True]] # 2: Feature processing

head:
    - [-1, 1, nn.Upsample, [None, 2, nearest]] # 6: Upsample
    - [[-1, 2], 1, Concat, [1]] # 7: Skip connection
    - [-1, 3, C2f, [256]] # 8: Process features
    - [[8], 1, Detect, [nc]] # 9: Detection layer
Link to this sectionLayer Specification Format#
Every layer follows the consistent pattern: [from, repeats, module, args]
| Component | Purpose | Examples |
|---|---|---|
| from | Input connections | -1 (previous), 6 (layer 6), [4, 6, 8] (multi-input) |
| repeats | Number of repetitions | 1 (single), 3 (repeat 3 times) |
| module | Module type | Conv, C2f, TorchVision, Detect |
| args | Module arguments | [64, 3, 2] (channels, kernel, stride) |
Link to this sectionConnection Patterns#
The from field creates flexible data flow patterns throughout your network:
- [-1, 1, Conv, [64, 3, 2]] # Takes input from previous layerLayers are indexed starting from 0. Negative indices reference previous layers (-1 = previous layer), while positive indices reference specific layers by their position.
Link to this sectionModule Repetition#
The repeats parameter creates deeper network sections:
- [-1, 3, C2f, [128, True]] # Creates 3 consecutive C2f blocks
- [-1, 1, Conv, [64, 3, 2]] # Single convolution layer
The actual repetition count gets multiplied by the depth scaling factor from your model size configuration.
Link to this sectionAvailable Modules#
Modules are organized by functionality and defined in the Ultralytics modules directory. The following tables show commonly used modules by category, with many more available in the source code:
Link to this sectionBasic Operations#
| Module | Purpose | Source | Arguments |
|---|---|---|---|
Conv | Convolution + BatchNorm + Activation | conv.py | [out_ch, kernel, stride, pad, groups] |
nn.Upsample | Spatial upsampling | PyTorch | [size, scale_factor, mode] |
nn.Identity | Pass-through operation | PyTorch | [] |
Link to this sectionComposite Blocks#
| Module | Purpose | Source | Arguments |
|---|---|---|---|
C2f | CSP bottleneck with 2 convolutions | block.py | [out_ch, shortcut, expansion] |
SPPF | Spatial Pyramid Pooling (fast) | block.py | [out_ch, kernel_size] |
Concat | Channel-wise concatenation | conv.py | [dimension] |
Link to this sectionSpecialized Modules#
| Module | Purpose | Source | Arguments |
|---|---|---|---|
TorchVision | Load any torchvision model | block.py | [out_ch, model_name, weights, unwrap, truncate, split] |
Index | Extract specific tensor from list | block.py | [out_ch, index] |
Detect | YOLO detection head | head.py | [nc] |
This represents a subset of available modules. For the full list of modules and their parameters, explore the modules directory.
Link to this sectionAdvanced Features#
Link to this sectionTorchVision Integration#
The TorchVision module enables seamless integration of any TorchVision model as a backbone:
from ultralytics import YOLO

# Model with ConvNeXt backbone
model = YOLO("convnext_backbone.yaml")
results = model.train(data="coco8.yaml", epochs=100)Set the last parameter to True to get intermediate feature maps for multi-scale detection.
Link to this sectionIndex Module for Feature Selection#
When using models that output multiple feature maps, the Index module selects specific outputs:
backbone:
    - [-1, 1, TorchVision, [768, convnext_tiny, DEFAULT, True, 2, True]] # Multi-output
head:
    - [0, 1, Index, [192, 4]] # Select 4th feature map (192 channels)
    - [0, 1, Index, [384, 6]] # Select 6th feature map (384 channels)
    - [0, 1, Index, [768, 8]] # Select 8th feature map (768 channels)
    - [[1, 2, 3], 1, Detect, [nc]] # Multi-scale detection
Link to this sectionModule Resolution System#
Understanding how Ultralytics locates and imports modules is crucial for customization:
Link to this sectionModule Lookup Process#
Ultralytics uses a three-tier system in parse_model:
# Core resolution logic
m = (
    getattr(torch.nn, m[3:])
    if "nn." in m
    else getattr(torchvision.ops, m[16:])
    if "torchvision.ops." in m
    else globals()[m]
)- PyTorch modules: Names starting with
'nn.'→torch.nnnamespace - TorchVision operations: Names starting with
'torchvision.ops.'→torchvision.opsnamespace - Ultralytics modules: All other names → global namespace via imports
Link to this sectionModule Import Chain#
Standard modules become available through imports in tasks.py:
from ultralytics.nn.modules import (  # noqa: F401
    SPPF,
    C2f,
    Conv,
    Detect,
    # ... many more modules
    Index,
    TorchVision,
)
Link to this sectionCustom Module Integration#
Link to this sectionSource Code Modification#
Modifying the source code is the most versatile way to integrate your custom modules, but it can be tricky. To define and use a custom module, follow these steps:
-
Install Ultralytics in development mode using the Git clone method from the Quickstart guide.
-
Define your module in
ultralytics/nn/modules/block.py:class CustomBlock(nn.Module): """Custom block with Conv-BatchNorm-ReLU sequence.""" def __init__(self, c1, c2): """Initialize CustomBlock with input and output channels.""" super().__init__() self.layers = nn.Sequential(nn.Conv2d(c1, c2, 3, 1, 1), nn.BatchNorm2d(c2), nn.ReLU()) def forward(self, x): """Forward pass through the block.""" return self.layers(x) -
Expose your module at the package level in
ultralytics/nn/modules/__init__.py:from .block import CustomBlock # noqa makes CustomBlock available as ultralytics.nn.modules.CustomBlock -
Add to imports in
ultralytics/nn/tasks.py:from ultralytics.nn.modules import CustomBlock # noqa -
Handle special arguments (if needed) inside
parse_model()inultralytics/nn/tasks.py:# Add this condition in the parse_model() function if m is CustomBlock: c1, c2 = ch[f], args[0] # input channels, output channels args = [c1, c2, *args[1:]] -
Use the module in your model YAML:
# custom_model.yaml nc: 1 backbone: - [-1, 1, CustomBlock, [64]] head: - [-1, 1, Classify, [nc]] -
Check FLOPs to ensure the forward pass works:
from ultralytics import YOLO

model = YOLO("custom_model.yaml", task="classify")
model.info()  # should print non-zero FLOPs if working
Link to this sectionExample Configurations#
Link to this sectionBasic Detection Model#
# Simple YOLO detection model
nc: 80
scales:
    n: [0.33, 0.25, 1024]

backbone:
    - [-1, 1, Conv, [64, 3, 2]] # 0-P1/2
    - [-1, 1, Conv, [128, 3, 2]] # 1-P2/4
    - [-1, 3, C2f, [128, True]] # 2
    - [-1, 1, Conv, [256, 3, 2]] # 3-P3/8
    - [-1, 6, C2f, [256, True]] # 4
    - [-1, 1, SPPF, [256, 5]] # 5

head:
    - [-1, 1, Conv, [256, 3, 1]] # 6
    - [[6], 1, Detect, [nc]] # 7
Link to this sectionTorchVision Backbone Model#
# ConvNeXt backbone with YOLO head
nc: 80

backbone:
    - [-1, 1, TorchVision, [768, convnext_tiny, DEFAULT, True, 2, True]]

head:
    - [0, 1, Index, [192, 4]] # P3 features
    - [0, 1, Index, [384, 6]] # P4 features
    - [0, 1, Index, [768, 8]] # P5 features
    - [[1, 2, 3], 1, Detect, [nc]] # Multi-scale detection
Link to this sectionClassification Model#
# Simple classification model
nc: 1000

backbone:
    - [-1, 1, Conv, [64, 7, 2, 3]]
    - [-1, 1, nn.MaxPool2d, [3, 2, 1]]
    - [-1, 4, C2f, [64, True]]
    - [-1, 1, Conv, [128, 3, 2]]
    - [-1, 8, C2f, [128, True]]
    - [-1, 1, nn.AdaptiveAvgPool2d, [1]]

head:
    - [-1, 1, Classify, [nc]]
Link to this sectionBest Practices#
Link to this sectionArchitecture Design Tips#
Start Simple: Begin with proven architectures before customizing. Use existing YOLO configurations as templates and modify incrementally rather than building from scratch.
Test Incrementally: Validate each modification step-by-step. Add one custom module at a time and verify it works before proceeding to the next change.
Monitor Channels: Ensure channel dimensions match between connected layers. The output channels (c2) of one layer must match the input channels (c1) of the next layer in the sequence.
Use Skip Connections: Leverage feature reuse with [[-1, N], 1, Concat, [1]] patterns. These connections help with gradient flow and allow the model to combine features from different scales.
Scale Appropriately: Choose model scales based on your computational constraints. Use nano (n) for edge devices, small (s) for balanced performance, and larger scales (m, l, x) for maximum accuracy.
Link to this sectionPerformance Considerations#
Depth vs Width: Deep networks capture complex hierarchical features through multiple transformation layers, while wide networks process more information in parallel at each layer. Balance these based on your task complexity.
Skip Connections: Improve gradient flow during training and enable feature reuse throughout the network. They're particularly important in deeper architectures to prevent vanishing gradients.
Bottleneck Blocks: Reduce computational cost while maintaining model expressiveness. Modules like C2f use fewer parameters than standard convolutions while preserving feature learning capacity.
Multi-Scale Features: Essential for detecting objects at different sizes in the same image. Use Feature Pyramid Network (FPN) patterns with multiple detection heads at different scales.
Link to this sectionTroubleshooting#
Link to this sectionCommon Issues#
| Problem | Cause | Solution |
|---|---|---|
KeyError: 'ModuleName' | Module not imported | Add to tasks.py imports |
| Channel dimension mismatch | Incorrect args specification | Verify input/output channel compatibility |
AttributeError: 'int' object has no attribute | Wrong argument type | Check module documentation for correct argument types |
| Model fails to build | Invalid from reference | Ensure referenced layers exist |
Link to this sectionDebugging Tips#
When developing custom architectures, systematic debugging helps identify issues early:
Use Identity Head for Testing
Replace complex heads with nn.Identity to isolate backbone issues:
nc: 1
backbone:
    - [-1, 1, CustomBlock, [64]]
head:
    - [-1, 1, nn.Identity, []] # Pass-through for debugging
This allows direct inspection of backbone outputs:
import torch

from ultralytics import YOLO

model = YOLO("debug_model.yaml")
output = model.model(torch.randn(1, 3, 640, 640))
print(f"Output shape: {output.shape}")  # Should match expected dimensions
Model Architecture Inspection
Checking the FLOPs count and printing out each layer can also help debug issues with your custom model config. FLOPs count should be non-zero for a valid model. If it's zero, then there's likely an issue with the forward pass. Running a simple forward pass should show the exact error being encountered.
from ultralytics import YOLO

# Build model with verbose output to see layer details
model = YOLO("debug_model.yaml", verbose=True)

# Check model FLOPs. Failed forward pass causes 0 FLOPs.
model.info()

# Inspect individual layers
for i, layer in enumerate(model.model.model):
    print(f"Layer {i}: {layer}")
Step-by-Step Validation
- Start minimal: Test with simplest possible architecture first
- Add incrementally: Build complexity layer by layer
- Check dimensions: Verify channel and spatial size compatibility
- Validate scaling: Test with different model scales (
n,s,m)
Link to this sectionFAQ#
Link to this sectionHow do I change the number of classes in my model?#
Set the nc parameter at the top of your YAML file to match your dataset's number of classes.
nc: 5 # 5 classesLink to this sectionCan I use a custom backbone in my model YAML?#
Yes. You can use any supported module, including TorchVision backbones, or define your own custom module and import it as described in Custom Module Integration.
Link to this sectionHow do I scale my model for different sizes (nano, small, medium, etc.)?#
Use the scales section in your YAML to define scaling factors for depth, width, and max channels. The model will automatically apply these when you load the base YAML file with the scale appended to the filename (e.g., yolo26n.yaml).
Link to this sectionWhat does the [from, repeats, module, args] format mean?#
This format specifies how each layer is constructed:
from: input source(s)repeats: number of times to repeat the modulemodule: the layer typeargs: arguments for the module
Link to this sectionHow do I troubleshoot channel mismatch errors?#
Check that the output channels of one layer match the expected input channels of the next. Use print(model.model.model) to inspect your model's architecture.
Link to this sectionWhere can I find a list of available modules and their arguments?#
Check the source code in the ultralytics/nn/modules directory for all available modules and their arguments.
Link to this sectionHow do I add a custom module to my YAML configuration?#
Define your module in the source code, import it as shown in Source Code Modification, and reference it by name in your YAML file.
Link to this sectionCan I use pretrained weights with a custom YAML?#
Yes, you can use model.load("path/to/weights") to load weights from a pretrained checkpoint. However, only weights for layers that match would load successfully.
Link to this sectionHow do I validate my model configuration?#
Use model.info() to check whether FLOPs count is non-zero. A valid model should show non-zero FLOPs count. If it's zero, follow the suggestions in Debugging Tips to find the issue.