Training YOLO26 with ClearML: Streamlining Your MLOps Workflow
MLOps bridges the gap between creating and deploying machine learning models in real-world settings. It focuses on efficient deployment, scalability, and ongoing management to ensure models perform well in practical applications.
Ultralytics YOLO26 effortlessly integrates with ClearML, streamlining and enhancing your object detection model's training and management. This guide will walk you through the integration process, detailing how to set up ClearML, manage experiments, automate model management, and collaborate effectively.
ClearML

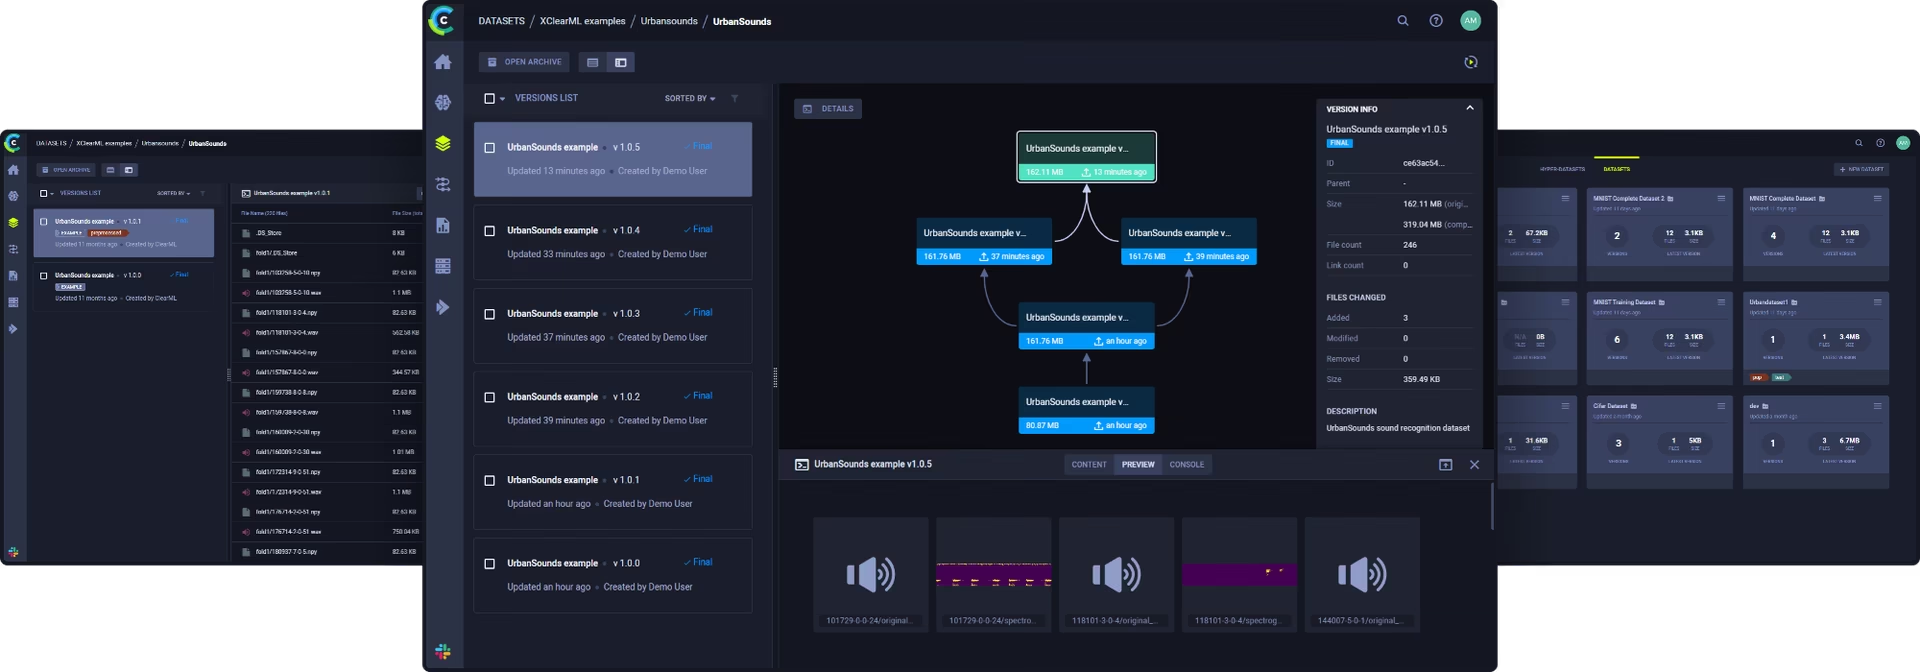
ClearML is an innovative open-source MLOps platform that is skillfully designed to automate, monitor, and orchestrate machine learning workflows. Its key features include automated logging of all training and inference data for full experiment reproducibility, an intuitive web UI for easy data visualization and analysis, advanced hyperparameter optimization algorithms, and robust model management for efficient deployment across various platforms.
YOLO26 Training with ClearML
You can bring automation and efficiency to your machine learning workflow by integrating YOLO26 with ClearML to improve your training process.
Installation
To install the required packages, run:
Installation
# Install the required packages for YOLO26 and ClearML
pip install ultralytics clearml
For detailed instructions and best practices related to the installation process, be sure to check our YOLO26 Installation guide. While installing the required packages for YOLO26, if you encounter any difficulties, consult our Common Issues guide for solutions and tips.
Configuring ClearML
Once you have installed the necessary packages, the next step is to initialize and configure your ClearML SDK. This involves setting up your ClearML account and obtaining the necessary credentials for a seamless connection between your development environment and the ClearML server.
Begin by initializing the ClearML SDK in your environment. The clearml-init command starts the setup process and prompts you for the necessary credentials.
Initial SDK Setup
# Initialize your ClearML SDK setup process
clearml-init
After executing this command, visit the ClearML Settings page. Navigate to the top right corner and select "Settings." Go to the "Workspace" section and click on "Create new credentials." Use the credentials provided in the "Create Credentials" pop-up to complete the setup as instructed, depending on whether you are configuring ClearML in a Jupyter Notebook or a local Python environment.
Usage
Before diving into the usage instructions, be sure to check out the range of YOLO26 models offered by Ultralytics. This will help you choose the most appropriate model for your project requirements.
Usage
from clearml import Task

from ultralytics import YOLO

# Step 1: Creating a ClearML Task
task = Task.init(project_name="my_project", task_name="my_yolo26_task")

# Step 2: Selecting the YOLO26 Model
model_variant = "yolo26n"
task.set_parameter("model_variant", model_variant)

# Step 3: Loading the YOLO26 Model
model = YOLO(f"{model_variant}.pt")

# Step 4: Setting Up Training Arguments
args = dict(data="coco8.yaml", epochs=16)
task.connect(args)

# Step 5: Initiating Model Training
results = model.train(**args)
Understanding the Code
Let's understand the steps showcased in the usage code snippet above.
Step 1: Creating a ClearML Task: A new task is initialized in ClearML, specifying your project and task names. This task will track and manage your model's training.
Step 2: Selecting the YOLO26 Model: The model_variant variable is set to 'yolo26n', one of the YOLO26 models. This variant is then logged in ClearML for tracking.
Step 3: Loading the YOLO26 Model: The selected YOLO26 model is loaded using Ultralytics' YOLO class, preparing it for training.
Step 4: Setting Up Training Arguments: Key training arguments like the dataset (coco8.yaml) and the number of epochs (16) are organized in a dictionary and connected to the ClearML task. This allows for tracking and potential modification via the ClearML UI. For a detailed understanding of the model training process and best practices, refer to our YOLO26 Model Training guide.
Step 5: Initiating Model Training: The model training is started with the specified arguments. The results of the training process are captured in the results variable.
Understanding the Output
Upon running the usage code snippet above, you can expect the following output:
- A confirmation message indicating the creation of a new ClearML task, along with its unique ID.
- An informational message about the script code being stored, indicating that the code execution is being tracked by ClearML.
- A URL link to the ClearML results page where you can monitor the training progress and view detailed logs.
- Download progress for the YOLO26 model and the specified dataset, followed by a summary of the model architecture and training configuration.
- Initialization messages for various training components like TensorBoard, Automatic Mixed Precision (AMP), and dataset preparation.
- Finally, the training process starts, with progress updates as the model trains on the specified dataset. For an in-depth understanding of the performance metrics used during training, read our guide on performance metrics.
Viewing the ClearML Results Page
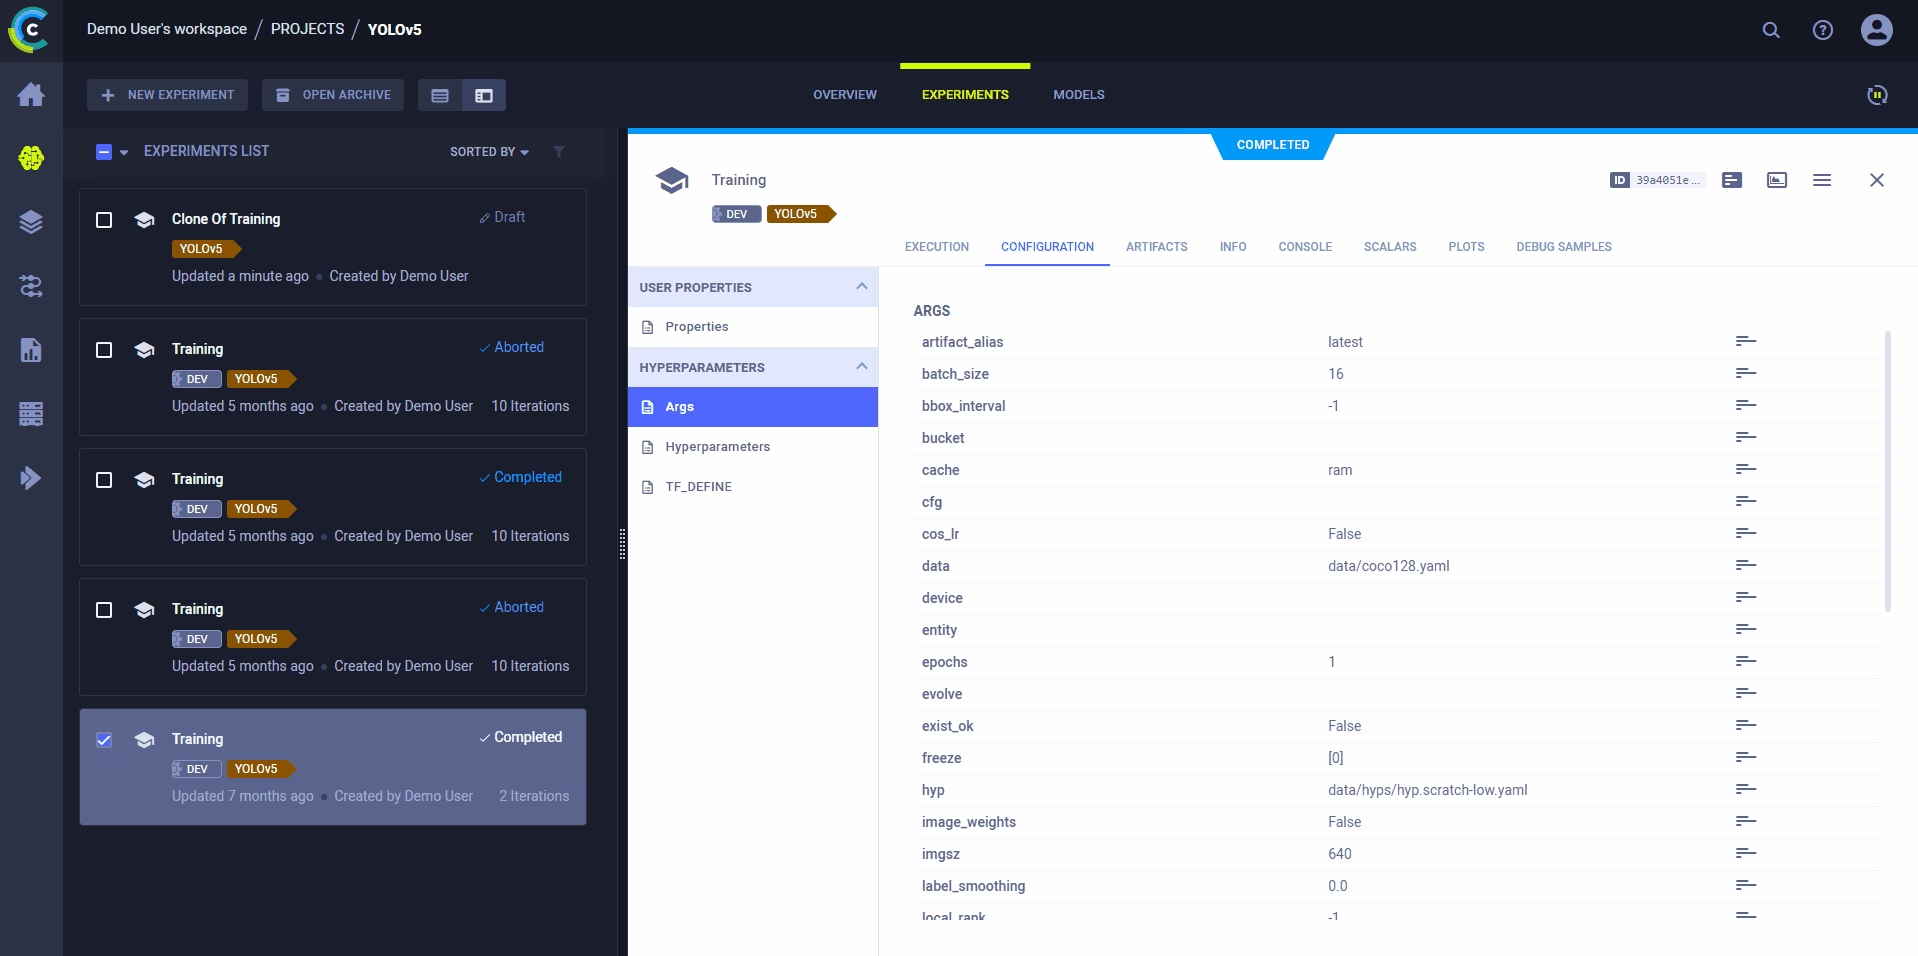
By clicking on the URL link to the ClearML results page in the output of the usage code snippet, you can access a comprehensive view of your model's training process.
Key Features of the ClearML Results Page
Real-Time Metrics Tracking
- Track critical metrics like loss, accuracy, and validation scores as they occur.
- Provides immediate feedback for timely model performance adjustments.
Experiment Comparison
- Compare different training runs side-by-side.
- Essential for hyperparameter tuning and identifying the most effective models.
Detailed Logs and Outputs
- Access comprehensive logs, graphical representations of metrics, and console outputs.
- Gain a deeper understanding of model behavior and issue resolution.
Resource Utilization Monitoring
- Monitor the utilization of computational resources, including CPU, GPU, and memory.
- Key to optimizing training efficiency and costs.
Model Artifacts Management
- View, download, and share model artifacts like trained models and checkpoints.
- Enhances collaboration and streamlines model deployment and sharing.
For a visual walkthrough of what the ClearML Results Page looks like, watch the video below:
Watch: YOLO26 MLOps Integration using ClearML
Advanced Features in ClearML
ClearML offers several advanced features to enhance your MLOps experience.
Remote Execution
ClearML's remote execution feature facilitates the reproduction and manipulation of experiments on different machines. It logs essential details like installed packages and uncommitted changes. When a task is enqueued, the ClearML Agent pulls it, recreates the environment, and runs the experiment, reporting back with detailed results.
Deploying a ClearML Agent is straightforward and can be done on various machines using the following command:
clearml-agent daemon --queue QUEUES_TO_LISTEN_TO [--docker]
This setup is applicable to cloud VMs, local GPUs, or laptops. ClearML Autoscalers help manage cloud workloads on platforms like AWS, GCP, and Azure, automating the deployment of agents and adjusting resources based on your resource budget.
Cloning, Editing, and Enqueuing
ClearML's user-friendly interface allows easy cloning, editing, and enqueuing of tasks. Users can clone an existing experiment, adjust parameters or other details through the UI, and enqueue the task for execution. This streamlined process ensures that the ClearML Agent executing the task uses updated configurations, making it ideal for iterative experimentation and model fine-tuning.

Dataset Version Management
ClearML also offers powerful dataset version management capabilities that integrate seamlessly with YOLO26 training workflows. This feature allows you to:
- Version your datasets separately from your code
- Track which dataset version was used for each experiment
- Easily access and download the latest dataset version
To prepare your dataset for ClearML, follow these steps:
- Organize your dataset with the standard YOLO structure (images, labels, etc.)
- Copy the corresponding YAML file to the root of your dataset folder
Upload your dataset using the ClearML Data tool:
cd your_dataset_folder
clearml-data sync --project YOLO26 --name your_dataset_name --folder .
This command will create a versioned dataset in ClearML that can be referenced in your training scripts, ensuring reproducibility and easy access to your data.
Summary
This guide has led you through the process of integrating ClearML with Ultralytics' YOLO26. Covering everything from initial setup to advanced model management, you've discovered how to leverage ClearML for efficient training, experiment tracking, and workflow optimization in your machine learning projects.
For further details on usage, visit ClearML's official YOLOv8 integration guide, which also applies to YOLO26 workflows.
Additionally, explore more integrations and capabilities of Ultralytics by visiting the Ultralytics integration guide page, which is a treasure trove of resources and insights.
FAQ
What is the process for integrating Ultralytics YOLO26 with ClearML?
Integrating Ultralytics YOLO26 with ClearML involves a series of steps to streamline your MLOps workflow. First, install the necessary packages:
pip install ultralytics clearml
Next, initialize the ClearML SDK in your environment using:
clearml-init
You then configure ClearML with your credentials from the ClearML Settings page. Detailed instructions on the entire setup process, including model selection and training configurations, can be found in our YOLO26 Model Training guide.
Why should I use ClearML with Ultralytics YOLO26 for my machine learning projects?
Using ClearML with Ultralytics YOLO26 enhances your machine learning projects by automating experiment tracking, streamlining workflows, and enabling robust model management. ClearML offers real-time metrics tracking, resource utilization monitoring, and a user-friendly interface for comparing experiments. These features help optimize your model's performance and make the development process more efficient. Learn more about the benefits and procedures in our MLOps Integration guide.
How do I troubleshoot common issues during YOLO26 and ClearML integration?
If you encounter issues during the integration of YOLO26 with ClearML, consult our Common Issues guide for solutions and tips. Typical problems might involve package installation errors, credential setup, or configuration issues. This guide provides step-by-step troubleshooting instructions to resolve these common issues efficiently.
How do I set up the ClearML task for YOLO26 model training?
Setting up a ClearML task for YOLO26 training involves initializing a task, selecting the model variant, loading the model, setting up training arguments, and finally, starting the model training. Here's a simplified example:
from clearml import Task

from ultralytics import YOLO

# Step 1: Creating a ClearML Task
task = Task.init(project_name="my_project", task_name="my_yolo26_task")

# Step 2: Selecting the YOLO26 Model
model_variant = "yolo26n"
task.set_parameter("model_variant", model_variant)

# Step 3: Loading the YOLO26 Model
model = YOLO(f"{model_variant}.pt")

# Step 4: Setting Up Training Arguments
args = dict(data="coco8.yaml", epochs=16)
task.connect(args)

# Step 5: Initiating Model Training
results = model.train(**args)
Refer to our Usage guide for a detailed breakdown of these steps.
Where can I view the results of my YOLO26 training in ClearML?
After running your YOLO26 training script with ClearML, you can view the results on the ClearML results page. The output will include a URL link to the ClearML dashboard, where you can track metrics, compare experiments, and monitor resource usage. For more details on how to view and interpret the results, check our section on Viewing the ClearML Results Page.