Link to this section模型 YAML 配置指南#
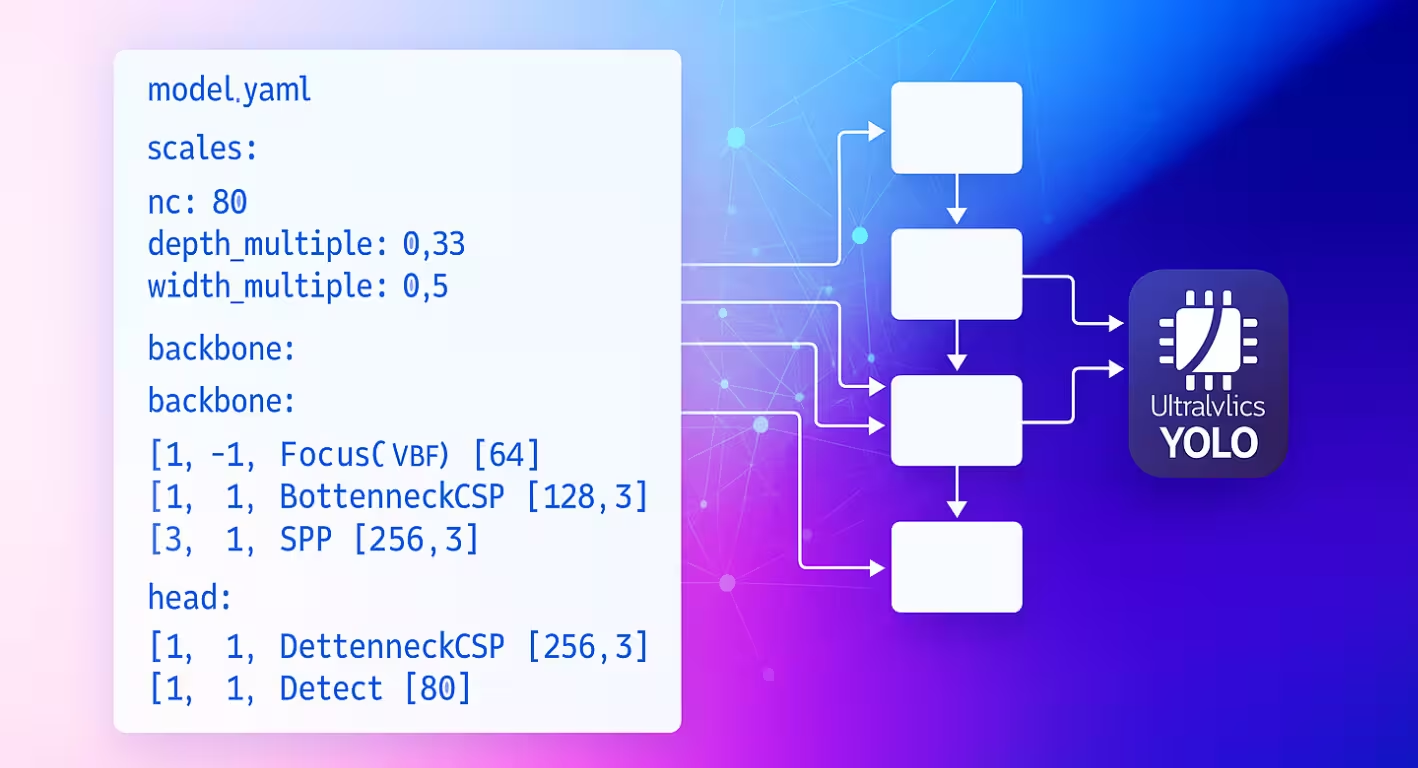
模型 YAML 配置文件是 Ultralytics 神经网络的架构蓝图。它定义了层级如何连接、每个模块使用哪些参数,以及整个网络如何跨不同模型规模进行扩展。
Link to this section配置结构#
模型 YAML 文件分为三个主要部分,它们共同协作以定义架构。
Link to this section参数部分#
parameters 部分指定了模型的全局特征和缩放行为:
# Parameters
nc: 80 # number of classes
scales: # compound scaling constants [depth, width, max_channels]
    n: [0.50, 0.25, 1024] # nano: shallow layers, narrow channels
    s: [0.50, 0.50, 1024] # small: shallow depth, standard width
    m: [0.50, 1.00, 512] # medium: moderate depth, full width
    l: [1.00, 1.00, 512] # large: full depth and width
    x: [1.00, 1.50, 512] # extra-large: maximum performance
kpt_shape: [17, 3] # pose models onlync设置模型预测的类别数量。scales定义了复合缩放因子,用于调整模型深度、宽度和最大通道数,以生成不同大小的变体(从 nano 到 extra-large)。kpt_shapeapplies to pose models. It can be[N, 2]for(x, y)keypoints or[N, 3]for(x, y, visibility).
scales 参数允许你从单个基础 YAML 生成多个模型大小。例如,当你加载 yolo26n.yaml 时,Ultralytics 会读取基础的 yolo26.yaml 并应用 n 缩放因子(depth=0.50,width=0.25)来构建 nano 变体。
如果你的数据集指定了不同的 nc 或 kpt_shape,Ultralytics 将在运行时自动覆盖模型配置以匹配数据集 YAML。
Link to this section骨干网络与检测头架构#
模型架构由骨干网络(特征提取)和检测头(特定任务)部分组成:
backbone:
    # [from, repeats, module, args]
    - [-1, 1, Conv, [64, 3, 2]] # 0: Initial convolution
    - [-1, 1, Conv, [128, 3, 2]] # 1: Downsample
    - [-1, 3, C2f, [128, True]] # 2: Feature processing

head:
    - [-1, 1, nn.Upsample, [None, 2, nearest]] # 6: Upsample
    - [[-1, 2], 1, Concat, [1]] # 7: Skip connection
    - [-1, 3, C2f, [256]] # 8: Process features
    - [[8], 1, Detect, [nc]] # 9: Detection layer
Link to this section层规范格式#
每一层都遵循一致的模式:[from, repeats, module, args]
| 组件 | 用途 | 示例 |
|---|---|---|
| from | 输入连接 | -1(前一层),6(第 6 层),[4, 6, 8](多输入) |
| repeats | 重复次数 | 1(单次),3(重复 3 次) |
| module | 模块类型 | Conv, C2f, TorchVision, Detect |
| args | 模块参数 | [64, 3, 2](通道数,卷积核,步长) |
Link to this section连接模式#
from 字段在你的网络中创建灵活的数据流模式:
- [-1, 1, Conv, [64, 3, 2]] # Takes input from previous layer层索引从 0 开始。负数索引引用之前的层(-1 = 上一层),而正数索引根据它们的位置引用特定的层。
Link to this section模块重复#
repeats 参数创建更深的网络部分:
- [-1, 3, C2f, [128, True]] # Creates 3 consecutive C2f blocks
- [-1, 1, Conv, [64, 3, 2]] # Single convolution layer
实际重复次数会乘以模型大小配置中的深度缩放因子。
Link to this section可用模块#
模块按功能组织,并定义在 Ultralytics 模块目录中。下表按类别显示了常用模块,源代码中还有更多可用模块:
Link to this section基本操作#
| 模块 | 用途 | 来源 | 参数 |
|---|---|---|---|
Conv | 卷积 + BatchNorm + 激活 | conv.py | [out_ch, kernel, stride, pad, groups] |
nn.Upsample | 空间上采样 | PyTorch | [size, scale_factor, mode] |
nn.Identity | 直通操作 | PyTorch | [] |
Link to this section复合模块#
| 模块 | 用途 | 来源 | 参数 |
|---|---|---|---|
C2f | 带 2 个卷积的 CSP 瓶颈模块 | block.py | [out_ch, shortcut, expansion] |
SPPF | 空间金字塔池化(快速) | block.py | [out_ch, kernel_size] |
Concat | 通道级拼接 | conv.py | [dimension] |
Link to this section专用模块#
| 模块 | 用途 | 来源 | 参数 |
|---|---|---|---|
TorchVision | 加载任何 torchvision 模型 | block.py | [out_ch, model_name, weights, unwrap, truncate, split] |
Index | 从列表中提取特定张量 | block.py | [out_ch, index] |
Detect | YOLO 检测头 | head.py | [nc] |
这仅代表可用模块的子集。有关模块及其参数的完整列表,请浏览 modules 目录。
Link to this section高级功能#
Link to this sectionTorchVision 集成#
TorchVision 模块支持无缝集成任何 TorchVision 模型作为骨干网络:
from ultralytics import YOLO

# Model with ConvNeXt backbone
model = YOLO("convnext_backbone.yaml")
results = model.train(data="coco8.yaml", epochs=100)将最后一个参数设置为 True 以获取用于多尺度检测的中间特征图。
Link to this section用于特征选择的 Index 模块#
当使用输出多个特征图的模型时,Index 模块会选择特定的输出:
backbone:
    - [-1, 1, TorchVision, [768, convnext_tiny, DEFAULT, True, 2, True]] # Multi-output
head:
    - [0, 1, Index, [192, 4]] # Select 4th feature map (192 channels)
    - [0, 1, Index, [384, 6]] # Select 6th feature map (384 channels)
    - [0, 1, Index, [768, 8]] # Select 8th feature map (768 channels)
    - [[1, 2, 3], 1, Detect, [nc]] # Multi-scale detection
Link to this section模块解析系统#
了解 Ultralytics 如何定位和导入模块对于自定义至关重要:
Link to this section模块查找过程#
Ultralytics 在 parse_model 中使用了三层系统:
# Core resolution logic
m = (
    getattr(torch.nn, m[3:])
    if "nn." in m
    else getattr(torchvision.ops, m[16:])
    if "torchvision.ops." in m
    else globals()[m]
)- PyTorch 模块:名称以
'nn.'开头的 →torch.nn命名空间 - TorchVision 操作:名称以
'torchvision.ops.'开头的 →torchvision.ops命名空间 - Ultralytics 模块:所有其他名称 → 通过导入进入全局命名空间
Link to this section模块导入链#
标准模块通过 tasks.py 中的导入变为可用:
from ultralytics.nn.modules import (  # noqa: F401
    SPPF,
    C2f,
    Conv,
    Detect,
    # ... many more modules
    Index,
    TorchVision,
)
Link to this section自定义模块集成#
Link to this section修改源代码#
修改源代码是集成自定义模块最灵活的方式,但操作可能比较复杂。要定义并使用自定义模块,请遵循以下步骤:
-
使用 快速入门指南 中的 Git clone 方法 以开发模式安装 Ultralytics。
-
在
ultralytics/nn/modules/block.py中定义你的模块:class CustomBlock(nn.Module): """Custom block with Conv-BatchNorm-ReLU sequence.""" def __init__(self, c1, c2): """Initialize CustomBlock with input and output channels.""" super().__init__() self.layers = nn.Sequential(nn.Conv2d(c1, c2, 3, 1, 1), nn.BatchNorm2d(c2), nn.ReLU()) def forward(self, x): """Forward pass through the block.""" return self.layers(x) -
在
ultralytics/nn/modules/__init__.py中将你的模块暴露在包级别:from .block import CustomBlock # noqa makes CustomBlock available as ultralytics.nn.modules.CustomBlock -
在
ultralytics/nn/tasks.py中添加到导入列表:from ultralytics.nn.modules import CustomBlock # noqa -
Handle special arguments (if needed) inside
parse_model()inultralytics/nn/tasks.py:# Add this condition in the parse_model() function if m is CustomBlock: c1, c2 = ch[f], args[0] # input channels, output channels args = [c1, c2, *args[1:]] -
在你的模型 YAML 中使用该模块:
# custom_model.yaml nc: 1 backbone: - [-1, 1, CustomBlock, [64]] head: - [-1, 1, Classify, [nc]] -
检查 FLOPs 以确保前向传播工作正常:
from ultralytics import YOLO

model = YOLO("custom_model.yaml", task="classify")
model.info()  # should print non-zero FLOPs if working
Link to this section配置示例#
Link to this section基础检测模型#
# Simple YOLO detection model
nc: 80
scales:
    n: [0.33, 0.25, 1024]

backbone:
    - [-1, 1, Conv, [64, 3, 2]] # 0-P1/2
    - [-1, 1, Conv, [128, 3, 2]] # 1-P2/4
    - [-1, 3, C2f, [128, True]] # 2
    - [-1, 1, Conv, [256, 3, 2]] # 3-P3/8
    - [-1, 6, C2f, [256, True]] # 4
    - [-1, 1, SPPF, [256, 5]] # 5

head:
    - [-1, 1, Conv, [256, 3, 1]] # 6
    - [[6], 1, Detect, [nc]] # 7
Link to this sectionTorchVision 主干模型#
# ConvNeXt backbone with YOLO head
nc: 80

backbone:
    - [-1, 1, TorchVision, [768, convnext_tiny, DEFAULT, True, 2, True]]

head:
    - [0, 1, Index, [192, 4]] # P3 features
    - [0, 1, Index, [384, 6]] # P4 features
    - [0, 1, Index, [768, 8]] # P5 features
    - [[1, 2, 3], 1, Detect, [nc]] # Multi-scale detection
Link to this section分类模型#
# Simple classification model
nc: 1000

backbone:
    - [-1, 1, Conv, [64, 7, 2, 3]]
    - [-1, 1, nn.MaxPool2d, [3, 2, 1]]
    - [-1, 4, C2f, [64, True]]
    - [-1, 1, Conv, [128, 3, 2]]
    - [-1, 8, C2f, [128, True]]
    - [-1, 1, nn.AdaptiveAvgPool2d, [1]]

head:
    - [-1, 1, Classify, [nc]]
Link to this section最佳实践#
Link to this section架构设计技巧#
保持简单:在进行自定义之前,先从经过验证的架构开始。使用现有的 YOLO 配置作为模板,并进行增量修改,而不是从头开始构建。
增量测试:逐步验证每一个修改。每次添加一个自定义模块,并在进行下一次更改之前确认其工作正常。
监控通道:确保连接层之间的通道维度匹配。一层输出的通道数 (c2) 必须与序列中下一层输入的通道数 (c1) 匹配。
使用跳跃连接:利用 [[-1, N], 1, Concat, [1]] 模式实现特征重用。这些连接有助于梯度流,并允许模型组合来自不同尺度的特征。
适当缩放:根据你的计算限制选择模型规模。对于边缘设备使用 nano (n),对于平衡性能使用 small (s),对于最大精度使用较大规模 (m、l、x)。
Link to this section性能考量#
深度 vs 宽度:深层网络通过多个转换层捕捉复杂的层次化特征,而宽层网络在每一层并行处理更多信息。根据任务复杂度平衡这两者。
跳跃连接:改善训练期间的梯度流并实现整个网络中的特征重用。它们在更深的架构中尤为重要,可以防止梯度消失。
瓶颈模块:在保持模型表达能力的同时降低计算成本。诸如 C2f 之类的模块比标准卷积使用更少的参数,同时保留了特征学习能力。
多尺度特征:对于在同一图像中检测不同大小的对象至关重要。使用具有多个不同尺度检测头的特征金字塔网络 (FPN) 模式。
Link to this section故障排除#
Link to this section常见问题#
| 问题 | 原因 | 解决方案 |
|---|---|---|
KeyError: 'ModuleName' | 模块未导入 | 添加到 tasks.py 导入中 |
| 通道维度不匹配 | args 指定不正确 | 验证输入/输出通道兼容性 |
AttributeError: 'int' object has no attribute | 参数类型错误 | 检查模块文档以了解正确的参数类型 |
| 模型构建失败 | 无效的 from 引用 | 确保引用的层存在 |
Link to this section调试技巧#
在开发自定义架构时,系统化的调试有助于及早发现问题:
使用 Identity Head 进行测试
用 nn.Identity 替换复杂的 Head 以隔离主干网络问题:
nc: 1
backbone:
    - [-1, 1, CustomBlock, [64]]
head:
    - [-1, 1, nn.Identity, []] # Pass-through for debugging
这允许直接检查主干网络的输出:
import torch

from ultralytics import YOLO

model = YOLO("debug_model.yaml")
output = model.model(torch.randn(1, 3, 640, 640))
print(f"Output shape: {output.shape}")  # Should match expected dimensions
模型架构检查
检查 FLOPs 计数并打印出每一层也有助于调试自定义模型配置的问题。有效模型的 FLOPs 计数应该是非零的。如果为零,则说明前向传播可能存在问题。运行一个简单的前向传播应该能显示遇到的确切错误。
from ultralytics import YOLO

# Build model with verbose output to see layer details
model = YOLO("debug_model.yaml", verbose=True)

# Check model FLOPs. Failed forward pass causes 0 FLOPs.
model.info()

# Inspect individual layers
for i, layer in enumerate(model.model.model):
    print(f"Layer {i}: {layer}")
逐步验证
- 最小化启动:首先使用最简单的架构进行测试
- 增量添加:逐层增加复杂度
- 检查维度:验证通道和空间大小的兼容性
- 验证缩放:使用不同的模型规模 (
n,s,m) 进行测试
Link to this section常见问题解答#
Link to this section如何更改模型中的类别数量?#
在 YAML 文件顶部设置 nc 参数,使其与你的数据集类别数量匹配。
nc: 5 # 5 classesLink to this section我可以在模型 YAML 中使用自定义主干网络吗?#
可以。你可以使用任何受支持的模块,包括 TorchVision 主干网络,或者定义你自己的自定义模块并按照自定义模块集成中的说明进行导入。
Link to this section如何针对不同尺寸(nano、small、medium 等)缩放我的模型?#
使用 YAML 中的 scales 部分来定义深度、宽度和最大通道数的缩放因子。当你加载文件名后附加了缩放比例的基础 YAML 文件时(例如 yolo26n.yaml),模型会自动应用这些设置。
Link to this section[from, repeats, module, args] 格式是什么意思?#
这种格式指定了每一层的构建方式:
from:输入源repeats:模块重复次数module:层类型args:模块参数
Link to this section如何排查通道不匹配错误?#
检查一层输出的通道是否与下一层预期的输入通道匹配。使用 print(model.model.model) 来检查你模型的架构。
Link to this section在哪里可以找到可用模块及其参数的列表?#
查看 ultralytics/nn/modules 目录中的源代码,了解所有可用模块及其参数。
Link to this section如何将自定义模块添加到我的 YAML 配置中?#
在源代码中定义你的模块,按照修改源代码所示进行导入,并在你的 YAML 文件中按名称引用它。
Link to this section我可以在自定义 YAML 中使用预训练权重吗?#
可以,你可以使用 model.load("path/to/weights") 从预训练检查点加载权重。但是,只有匹配层的权重才能成功加载。
Link to this section如何验证我的模型配置?#
使用 model.info() 来检查 FLOPs 计数是否为非零。一个有效的模型应该显示非零的 FLOPs 计数。如果为零,请遵循调试技巧中的建议来查找问题。