Tiger-Pose Veri Kümesi
Giriş#
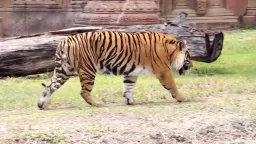
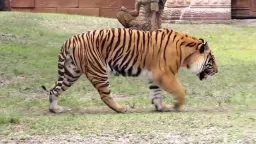
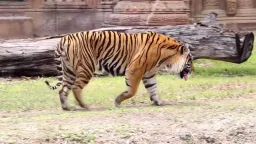
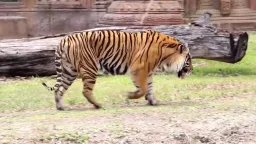
Ultralytics Tiger-Pose veri kümesi, her kaplan için 12 anahtar noktayla etiketlenmiş küçük bir poz tahmini veri kümesidir. Bir YouTube videosundan alınan 263 görüntüden oluşur; 210 görüntü eğitim, 53 görüntü doğrulama için ayrılmıştır. Poz tahmini algoritmalarını test etmek ve sorun gidermek için uygundur.
Yönetilebilir 210 görüntülük eğitim bölümüne rağmen Tiger-Pose veri kümesi çeşitlilik sunar; bu sayede eğitim işlem hatlarını değerlendirmek, olası hataları belirlemek ve daha büyük poz tahmini veri kümeleriyle çalışmaya geçmeden önce yararlı bir ilk adım olarak kullanılmak için uygundur.
İşlem hattın bu küçük kümede sorunsuz eğitim yaptıktan sonra, kendi hayvan veya nesne anahtar noktalarını kullanmaya başlayıp tarayıcıdan ayrılmadan Ultralytics Platform üzerinde eğitimi ölçeklendirebilirsin.
Veri Kümesi Yapısı#
- Toplam görsel: 263 (210 train / 53 val).
- Anahtar noktalar: Kaplan başına 12 (görünürlük bayrağı yok).
- İndirme boyutu: ~49.8 MB.
- Dizin düzeni: YOLO biçimindeki anahtar noktalar,
images/{train,val}dizinlerinin yanındalabels/{train,val}altında saklanır.
İzle: Tiger-Pose Veri Kümesinde Ultralytics YOLO Poz Modeli Eğit
Veri Kümesi YAML Dosyası#
tiger-pose.yaml dosyası, dosya yolları, sınıf tanımları ve anahtar nokta ayarları dahil olmak üzere veri kümesi yapılandırmasını tanımlar.
# Ultralytics 🚀 AGPL-3.0 License - https://ultralytics.com/license

# Tiger Pose dataset by Ultralytics
# Documentation: https://docs.ultralytics.com/datasets/pose/tiger-pose
# Example usage: yolo train data=tiger-pose.yaml
# parent
# ├── ultralytics
# └── datasets
#     └── tiger-pose ← downloads here (49.8 MB)

# Train/val/test sets as 1) dir: path/to/imgs, 2) file: path/to/imgs.txt, or 3) list: [path/to/imgs1, path/to/imgs2, ..]
path: tiger-pose # dataset root dir
train: images/train # train images (relative to 'path') 210 images
val: images/val # val images (relative to 'path') 53 images

# Keypoints
kpt_shape: [12, 2] # number of keypoints, number of dims (2 for x,y or 3 for x,y,visible)
flip_idx: [0, 1, 2, 3, 7, 6, 5, 4, 10, 11, 8, 9]

# Classes
names:
  0: tiger

# Keypoint names per class
kpt_names:
  0:
    - nose
    - head
    - withers
    - tail_base
    - right_hind_hock
    - right_hind_paw
    - left_hind_paw
    - left_hind_hock
    - right_front_wrist
    - right_front_paw
    - left_front_wrist
    - left_front_paw

# Download script/URL (optional)
download: https://github.com/ultralytics/assets/releases/download/v0.0.0/tiger-pose.zipKullanım#
Tiger-Pose veri kümesinde 640 görüntü boyutuyla 100 epoch boyunca bir YOLO26n-pose modeli eğitmek için aşağıdaki kod parçacıklarını kullanabilirsin.
from ultralytics import YOLO

# Bir model yükle
model = YOLO("yolo26n-pose.pt")  # Önceden eğitilmiş bir model yükle (eğitim için önerilir)

# Modeli eğit
results = model.train(data="tiger-pose.yaml", epochs=100, imgsz=640)
Örnek Görüntüler ve Ek Açıklamalar#
Tiger-Pose veri kümesinden bazı görsel örnekleri ve bunlara karşılık gelen açıklamalar aşağıda verilmiştir:
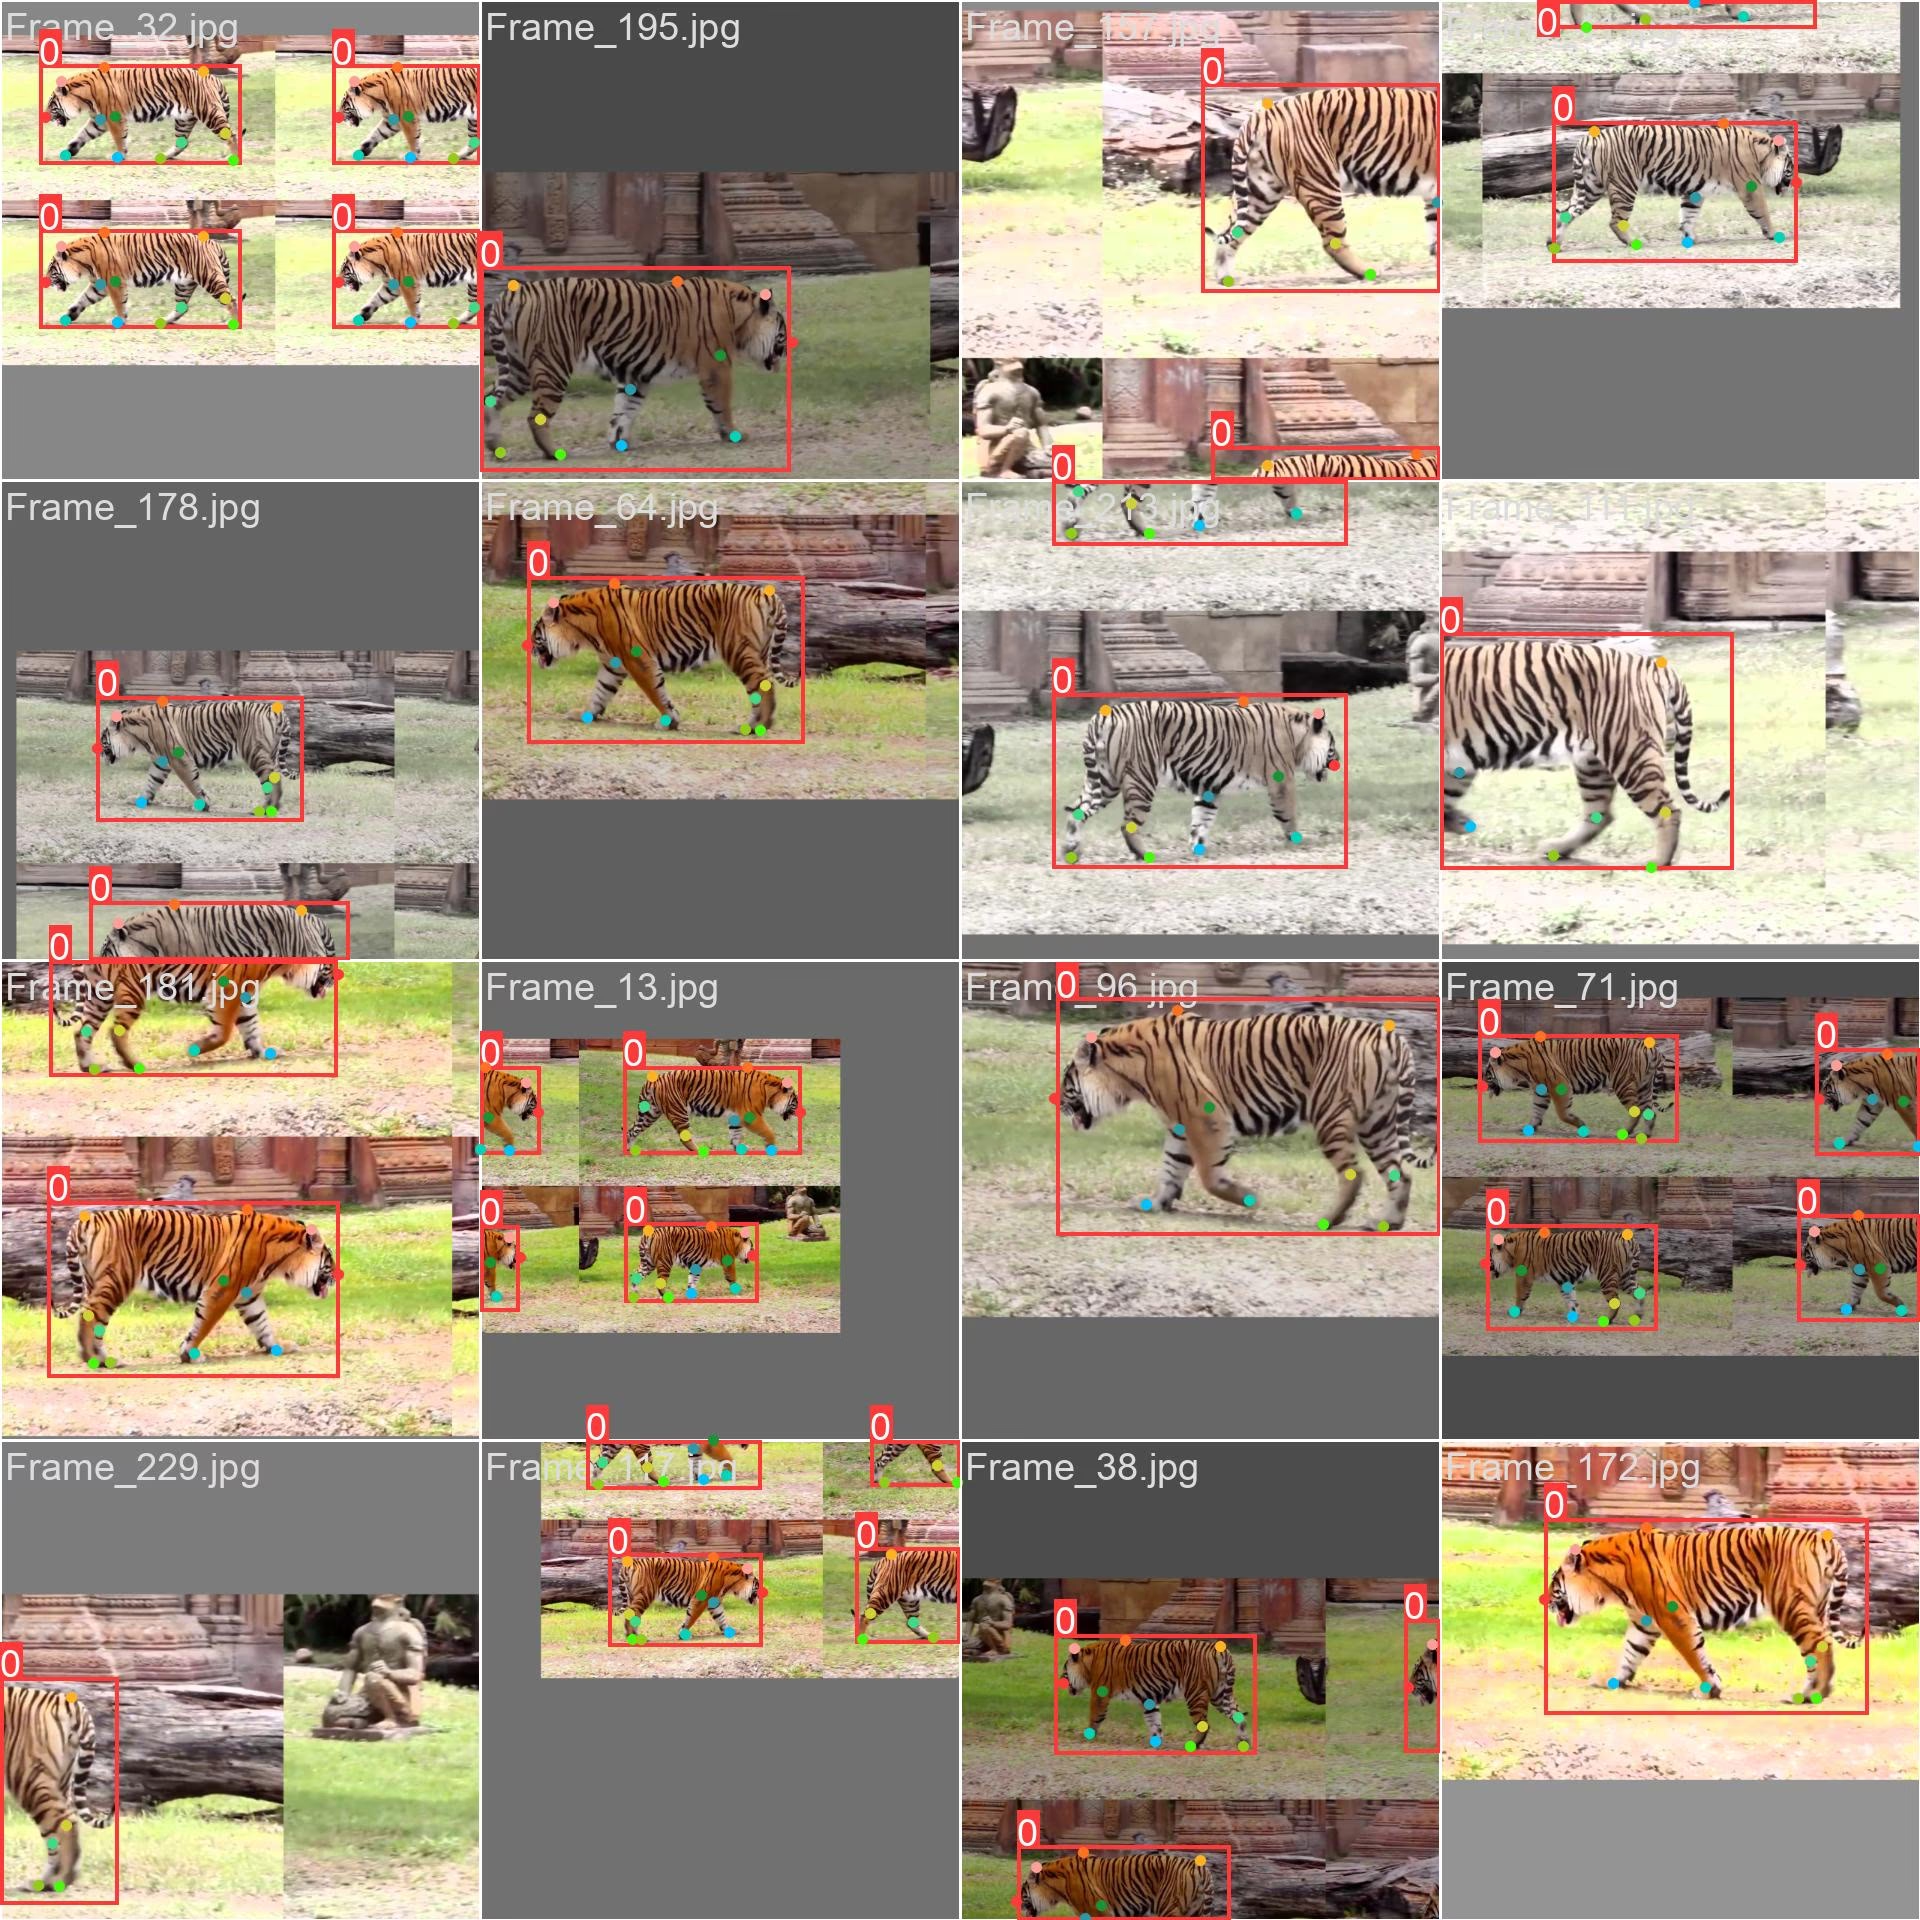
- Mozaik Görüntü: Bu görüntü, mozaiklenmiş veri kümesi görüntülerinden oluşan bir eğitim grubunu gösterir. Mozaikleme, her eğitim grubundaki nesne ve sahne çeşitliliğini artırmak için eğitim sırasında birden fazla görüntüyü tek bir görüntüde birleştiren bir tekniktir. Bu, modelin farklı nesne boyutlarına, en-boy oranlarına ve bağlamlara genelleme yeteneğini geliştirir.
Örnek, Tiger-Pose veri kümesindeki görsellerin çeşitliliğini ve karmaşıklığını, ayrıca eğitim sırasında mozaikleme kullanmanın faydalarını gösteriyor.
Çıkarım Örneği#
Eğitimden sonra en iyi kontrol noktanı yükleyip yeni görseller veya videolar üzerinde çıkarım yap. Bağımsız değişkenlerin tam listesi için Tahmin sayfasına bak.
from ultralytics import YOLO

# Bir model yükle
model = YOLO("path/to/best.pt")  # kaplan pozu üzerinde eğitilmiş bir modeli yükle

# Çıkarımı çalıştır
results = model.predict(source="https://youtu.be/Gc6K5eKrTNQ", show=True)
Atıflar ve Teşekkürler#
Ultralytics, Tiger-Pose veri kümesi açıklamalarını AGPL-3.0 Lisansı kapsamında yayımlar. Kaynak video, orijinal koşullarına tabi olmaya devam eder; çıkarılan kareleri kullanmadan veya yeniden dağıtmadan önce bu koşulları incelemelisin.
Sık Sorulan Sorular#
Ultralytics Tiger-Pose veri kümesi, bir YouTube videosundan alınan 263 görselden oluşan poz tahmini görevleri için tasarlanmıştır. Veri kümesi, 210 eğitim görseli ve 53 doğrulama görseline ayrılmıştır; bu da onu poz tahmini algoritmalarını test etmek, eğitmek ve iyileştirmek için son derece uygun kılar.
yolo26n-pose.ptdosyasını yükleyipmodel.train(data="tiger-pose.yaml", epochs=100, imgsz=640)işlevini çağır. Python ve CLI kod parçacıklarının tamamı için yukarıdaki Eğitim Örneği bölümüne, bağımsız değişkenlerin kapsamlı listesi için Eğitim sayfasına bak.tiger-pose.yamldosyası; veri kümesi yolunu, train/val görsel dizinlerini, tek bir sınıfı (tiger) vekpt_shape: [12, 2]değerini tanımlar: örnek başına 12 anahtar nokta, görünürlük bayrağı yok. Kesin yapılandırma için Ultralytics Tiger-Pose Veri Kümesi Yapılandırma Dosyası sayfasına bak.Eğitilmiş kontrol noktanı (ör.
path/to/best.pt) yükleyipmodel.predict(source=..., show=True)işlevini çağır. Python ve CLI kod parçacıklarının tamamı için yukarıdaki Çıkarım Örneği bölümüne, bağımsız değişkenlerin kapsamlı listesi için Tahmin sayfasına bak.Toplam 263 görsel (210 train / 53 val), 1 sınıf, örnek başına 12 anahtar nokta ve ~49.8 MB indirme boyutuyla Tiger-Pose, hızlıca yönetilebilecek kadar küçüktür; yine de poz eğitimi işlem hattının makul çalışıp çalışmadığını denetlemek ve daha büyük veri kümeleriyle çalışmadan önce hataları belirlemek için yeterince çeşitlidir.


Yorumlar17
Bir soru sor, sonuçlarını paylaş veya başka birine yardım et.
wcy7788
@glenn-jocherWhere should I go to Ultralytics to find the code for this?
 Glenn JocherUltralytics
You can find the code for the Tiger-Pose dataset in the
ultralytics/cfg/datasets/tiger-pose.yamlfile. For more details, please visit the Tiger-Pose documentation.
What software should be used for the training of fish key points,I should mark a few key points?
- Glenn JocherUltralytics(düzenlendi)
@wcy7788 for training fish keypoints, you can use the YOLO26-pose model. Annotate your dataset with keypoints and follow the training process similar to the Tiger-Pose example. For more details, refer to the Ultralytics documentation.
PedroPiana
In my dataset, do I necessarily need to have the Bounding Boxes?
- Glenn JocherUltralytics(düzenlendi)
Yes, for pose estimation tasks like those using the Tiger-Pose dataset, each label row includes a bounding box followed by the keypoints:
<class-index> <x> <y> <width> <height> <px1> <py1> .... The bounding box (normalized center x, y, width, height) is part of the pose label format, so annotate both the box and the keypoints for each object. 🐅For more details on setting up your dataset for pose estimation, you can refer to the Tiger-Pose dataset documentation and the pose dataset format.
teengineer
Hello, when i executed the predict code, i took a warning 'WARNING ⚠️ Environment does not support cv2.imshow() or PIL Image.show() google colab'. I worked on Google Colab. How can i see the results?
- Glenn JocherUltralytics(düzenlendi)
@teengineer hello! 😊 It seems you're facing an issue with displaying images in Google Colab due to its environment limitations. To view your results in Colab, you can use the following approach to display images directly in the notebook:
from pathlib import Path

from IPython.display import Image, display
from ultralytics import YOLO

# Load your model
model = YOLO('yolo26n.pt')  # or your custom model

# Run prediction (ensure 'save' is True to save output images)
results = model.predict(source='path/to/your/image.jpg', save=True)

# Display the saved image
display(Image(f"{results[0].save_dir}/{Path(results[0].path).name}"))  # saved output in the predict run folder
This method saves the output image and then uses IPython's display capabilities to show the image within your notebook. Hope this helps you see your results! Let us know if you have any more questions.
1 Thank you @glenn-jocher, i forgot the 'save' parameter on predict func.
Hi, I want to show prediction result on video but it throw an warning, is there a way for showing? This warning is 'WARNING ⚠️ Environment does not support cv2.imshow() or PIL Image.show()'
- Glenn JocherUltralytics(düzenlendi)
Hey there! 😊 It looks like you're trying to display video predictions in an environment that doesn't support
cv2.imshow()orPIL Image.show(), such as Google Colab. No worries, you can still view your video predictions by saving the output and then displaying it directly in the notebook. Here's a quick example on how you could modify your code to save the video predictions and then useIPython.displayto show the video:from ultralytics import YOLO from pathlib import Path from IPython.display import FileLink, display # Load your model model = YOLO('yolo26n.pt') # or your custom model # Run prediction on your video and save the output results = model.predict(source='path/to/your/video.mp4', save=True) # The output is saved in the predict run folder (results[0].save_dir), named after the source file # (.mp4 on macOS, .avi on Windows/Linux) # Generate a link to download the video file output_video_path = next(Path(results[0].save_dir).glob('*.*')) display(FileLink(output_video_path))This code will provide a link to download the video file with the predictions. Just replace
'path/to/your/video.mp4'with your actual video path. Hope this helps you view your prediction results! Let me know if there's anything else I can assist you with.1 Thank you for your time.
- Glenn JocherUltralytics
Hey there! 😊 If you're encountering the 'WARNING ⚠️ Environment does not support cv2.imshow() or PIL Image.show()' message while trying to display video predictions in Google Colab, you can save the predictions to a video file and then display it directly in the notebook. Here's a quick example on how to do it:
from ultralytics import YOLO

# Load your model
model = YOLO('yolov8n.pt')  # or your custom model

# Run prediction on your video and save the output
results = model.predict(source='path/to/your/video.mp4', save=True)

# Use the 'files.download()' function from Google Colab to download the result video
from google.colab import files
files.download('path/to/saved/video.mp4')  # Adjust the path to your saved video
This way, you can view the video with predictions by downloading it. Hope this helps! Let me know if you have any more questions.
1
Hi, can yolov8-pose make classifications such as tiger standing, tiger lying down?
- Glenn JocherUltralytics
@teengineer hey there! 🐯 YOLOv8-pose can indeed classify different tiger poses like standing or lying down, but it primarily focuses on pose estimation rather than direct classification. You'd typically train the model to recognize various keypoints on the tiger, and based on the keypoints' positions, you could infer the pose.
For example, after training with the Tiger-Pose dataset, you could analyze the keypoints to determine the pose:
from ultralytics import YOLO

# Load your trained model
model = YOLO('path/to/your/trained_model.pt')

# Run inference
results = model.predict(source='path/to/your/image.jpg')

# Analyze keypoints for pose classification
keypoints = results[0].keypoints
# Here you'd implement your logic to classify poses based on keypoints
This approach gives you the flexibility to define what constitutes a "standing" or "lying down" pose based on the keypoints' arrangement. Hope this helps! Let us know if you have more questions.
Thank you.
- Glenn JocherUltralytics
Hey there! 🐅 Absolutely, YOLOv8-pose can be tailored to classify specific tiger poses by analyzing the keypoints' arrangement. While it's primarily designed for pose estimation, you can infer poses like standing or lying down based on the keypoints. Here's a quick example using the Tiger-Pose dataset:
from ultralytics import YOLO

# Load your trained model
model = YOLO('path/to/your/trained_model.pt')

# Run inference on an image
results = model.predict(source='path/to/your/image.jpg')

# Analyze keypoints for pose classification
keypoints = results[0].keypoints
# Implement your logic here to classify poses based on keypoints
This way, you can classify the tiger's pose by examining the positions of detected keypoints. Hope this helps, and feel free to reach out if you have more questions! 🚀
2