Dataset Tiger-Pose
Introduzione#
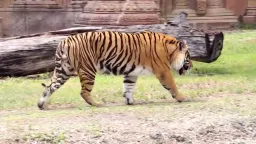
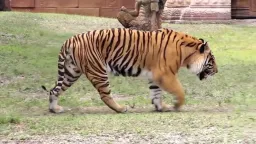
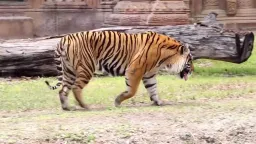
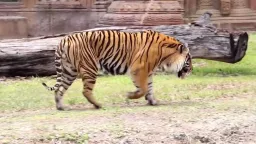
Il dataset Tiger-Pose di Ultralytics è un piccolo dataset di stima della posa, annotato con 12 keypoint per tigre. Comprende 263 immagini ricavate da un video di YouTube, di cui 210 destinate all'addestramento e 53 alla convalida, ed è ideale per testare e risolvere i problemi degli algoritmi di stima della posa.
Nonostante la dimensione gestibile del set di addestramento, composto da 210 immagini, il dataset Tiger-Pose offre varietà e si presta a valutare le pipeline di addestramento, individuare potenziali errori e fungere da utile primo passo prima di lavorare con dataset di stima della posa più grandi.
Una volta verificato che la pipeline si addestra correttamente su questo piccolo set, sostituisci i keypoint con quelli dei tuoi animali o oggetti e amplia l'addestramento su Ultralytics Platform, direttamente dal browser.
Struttura del dataset#
- Immagini totali: 263 (210 train / 53 val).
- Keypoint: 12 per tigre (senza indicatore di visibilità).
- Dimensioni del download: ~49.8 MB.
- Struttura delle directory: keypoint in formato YOLO archiviati in
labels/{train,val}, insieme alle directoryimages/{train,val}.
Guarda: Addestra un modello Ultralytics YOLO Pose sul dataset Tiger-Pose
YAML del dataset#
Il file tiger-pose.yaml definisce la configurazione del dataset, inclusi i percorsi dei file, le definizioni delle classi e le impostazioni dei keypoint.
# Ultralytics 🚀 AGPL-3.0 License - https://ultralytics.com/license

# Tiger Pose dataset by Ultralytics
# Documentation: https://docs.ultralytics.com/datasets/pose/tiger-pose
# Example usage: yolo train data=tiger-pose.yaml
# parent
# ├── ultralytics
# └── datasets
#     └── tiger-pose ← downloads here (49.8 MB)

# Train/val/test sets as 1) dir: path/to/imgs, 2) file: path/to/imgs.txt, or 3) list: [path/to/imgs1, path/to/imgs2, ..]
path: tiger-pose # dataset root dir
train: images/train # train images (relative to 'path') 210 images
val: images/val # val images (relative to 'path') 53 images

# Keypoints
kpt_shape: [12, 2] # number of keypoints, number of dims (2 for x,y or 3 for x,y,visible)
flip_idx: [0, 1, 2, 3, 7, 6, 5, 4, 10, 11, 8, 9]

# Classes
names:
  0: tiger

# Keypoint names per class
kpt_names:
  0:
    - nose
    - head
    - withers
    - tail_base
    - right_hind_hock
    - right_hind_paw
    - left_hind_paw
    - left_hind_hock
    - right_front_wrist
    - right_front_paw
    - left_front_wrist
    - left_front_paw

# Download script/URL (optional)
download: https://github.com/ultralytics/assets/releases/download/v0.0.0/tiger-pose.zipUtilizzo#
Per addestrare un modello YOLO26n-pose sul dataset Tiger-Pose per 100 epoche con una dimensione delle immagini di 640, puoi usare i seguenti frammenti di codice.
from ultralytics import YOLO

# Carica un modello
model = YOLO("yolo26n-pose.pt")  # carica un modello preaddestrato (consigliato per l'addestramento)

# Addestra il modello
results = model.train(data="tiger-pose.yaml", epochs=100, imgsz=640)
Immagini di esempio e annotazioni#
Ecco alcuni esempi di immagini del dataset Tiger-Pose, con le relative annotazioni:
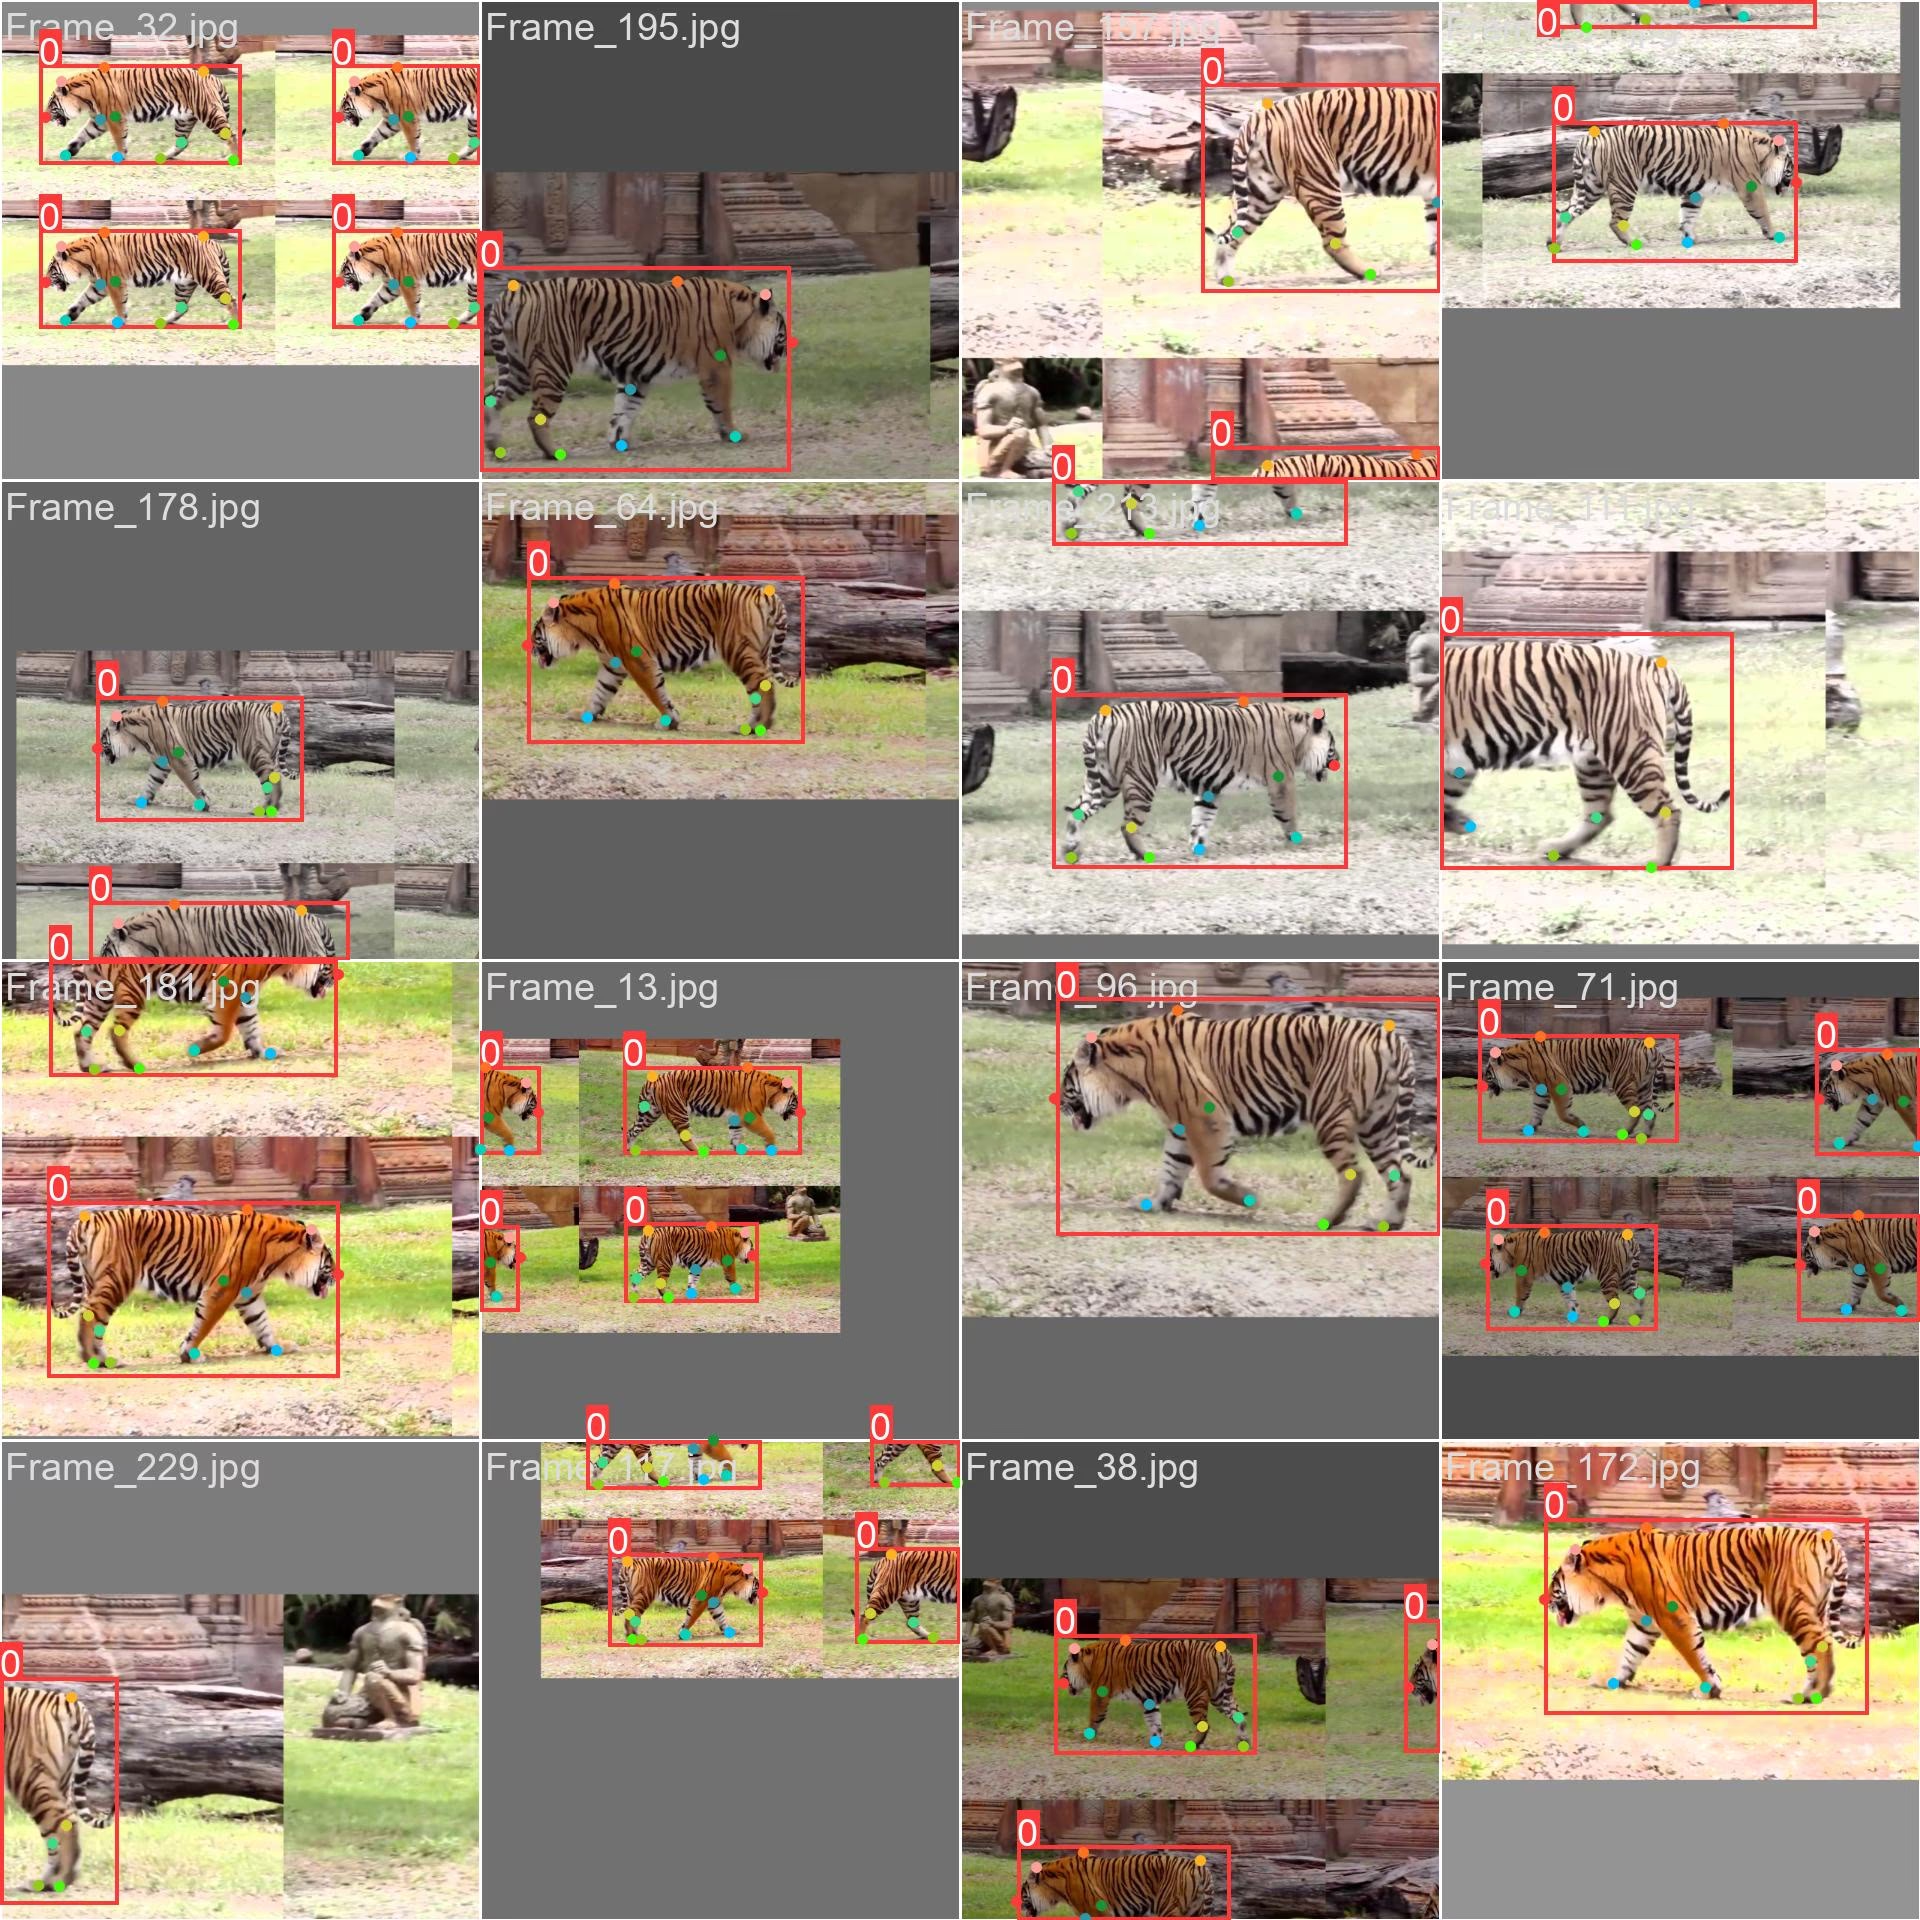
- Immagine a mosaico: questa immagine mostra un batch di addestramento composto da immagini del dataset unite in un mosaico. La creazione di mosaici è una tecnica utilizzata durante l'addestramento che combina più immagini in una sola per aumentare la varietà di oggetti e scene in ogni batch di addestramento. Questo aiuta a migliorare la capacità del modello di generalizzare a oggetti di dimensioni e proporzioni diverse e a contesti differenti.
L'esempio mostra la varietà e la complessità delle immagini del dataset Tiger-Pose e i vantaggi dell'uso del mosaico durante l'addestramento.
Esempio di inferenza#
Dopo l'addestramento, carica il checkpoint migliore ed esegui l'inferenza su nuove immagini o video: consulta la pagina Predizione per l'elenco completo degli argomenti.
from ultralytics import YOLO

# Carica un modello
model = YOLO("path/to/best.pt")  # carica un modello addestrato su tiger-pose

# Esegui l'inferenza
results = model.predict(source="https://youtu.be/Gc6K5eKrTNQ", show=True)
Citazioni e ringraziamenti#
Ultralytics distribuisce le annotazioni del dataset Tiger-Pose con la licenza AGPL-3.0. Il video sorgente resta soggetto ai suoi termini originali, che è opportuno consultare prima di utilizzare o ridistribuire i fotogrammi estratti.
Domande frequenti#
Il dataset Ultralytics Tiger-Pose è progettato per le attività di stima della posa e comprende 263 immagini estratte da un video di YouTube. Il dataset è suddiviso in 210 immagini di addestramento e 53 immagini di convalida, risultando adatto per testare, addestrare e perfezionare gli algoritmi di stima della posa.
Carica
yolo26n-pose.pte chiamamodel.train(data="tiger-pose.yaml", epochs=100, imgsz=640): consulta l'Esempio di addestramento qui sopra per i frammenti completi di codice Python e CLI e la pagina Addestramento per l'elenco completo degli argomenti.Il file
tiger-pose.yamldefinisce il percorso del dataset, le directory delle immagini train/val, una singola classe (tiger) ekpt_shape: [12, 2]: 12 keypoint per istanza senza indicatore di visibilità. Consulta il File di configurazione del dataset Ultralytics Tiger-Pose per la configurazione esatta.Carica il checkpoint addestrato (ad es.
path/to/best.pt) e chiamamodel.predict(source=..., show=True): consulta l'Esempio di inferenza qui sopra per i frammenti completi di codice Python e CLI e la pagina Predizione per l'elenco completo degli argomenti.Con 263 immagini totali (210 train / 53 val), 1 classe, 12 keypoint per istanza e un download di ~49.8 MB, Tiger-Pose è abbastanza piccolo da essere gestito rapidamente, ma abbastanza vario da consentire un controllo di coerenza di una pipeline di addestramento della posa e l'individuazione di errori prima di lavorare con dataset più grandi.


Commenti17
Fai una domanda, condividi i tuoi risultati o aiuta qualcun altro.
wcy7788
@glenn-jocherWhere should I go to Ultralytics to find the code for this?
 Glenn JocherUltralytics
You can find the code for the Tiger-Pose dataset in the
ultralytics/cfg/datasets/tiger-pose.yamlfile. For more details, please visit the Tiger-Pose documentation.
What software should be used for the training of fish key points,I should mark a few key points?
- Glenn JocherUltralytics(modificato)
@wcy7788 for training fish keypoints, you can use the YOLO26-pose model. Annotate your dataset with keypoints and follow the training process similar to the Tiger-Pose example. For more details, refer to the Ultralytics documentation.
PedroPiana
In my dataset, do I necessarily need to have the Bounding Boxes?
- Glenn JocherUltralytics(modificato)
Yes, for pose estimation tasks like those using the Tiger-Pose dataset, each label row includes a bounding box followed by the keypoints:
<class-index> <x> <y> <width> <height> <px1> <py1> .... The bounding box (normalized center x, y, width, height) is part of the pose label format, so annotate both the box and the keypoints for each object. 🐅For more details on setting up your dataset for pose estimation, you can refer to the Tiger-Pose dataset documentation and the pose dataset format.
teengineer
Hello, when i executed the predict code, i took a warning 'WARNING ⚠️ Environment does not support cv2.imshow() or PIL Image.show() google colab'. I worked on Google Colab. How can i see the results?
- Glenn JocherUltralytics(modificato)
@teengineer hello! 😊 It seems you're facing an issue with displaying images in Google Colab due to its environment limitations. To view your results in Colab, you can use the following approach to display images directly in the notebook:
from pathlib import Path

from IPython.display import Image, display
from ultralytics import YOLO

# Load your model
model = YOLO('yolo26n.pt')  # or your custom model

# Run prediction (ensure 'save' is True to save output images)
results = model.predict(source='path/to/your/image.jpg', save=True)

# Display the saved image
display(Image(f"{results[0].save_dir}/{Path(results[0].path).name}"))  # saved output in the predict run folder
This method saves the output image and then uses IPython's display capabilities to show the image within your notebook. Hope this helps you see your results! Let us know if you have any more questions.
1 Thank you @glenn-jocher, i forgot the 'save' parameter on predict func.
Hi, I want to show prediction result on video but it throw an warning, is there a way for showing? This warning is 'WARNING ⚠️ Environment does not support cv2.imshow() or PIL Image.show()'
- Glenn JocherUltralytics(modificato)
Hey there! 😊 It looks like you're trying to display video predictions in an environment that doesn't support
cv2.imshow()orPIL Image.show(), such as Google Colab. No worries, you can still view your video predictions by saving the output and then displaying it directly in the notebook. Here's a quick example on how you could modify your code to save the video predictions and then useIPython.displayto show the video:from ultralytics import YOLO from pathlib import Path from IPython.display import FileLink, display # Load your model model = YOLO('yolo26n.pt') # or your custom model # Run prediction on your video and save the output results = model.predict(source='path/to/your/video.mp4', save=True) # The output is saved in the predict run folder (results[0].save_dir), named after the source file # (.mp4 on macOS, .avi on Windows/Linux) # Generate a link to download the video file output_video_path = next(Path(results[0].save_dir).glob('*.*')) display(FileLink(output_video_path))This code will provide a link to download the video file with the predictions. Just replace
'path/to/your/video.mp4'with your actual video path. Hope this helps you view your prediction results! Let me know if there's anything else I can assist you with.1 Thank you for your time.
- Glenn JocherUltralytics
Hey there! 😊 If you're encountering the 'WARNING ⚠️ Environment does not support cv2.imshow() or PIL Image.show()' message while trying to display video predictions in Google Colab, you can save the predictions to a video file and then display it directly in the notebook. Here's a quick example on how to do it:
from ultralytics import YOLO

# Load your model
model = YOLO('yolov8n.pt')  # or your custom model

# Run prediction on your video and save the output
results = model.predict(source='path/to/your/video.mp4', save=True)

# Use the 'files.download()' function from Google Colab to download the result video
from google.colab import files
files.download('path/to/saved/video.mp4')  # Adjust the path to your saved video
This way, you can view the video with predictions by downloading it. Hope this helps! Let me know if you have any more questions.
1
Hi, can yolov8-pose make classifications such as tiger standing, tiger lying down?
- Glenn JocherUltralytics
@teengineer hey there! 🐯 YOLOv8-pose can indeed classify different tiger poses like standing or lying down, but it primarily focuses on pose estimation rather than direct classification. You'd typically train the model to recognize various keypoints on the tiger, and based on the keypoints' positions, you could infer the pose.
For example, after training with the Tiger-Pose dataset, you could analyze the keypoints to determine the pose:
from ultralytics import YOLO

# Load your trained model
model = YOLO('path/to/your/trained_model.pt')

# Run inference
results = model.predict(source='path/to/your/image.jpg')

# Analyze keypoints for pose classification
keypoints = results[0].keypoints
# Here you'd implement your logic to classify poses based on keypoints
This approach gives you the flexibility to define what constitutes a "standing" or "lying down" pose based on the keypoints' arrangement. Hope this helps! Let us know if you have more questions.
Thank you.
- Glenn JocherUltralytics
Hey there! 🐅 Absolutely, YOLOv8-pose can be tailored to classify specific tiger poses by analyzing the keypoints' arrangement. While it's primarily designed for pose estimation, you can infer poses like standing or lying down based on the keypoints. Here's a quick example using the Tiger-Pose dataset:
from ultralytics import YOLO

# Load your trained model
model = YOLO('path/to/your/trained_model.pt')

# Run inference on an image
results = model.predict(source='path/to/your/image.jpg')

# Analyze keypoints for pose classification
keypoints = results[0].keypoints
# Implement your logic here to classify poses based on keypoints
This way, you can classify the tiger's pose by examining the positions of detected keypoints. Hope this helps, and feel free to reach out if you have more questions! 🚀
2