Tiger-Poseデータセット
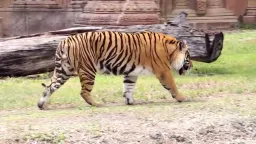
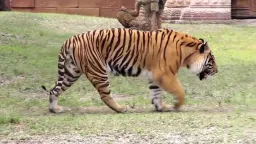
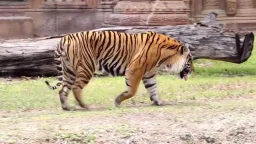
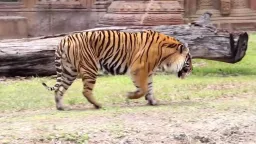
はじめに#
Ultralytics Tiger-Poseデータセットは、トラごとに12個のキーポイントがアノテーションされた小規模な姿勢推定データセットです。YouTube動画から取得した263枚の画像で構成され、210枚がトレーニング用、53枚が検証用に割り当てられており、姿勢推定アルゴリズムのテストやトラブルシューティングに適しています。
トレーニング用の画像が210枚と扱いやすい規模でありながら、Tiger-Poseデータセットには多様性があり、トレーニングパイプラインの評価や潜在的なエラーの特定に適しています。また、より大規模な姿勢推定データセットを使用する前の有用な第一歩となります。
この小規模なデータセットでパイプラインが問題なくトレーニングできたら、独自の動物または物体のキーポイントに置き換え、ブラウザーを離れることなくUltralytics Platformでトレーニングを拡張できます。
データセットの構成#
- 画像の合計: 263枚(トレーニング210枚 / 検証53枚)。
- キーポイント: トラ1頭あたり12個(可視性フラグなし)。
- ダウンロードサイズ: ~49.8 MB。
- ディレクトリ構成: YOLO形式のキーポイントが
labels/{train,val}の下に保存され、images/{train,val}ディレクトリと並んでいます。
視聴: Tiger-Pose データセットで Ultralytics YOLO 姿勢推定モデルをトレーニングする方法
データセットYAML#
tiger-pose.yamlファイルでは、ファイルパス、クラス定義、キーポイント設定など、データセットの構成を定義します。
# Ultralytics 🚀 AGPL-3.0 License - https://ultralytics.com/license

# Tiger Pose dataset by Ultralytics
# Documentation: https://docs.ultralytics.com/datasets/pose/tiger-pose
# Example usage: yolo train data=tiger-pose.yaml
# parent
# ├── ultralytics
# └── datasets
#     └── tiger-pose ← downloads here (49.8 MB)

# Train/val/test sets as 1) dir: path/to/imgs, 2) file: path/to/imgs.txt, or 3) list: [path/to/imgs1, path/to/imgs2, ..]
path: tiger-pose # dataset root dir
train: images/train # train images (relative to 'path') 210 images
val: images/val # val images (relative to 'path') 53 images

# Keypoints
kpt_shape: [12, 2] # number of keypoints, number of dims (2 for x,y or 3 for x,y,visible)
flip_idx: [0, 1, 2, 3, 7, 6, 5, 4, 10, 11, 8, 9]

# Classes
names:
  0: tiger

# Keypoint names per class
kpt_names:
  0:
    - nose
    - head
    - withers
    - tail_base
    - right_hind_hock
    - right_hind_paw
    - left_hind_paw
    - left_hind_hock
    - right_front_wrist
    - right_front_paw
    - left_front_wrist
    - left_front_paw

# Download script/URL (optional)
download: https://github.com/ultralytics/assets/releases/download/v0.0.0/tiger-pose.zip使用方法#
画像サイズ640でTiger-Poseデータセットを使用し、100エポックにわたってYOLO26n-poseモデルをトレーニングするには、次のコードスニペットを使用できます。
from ultralytics import YOLO

# モデルを読み込む
model = YOLO("yolo26n-pose.pt")  # 事前トレーニング済みモデルを読み込みます(トレーニングにはこちらを推奨します)

# モデルをトレーニングする
results = model.train(data="tiger-pose.yaml", epochs=100, imgsz=640)サンプル画像とアノテーション#
Tiger-Poseデータセットの画像例と、それぞれに対応するアノテーションを以下に示します。
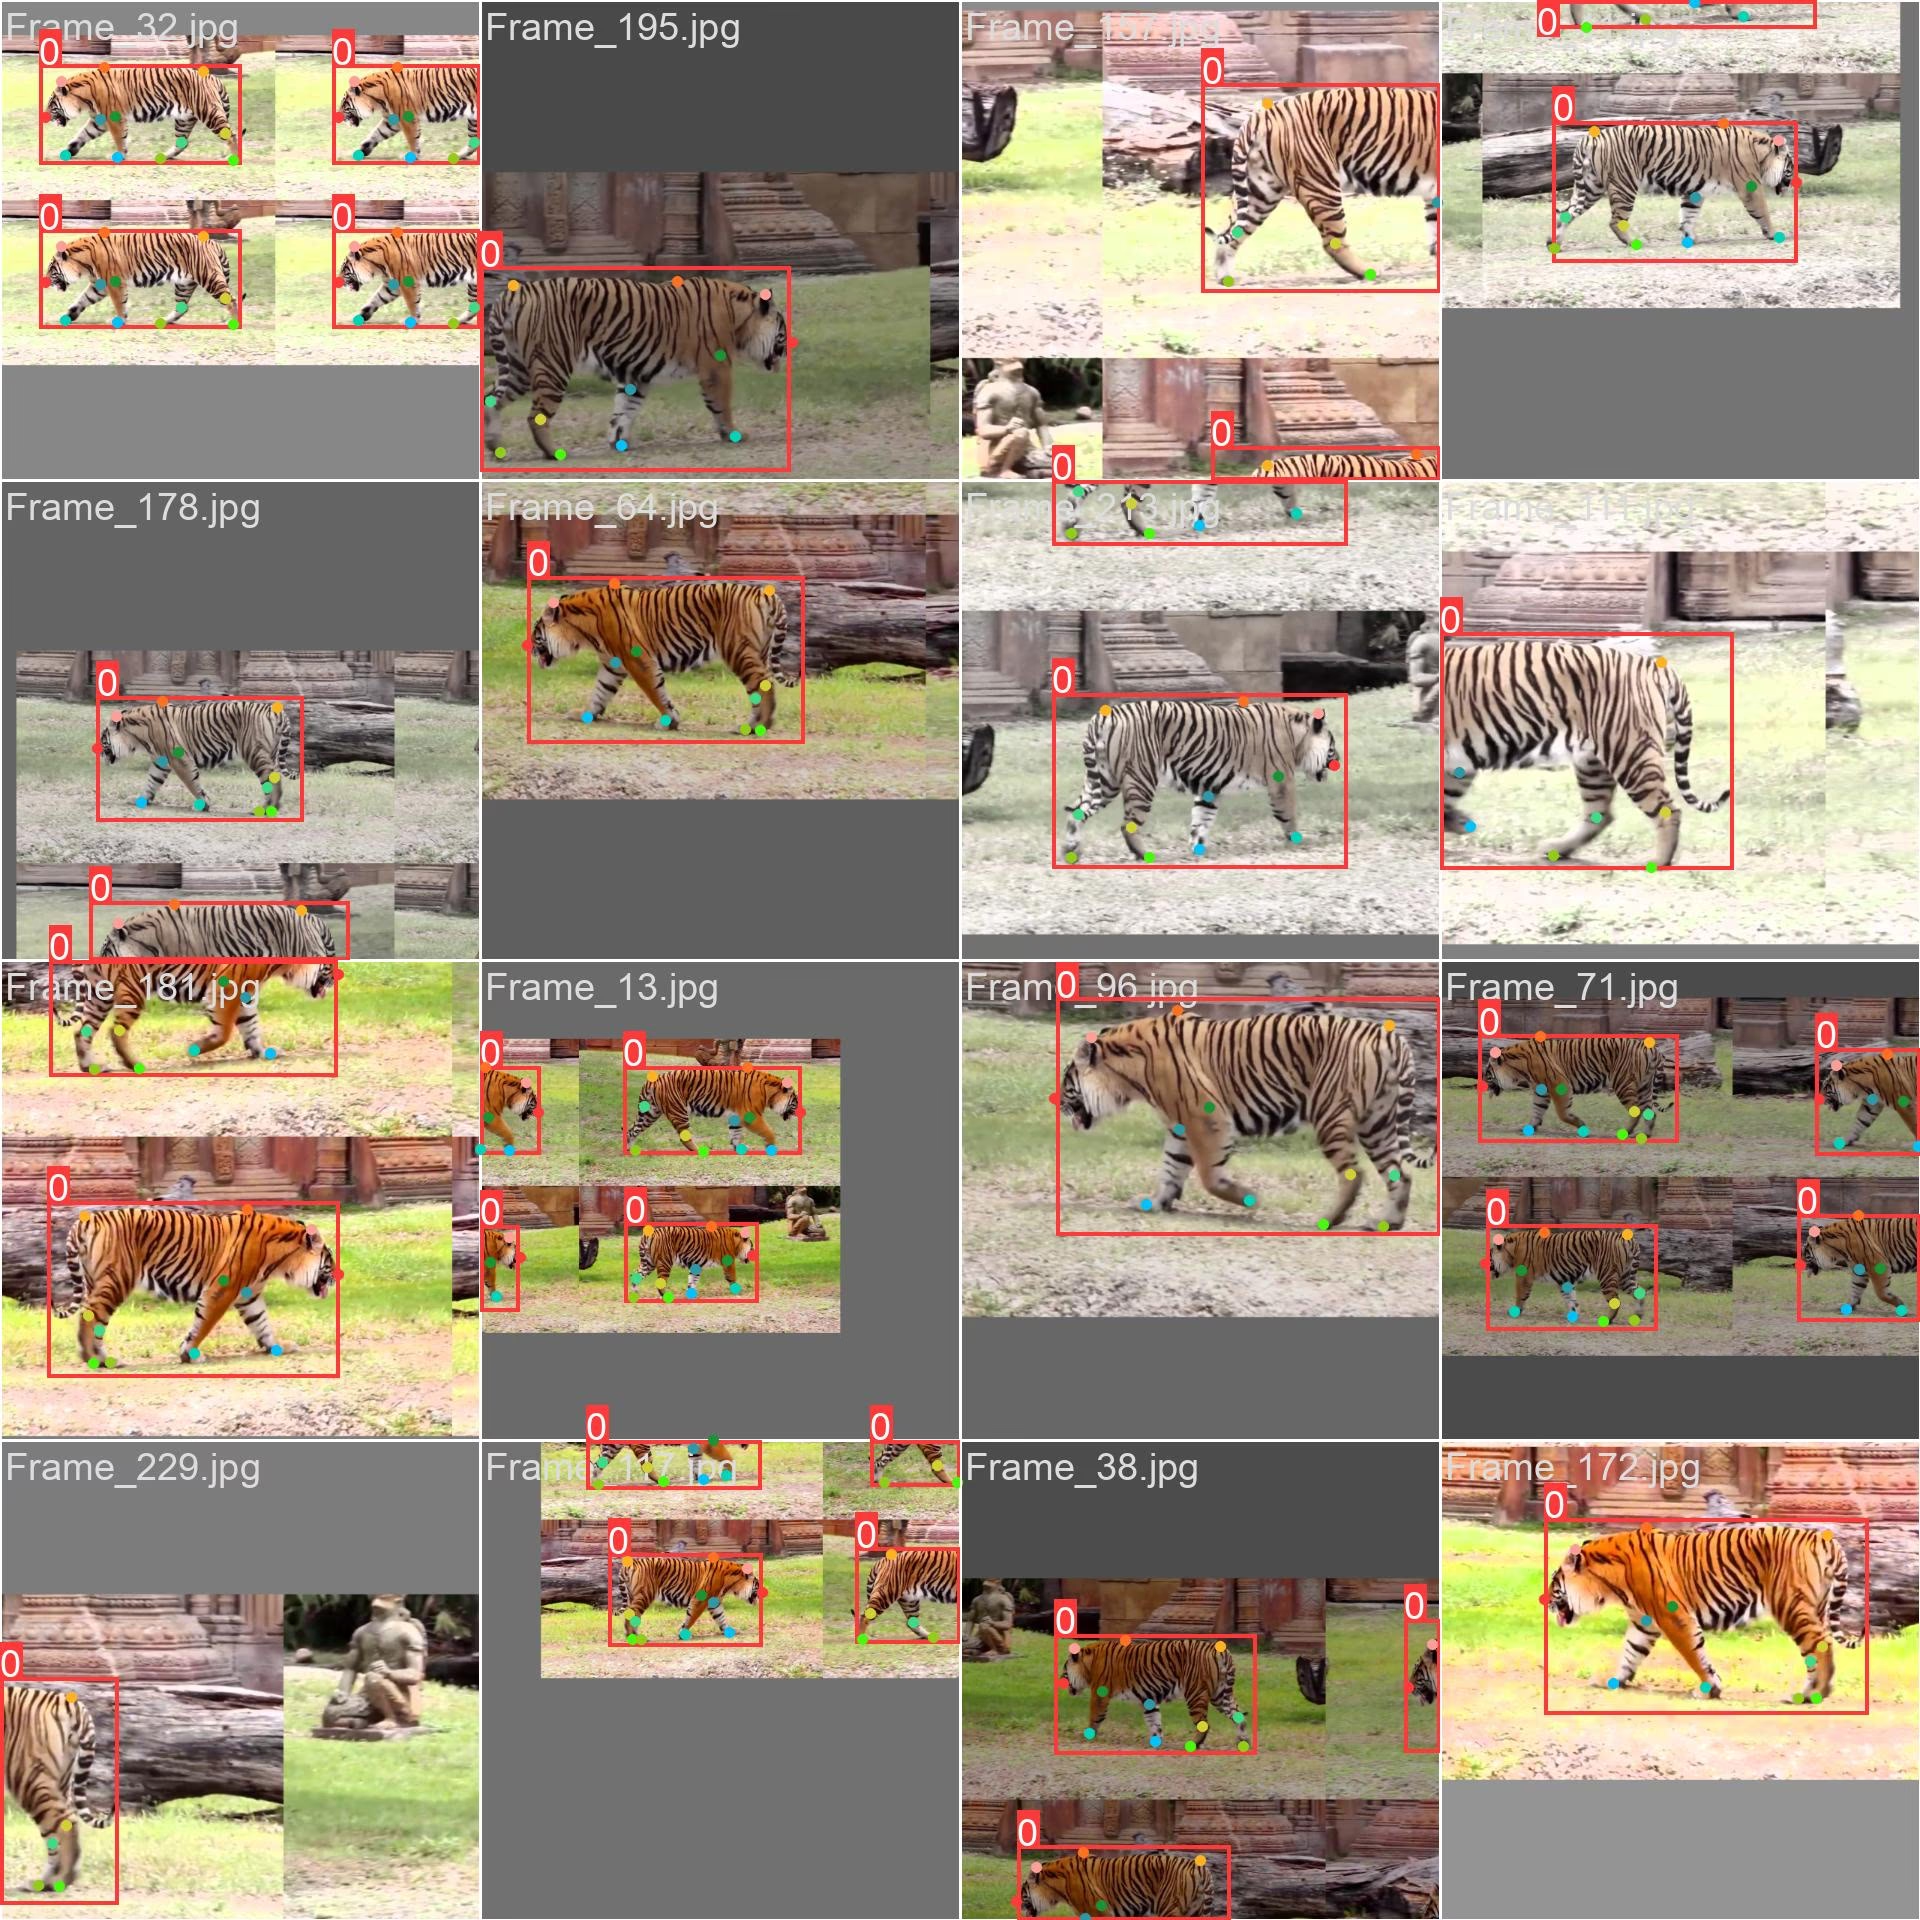
- モザイク画像: モザイク化したデータセット画像で構成されるトレーニングバッチを示しています。モザイク化はトレーニング中に使用される手法で、複数の画像を1枚にまとめ、各トレーニングバッチ内のオブジェクトやシーンの多様性を高めます。これにより、さまざまなオブジェクトサイズ、アスペクト比、コンテキストに対するモデルの汎化性能が向上します。
この例では、Tiger-Poseデータセットの画像の多様性と複雑さ、およびトレーニングプロセスでモザイクを使用するメリットを示しています。
推論の例#
トレーニング後、最良のチェックポイントを読み込み、新しい画像または動画で推論を実行します。引数の一覧については、予測ページをご覧ください。
from ultralytics import YOLO

# モデルを読み込む
model = YOLO("path/to/best.pt")  # Tiger-Poseでトレーニングしたモデルを読み込む

# 推論を実行
results = model.predict(source="https://youtu.be/Gc6K5eKrTNQ", show=True)引用と謝辞#
UltralyticsはTiger-PoseデータセットのアノテーションをAGPL-3.0ライセンスの下で公開しています。ソース動画には元の利用規約が適用されるため、抽出したフレームを使用または再配布する前に確認してください。
よくある質問#
Ultralytics Tiger-Poseデータセットは姿勢推定タスク向けに設計されており、YouTube動画から取得した263枚の画像で構成されています。データセットはトレーニング画像210枚と検証画像53枚に分かれており、姿勢推定アルゴリズムのテスト、トレーニング、改良に適しています。
tiger-pose.yamlファイルでは、データセットのパス、トレーニング/検証用の画像ディレクトリ、単一のクラス(tiger)、およびkpt_shape: [12, 2]を定義します。これは、インスタンスごとに12個のキーポイントを持ち、可視性フラグがないことを示します。正確な設定については、Ultralytics Tiger-Poseデータセット設定ファイルをご覧ください。合計263枚の画像(トレーニング210枚 / 検証53枚)、1クラス、インスタンスごとに12個のキーポイントを備え、ダウンロードサイズが~49.8 MBのTiger-Poseは、すばやく扱えるほど小規模でありながら、姿勢推定のトレーニングパイプラインの健全性を確認し、より大規模なデータセットを使用する前にエラーを特定するのに十分な多様性を備えています。


コメント17
質問したり、結果を共有したり、ほかの人をサポートしたりできます。
wcy7788
@glenn-jocherWhere should I go to Ultralytics to find the code for this?
 Glenn JocherUltralytics
You can find the code for the Tiger-Pose dataset in the
ultralytics/cfg/datasets/tiger-pose.yamlfile. For more details, please visit the Tiger-Pose documentation.
What software should be used for the training of fish key points,I should mark a few key points?
- Glenn JocherUltralytics(編集済み)
@wcy7788 for training fish keypoints, you can use the YOLO26-pose model. Annotate your dataset with keypoints and follow the training process similar to the Tiger-Pose example. For more details, refer to the Ultralytics documentation.
PedroPiana
In my dataset, do I necessarily need to have the Bounding Boxes?
- Glenn JocherUltralytics(編集済み)
Yes, for pose estimation tasks like those using the Tiger-Pose dataset, each label row includes a bounding box followed by the keypoints:
<class-index> <x> <y> <width> <height> <px1> <py1> .... The bounding box (normalized center x, y, width, height) is part of the pose label format, so annotate both the box and the keypoints for each object. 🐅For more details on setting up your dataset for pose estimation, you can refer to the Tiger-Pose dataset documentation and the pose dataset format.
teengineer
Hello, when i executed the predict code, i took a warning 'WARNING ⚠️ Environment does not support cv2.imshow() or PIL Image.show() google colab'. I worked on Google Colab. How can i see the results?
- Glenn JocherUltralytics(編集済み)
@teengineer hello! 😊 It seems you're facing an issue with displaying images in Google Colab due to its environment limitations. To view your results in Colab, you can use the following approach to display images directly in the notebook:
from pathlib import Path

from IPython.display import Image, display
from ultralytics import YOLO

# Load your model
model = YOLO('yolo26n.pt')  # or your custom model

# Run prediction (ensure 'save' is True to save output images)
results = model.predict(source='path/to/your/image.jpg', save=True)

# Display the saved image
display(Image(f"{results[0].save_dir}/{Path(results[0].path).name}"))  # saved output in the predict run folder
This method saves the output image and then uses IPython's display capabilities to show the image within your notebook. Hope this helps you see your results! Let us know if you have any more questions.
1 Thank you @glenn-jocher, i forgot the 'save' parameter on predict func.
Hi, I want to show prediction result on video but it throw an warning, is there a way for showing? This warning is 'WARNING ⚠️ Environment does not support cv2.imshow() or PIL Image.show()'
- Glenn JocherUltralytics(編集済み)
Hey there! 😊 It looks like you're trying to display video predictions in an environment that doesn't support
cv2.imshow()orPIL Image.show(), such as Google Colab. No worries, you can still view your video predictions by saving the output and then displaying it directly in the notebook. Here's a quick example on how you could modify your code to save the video predictions and then useIPython.displayto show the video:from ultralytics import YOLO from pathlib import Path from IPython.display import FileLink, display # Load your model model = YOLO('yolo26n.pt') # or your custom model # Run prediction on your video and save the output results = model.predict(source='path/to/your/video.mp4', save=True) # The output is saved in the predict run folder (results[0].save_dir), named after the source file # (.mp4 on macOS, .avi on Windows/Linux) # Generate a link to download the video file output_video_path = next(Path(results[0].save_dir).glob('*.*')) display(FileLink(output_video_path))This code will provide a link to download the video file with the predictions. Just replace
'path/to/your/video.mp4'with your actual video path. Hope this helps you view your prediction results! Let me know if there's anything else I can assist you with.1 Thank you for your time.
- Glenn JocherUltralytics
Hey there! 😊 If you're encountering the 'WARNING ⚠️ Environment does not support cv2.imshow() or PIL Image.show()' message while trying to display video predictions in Google Colab, you can save the predictions to a video file and then display it directly in the notebook. Here's a quick example on how to do it:
from ultralytics import YOLO

# Load your model
model = YOLO('yolov8n.pt')  # or your custom model

# Run prediction on your video and save the output
results = model.predict(source='path/to/your/video.mp4', save=True)

# Use the 'files.download()' function from Google Colab to download the result video
from google.colab import files
files.download('path/to/saved/video.mp4')  # Adjust the path to your saved video
This way, you can view the video with predictions by downloading it. Hope this helps! Let me know if you have any more questions.
1
Hi, can yolov8-pose make classifications such as tiger standing, tiger lying down?
- Glenn JocherUltralytics
@teengineer hey there! 🐯 YOLOv8-pose can indeed classify different tiger poses like standing or lying down, but it primarily focuses on pose estimation rather than direct classification. You'd typically train the model to recognize various keypoints on the tiger, and based on the keypoints' positions, you could infer the pose.
For example, after training with the Tiger-Pose dataset, you could analyze the keypoints to determine the pose:
from ultralytics import YOLO

# Load your trained model
model = YOLO('path/to/your/trained_model.pt')

# Run inference
results = model.predict(source='path/to/your/image.jpg')

# Analyze keypoints for pose classification
keypoints = results[0].keypoints
# Here you'd implement your logic to classify poses based on keypoints
This approach gives you the flexibility to define what constitutes a "standing" or "lying down" pose based on the keypoints' arrangement. Hope this helps! Let us know if you have more questions.
Thank you.
- Glenn JocherUltralytics
Hey there! 🐅 Absolutely, YOLOv8-pose can be tailored to classify specific tiger poses by analyzing the keypoints' arrangement. While it's primarily designed for pose estimation, you can infer poses like standing or lying down based on the keypoints. Here's a quick example using the Tiger-Pose dataset:
from ultralytics import YOLO

# Load your trained model
model = YOLO('path/to/your/trained_model.pt')

# Run inference on an image
results = model.predict(source='path/to/your/image.jpg')

# Analyze keypoints for pose classification
keypoints = results[0].keypoints
# Implement your logic here to classify poses based on keypoints
This way, you can classify the tiger's pose by examining the positions of detected keypoints. Hope this helps, and feel free to reach out if you have more questions! 🚀
2