Bộ dữ liệu Tiger-Pose
Giới thiệu#
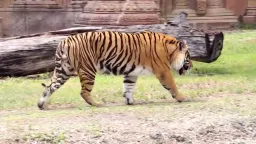
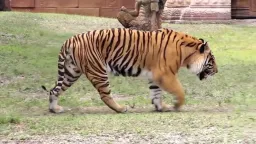
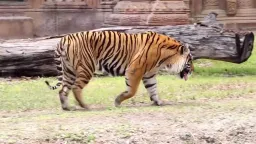
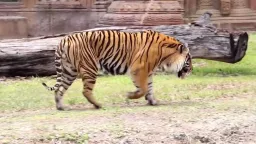
Bộ dữ liệu Tiger-Pose của Ultralytics là một bộ dữ liệu ước tính tư thế nhỏ, được gán nhãn 12 keypoint cho mỗi con hổ. Bộ dữ liệu gồm 263 hình ảnh lấy từ một video YouTube, trong đó 210 hình ảnh dành cho huấn luyện và 53 hình ảnh dành cho validation, phù hợp để kiểm thử và khắc phục sự cố cho các thuật toán ước tính tư thế.
Dù tập huấn luyện chỉ gồm 210 hình ảnh, bộ dữ liệu Tiger-Pose vẫn có tính đa dạng, phù hợp để đánh giá pipeline huấn luyện, xác định lỗi tiềm ẩn và làm bước khởi đầu hữu ích trước khi xử lý các bộ dữ liệu ước tính tư thế lớn hơn.
Khi pipeline của bạn huấn luyện ổn định trên tập dữ liệu nhỏ này, hãy thay bằng keypoint của động vật hoặc đối tượng riêng rồi mở rộng quy mô huấn luyện trên Ultralytics Platform ngay trong trình duyệt.
Cấu trúc dataset#
- Tổng số hình ảnh: 263 (210 train / 53 val).
- Keypoint: 12 trên mỗi con hổ (không có cờ khả kiến).
- Dung lượng tải xuống: ~49.8 MB.
- Bố cục thư mục: Keypoint định dạng YOLO được lưu trong
labels/{train,val}cùng với các thư mụcimages/{train,val}.
Xem: Huấn luyện model tư thế Ultralytics YOLO trên dataset Tiger-Pose
YAML của dataset#
Tệp tiger-pose.yaml xác định cấu hình bộ dữ liệu, bao gồm đường dẫn tệp, định nghĩa lớp và thiết lập keypoint.
# Ultralytics 🚀 AGPL-3.0 License - https://ultralytics.com/license

# Tiger Pose dataset by Ultralytics
# Documentation: https://docs.ultralytics.com/datasets/pose/tiger-pose
# Example usage: yolo train data=tiger-pose.yaml
# parent
# ├── ultralytics
# └── datasets
#     └── tiger-pose ← downloads here (49.8 MB)

# Train/val/test sets as 1) dir: path/to/imgs, 2) file: path/to/imgs.txt, or 3) list: [path/to/imgs1, path/to/imgs2, ..]
path: tiger-pose # dataset root dir
train: images/train # train images (relative to 'path') 210 images
val: images/val # val images (relative to 'path') 53 images

# Keypoints
kpt_shape: [12, 2] # number of keypoints, number of dims (2 for x,y or 3 for x,y,visible)
flip_idx: [0, 1, 2, 3, 7, 6, 5, 4, 10, 11, 8, 9]

# Classes
names:
  0: tiger

# Keypoint names per class
kpt_names:
  0:
    - nose
    - head
    - withers
    - tail_base
    - right_hind_hock
    - right_hind_paw
    - left_hind_paw
    - left_hind_hock
    - right_front_wrist
    - right_front_paw
    - left_front_wrist
    - left_front_paw

# Download script/URL (optional)
download: https://github.com/ultralytics/assets/releases/download/v0.0.0/tiger-pose.zip
Cách sử dụng#
Để huấn luyện model YOLO26n-pose trên bộ dữ liệu Tiger-Pose trong 100 epoch với kích thước ảnh 640, bạn có thể dùng các đoạn mã sau.
from ultralytics import YOLO

# Tải model
model = YOLO("yolo26n-pose.pt")  # tải model đã huấn luyện trước (được khuyến nghị khi huấn luyện)

# Huấn luyện model
results = model.train(data="tiger-pose.yaml", epochs=100, imgsz=640)
Hình ảnh mẫu và annotation#
Sau đây là một số hình ảnh từ bộ dữ liệu Tiger-Pose cùng với các chú thích tương ứng:
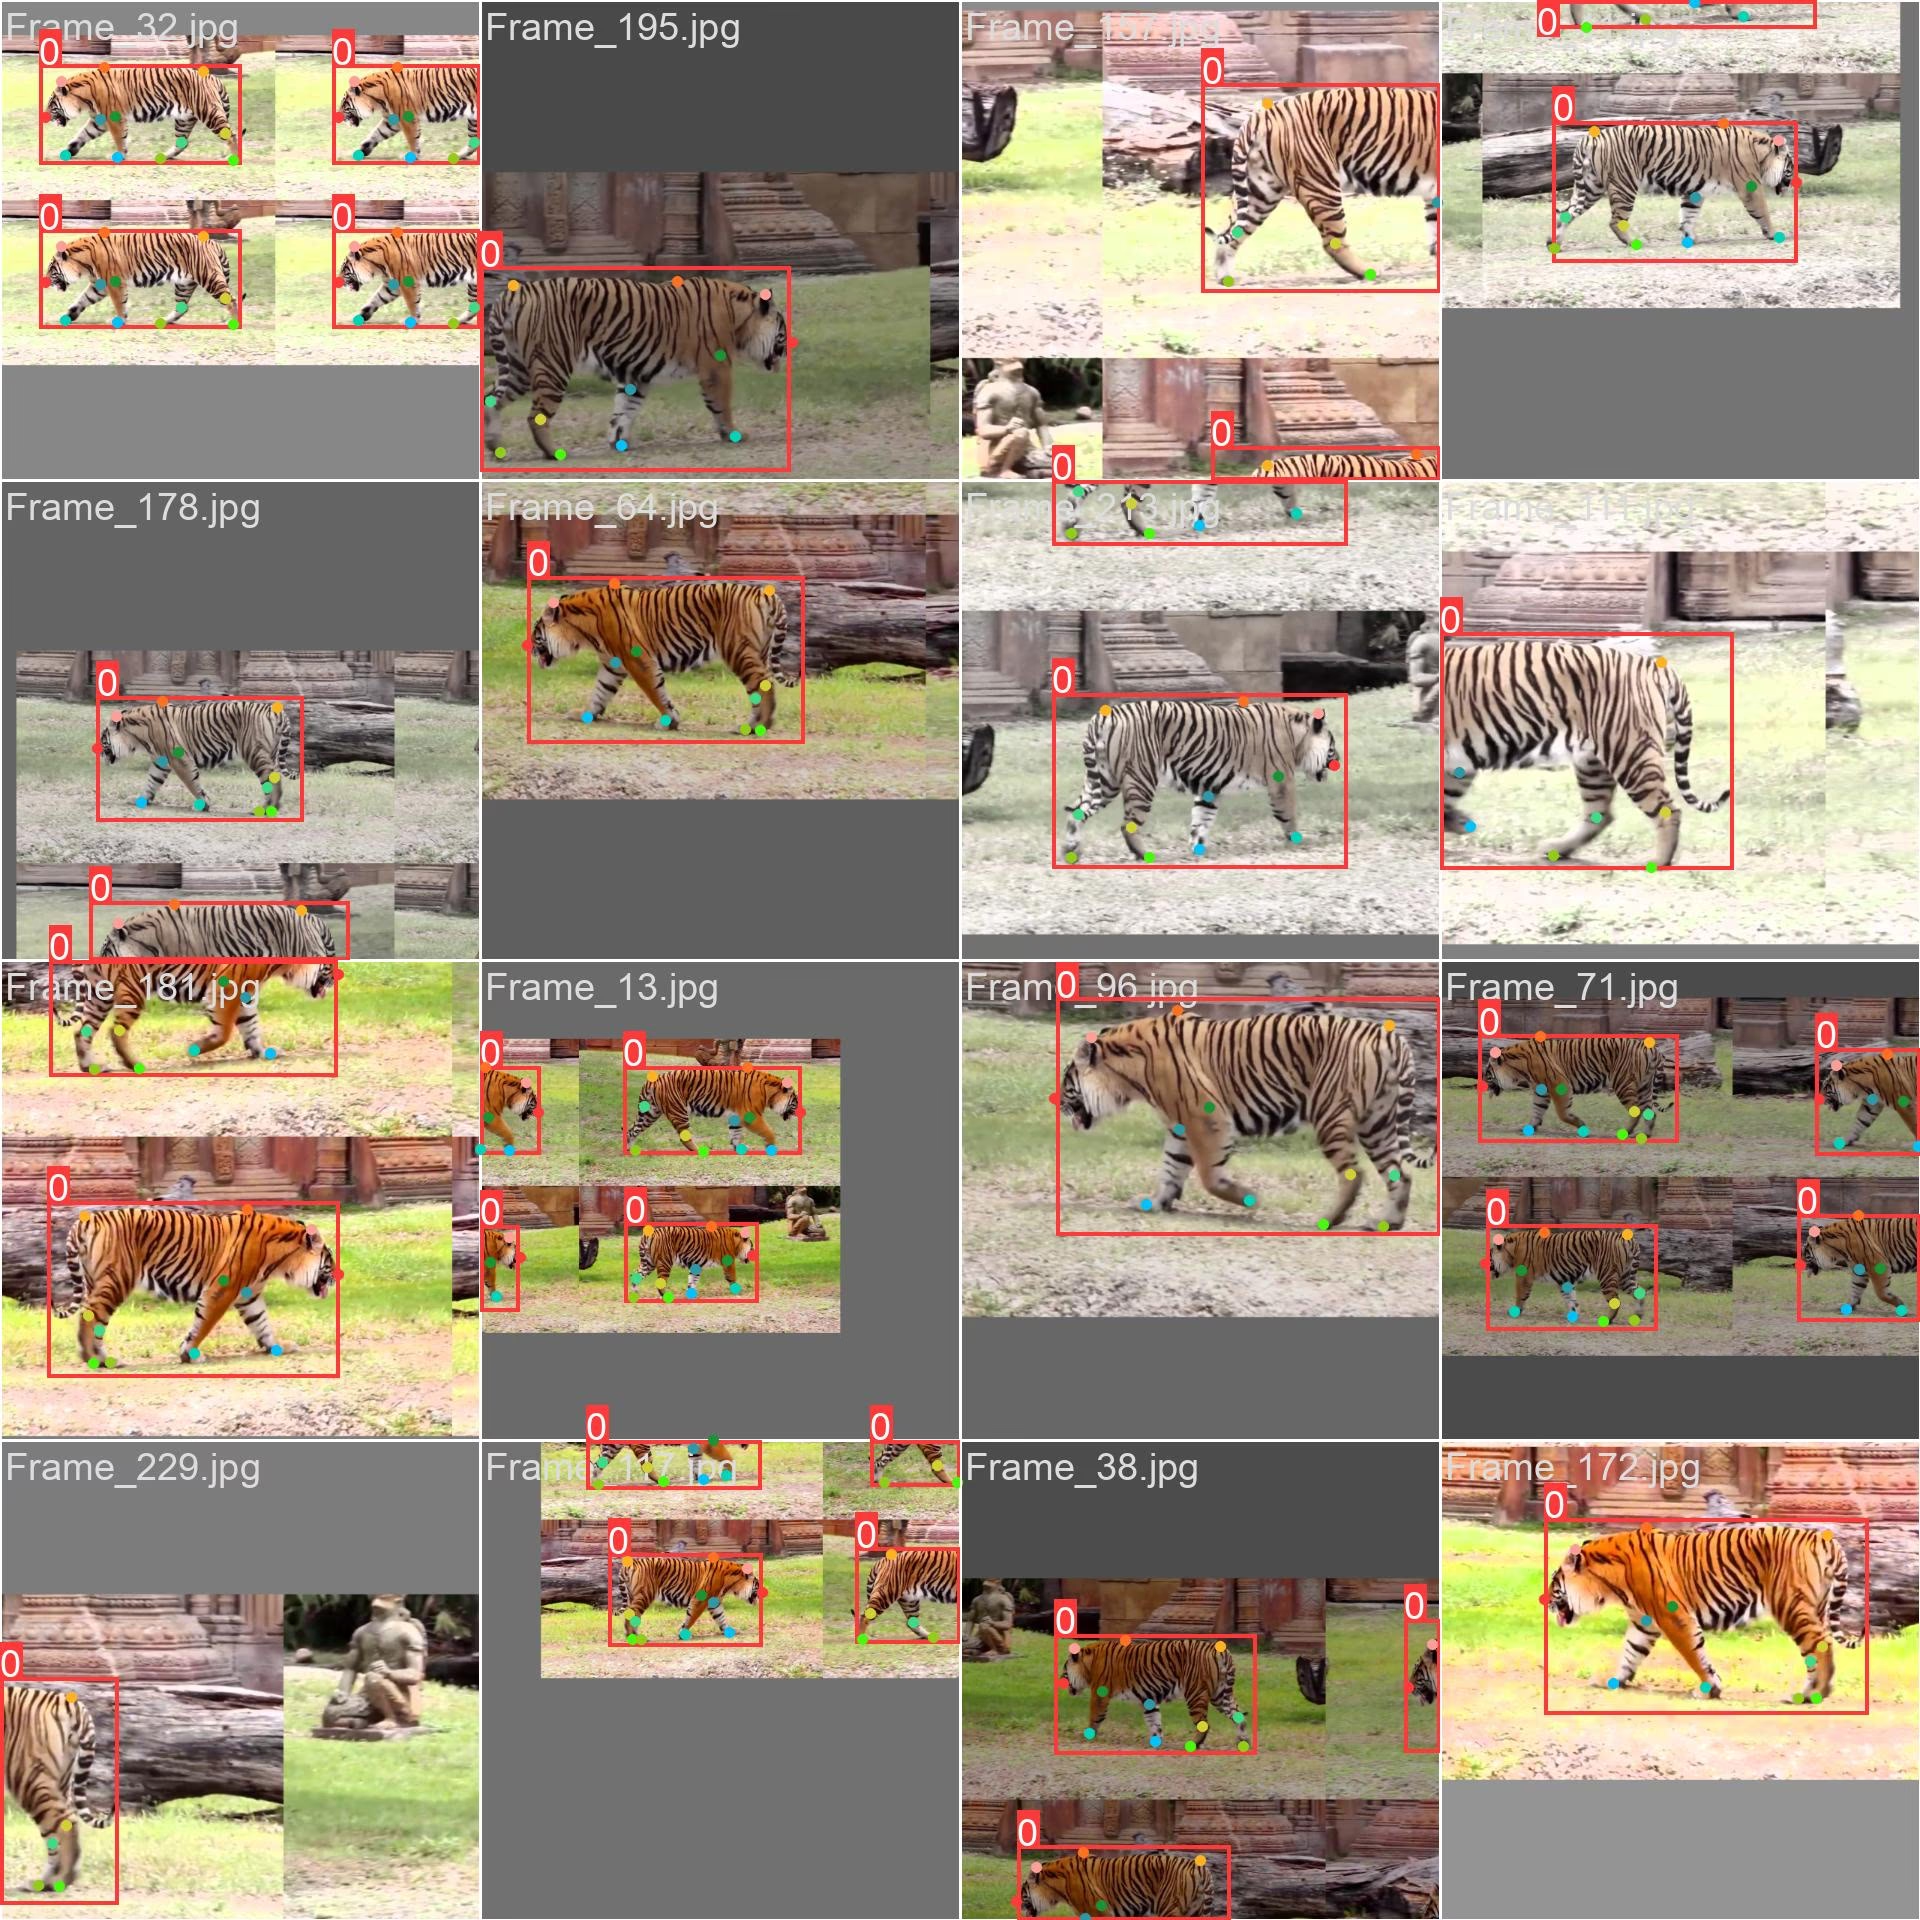
- Ảnh ghép Mosaic: Hình ảnh này minh họa một batch huấn luyện được tạo từ các ảnh mosaic của bộ dữ liệu. Mosaic là kỹ thuật được sử dụng trong quá trình huấn luyện, kết hợp nhiều hình ảnh thành một hình ảnh duy nhất để tăng sự đa dạng của đối tượng và bối cảnh trong mỗi batch huấn luyện. Kỹ thuật này giúp cải thiện khả năng tổng quát hóa của model đối với các kích thước đối tượng, tỷ lệ khung hình và ngữ cảnh khác nhau.
Ví dụ này minh họa sự đa dạng và độ phức tạp của hình ảnh trong bộ dữ liệu Tiger-Pose, cũng như lợi ích của việc sử dụng ghép mosaic trong quá trình huấn luyện.
Ví dụ suy luận#
Sau khi huấn luyện, hãy tải checkpoint tốt nhất và chạy suy luận trên hình ảnh hoặc video mới — xem trang Dự đoán để biết danh sách đầy đủ các tham số.
from ultralytics import YOLO

# Tải model
model = YOLO("path/to/best.pt")  # tải model đã huấn luyện bằng tiger-pose

# Chạy suy luận
results = model.predict(source="https://youtu.be/Gc6K5eKrTNQ", show=True)
Trích dẫn và lời cảm ơn#
Ultralytics phát hành các chú thích của bộ dữ liệu Tiger-Pose theo Giấy phép AGPL-3.0. Video nguồn vẫn chịu sự điều chỉnh của điều khoản ban đầu; cần xem xét các điều khoản này trước khi sử dụng hoặc phân phối lại các khung hình đã trích xuất.
Câu hỏi thường gặp#
Bộ dữ liệu Tiger-Pose của Ultralytics được thiết kế cho các tác vụ ước tính tư thế, gồm 263 hình ảnh lấy từ một video YouTube. Bộ dữ liệu được chia thành 210 hình ảnh huấn luyện và 53 hình ảnh xác thực, phù hợp để kiểm thử, huấn luyện và tinh chỉnh các thuật toán ước tính tư thế.
Tải
yolo26n-pose.ptvà gọimodel.train(data="tiger-pose.yaml", epochs=100, imgsz=640)— xem Ví dụ huấn luyện ở trên để tham khảo đầy đủ các đoạn mã Python và CLI, đồng thời xem trang Huấn luyện để biết danh sách tham số toàn diện.File
tiger-pose.yamlđịnh nghĩa đường dẫn bộ dữ liệu, thư mục ảnh train/val, một class duy nhất (tiger) vàkpt_shape: [12, 2]— 12 keypoint trên mỗi đối tượng, không có cờ khả kiến. Xem File cấu hình bộ dữ liệu Tiger-Pose của Ultralytics để biết cấu hình chính xác.Tải checkpoint đã huấn luyện (ví dụ:
path/to/best.pt) và gọimodel.predict(source=..., show=True)— xem Ví dụ suy luận ở trên để tham khảo đầy đủ các đoạn mã Python và CLI, đồng thời xem trang Dự đoán để biết danh sách tham số toàn diện.Với tổng cộng 263 hình ảnh (210 train / 53 val), 1 class, 12 keypoint trên mỗi đối tượng và dung lượng tải xuống ~49.8 MB, Tiger-Pose đủ nhỏ để xử lý nhanh nhưng cũng đủ đa dạng để kiểm tra nhanh pipeline huấn luyện tư thế và xác định lỗi trước khi làm việc với các bộ dữ liệu lớn hơn.


Bình luận17
Đặt câu hỏi, chia sẻ kết quả hoặc giúp đỡ người khác.
wcy7788
@glenn-jocherWhere should I go to Ultralytics to find the code for this?
 Glenn JocherUltralytics
You can find the code for the Tiger-Pose dataset in the
ultralytics/cfg/datasets/tiger-pose.yamlfile. For more details, please visit the Tiger-Pose documentation.
What software should be used for the training of fish key points,I should mark a few key points?
- Glenn JocherUltralytics(đã chỉnh sửa)
@wcy7788 for training fish keypoints, you can use the YOLO26-pose model. Annotate your dataset with keypoints and follow the training process similar to the Tiger-Pose example. For more details, refer to the Ultralytics documentation.
PedroPiana
In my dataset, do I necessarily need to have the Bounding Boxes?
- Glenn JocherUltralytics(đã chỉnh sửa)
Yes, for pose estimation tasks like those using the Tiger-Pose dataset, each label row includes a bounding box followed by the keypoints:
<class-index> <x> <y> <width> <height> <px1> <py1> .... The bounding box (normalized center x, y, width, height) is part of the pose label format, so annotate both the box and the keypoints for each object. 🐅For more details on setting up your dataset for pose estimation, you can refer to the Tiger-Pose dataset documentation and the pose dataset format.
teengineer
Hello, when i executed the predict code, i took a warning 'WARNING ⚠️ Environment does not support cv2.imshow() or PIL Image.show() google colab'. I worked on Google Colab. How can i see the results?
- Glenn JocherUltralytics(đã chỉnh sửa)
@teengineer hello! 😊 It seems you're facing an issue with displaying images in Google Colab due to its environment limitations. To view your results in Colab, you can use the following approach to display images directly in the notebook:
from pathlib import Path

from IPython.display import Image, display
from ultralytics import YOLO

# Load your model
model = YOLO('yolo26n.pt')  # or your custom model

# Run prediction (ensure 'save' is True to save output images)
results = model.predict(source='path/to/your/image.jpg', save=True)

# Display the saved image
display(Image(f"{results[0].save_dir}/{Path(results[0].path).name}"))  # saved output in the predict run folder
This method saves the output image and then uses IPython's display capabilities to show the image within your notebook. Hope this helps you see your results! Let us know if you have any more questions.
1 Thank you @glenn-jocher, i forgot the 'save' parameter on predict func.
Hi, I want to show prediction result on video but it throw an warning, is there a way for showing? This warning is 'WARNING ⚠️ Environment does not support cv2.imshow() or PIL Image.show()'
- Glenn JocherUltralytics(đã chỉnh sửa)
Hey there! 😊 It looks like you're trying to display video predictions in an environment that doesn't support
cv2.imshow()orPIL Image.show(), such as Google Colab. No worries, you can still view your video predictions by saving the output and then displaying it directly in the notebook. Here's a quick example on how you could modify your code to save the video predictions and then useIPython.displayto show the video:from ultralytics import YOLO from pathlib import Path from IPython.display import FileLink, display # Load your model model = YOLO('yolo26n.pt') # or your custom model # Run prediction on your video and save the output results = model.predict(source='path/to/your/video.mp4', save=True) # The output is saved in the predict run folder (results[0].save_dir), named after the source file # (.mp4 on macOS, .avi on Windows/Linux) # Generate a link to download the video file output_video_path = next(Path(results[0].save_dir).glob('*.*')) display(FileLink(output_video_path))This code will provide a link to download the video file with the predictions. Just replace
'path/to/your/video.mp4'with your actual video path. Hope this helps you view your prediction results! Let me know if there's anything else I can assist you with.1 Thank you for your time.
- Glenn JocherUltralytics
Hey there! 😊 If you're encountering the 'WARNING ⚠️ Environment does not support cv2.imshow() or PIL Image.show()' message while trying to display video predictions in Google Colab, you can save the predictions to a video file and then display it directly in the notebook. Here's a quick example on how to do it:
from ultralytics import YOLO

# Load your model
model = YOLO('yolov8n.pt')  # or your custom model

# Run prediction on your video and save the output
results = model.predict(source='path/to/your/video.mp4', save=True)

# Use the 'files.download()' function from Google Colab to download the result video
from google.colab import files
files.download('path/to/saved/video.mp4')  # Adjust the path to your saved video
This way, you can view the video with predictions by downloading it. Hope this helps! Let me know if you have any more questions.
1
Hi, can yolov8-pose make classifications such as tiger standing, tiger lying down?
- Glenn JocherUltralytics
@teengineer hey there! 🐯 YOLOv8-pose can indeed classify different tiger poses like standing or lying down, but it primarily focuses on pose estimation rather than direct classification. You'd typically train the model to recognize various keypoints on the tiger, and based on the keypoints' positions, you could infer the pose.
For example, after training with the Tiger-Pose dataset, you could analyze the keypoints to determine the pose:
from ultralytics import YOLO

# Load your trained model
model = YOLO('path/to/your/trained_model.pt')

# Run inference
results = model.predict(source='path/to/your/image.jpg')

# Analyze keypoints for pose classification
keypoints = results[0].keypoints
# Here you'd implement your logic to classify poses based on keypoints
This approach gives you the flexibility to define what constitutes a "standing" or "lying down" pose based on the keypoints' arrangement. Hope this helps! Let us know if you have more questions.
Thank you.
- Glenn JocherUltralytics
Hey there! 🐅 Absolutely, YOLOv8-pose can be tailored to classify specific tiger poses by analyzing the keypoints' arrangement. While it's primarily designed for pose estimation, you can infer poses like standing or lying down based on the keypoints. Here's a quick example using the Tiger-Pose dataset:
from ultralytics import YOLO

# Load your trained model
model = YOLO('path/to/your/trained_model.pt')

# Run inference on an image
results = model.predict(source='path/to/your/image.jpg')

# Analyze keypoints for pose classification
keypoints = results[0].keypoints
# Implement your logic here to classify poses based on keypoints
This way, you can classify the tiger's pose by examining the positions of detected keypoints. Hope this helps, and feel free to reach out if you have more questions! 🚀
2