Link to this sectionPyTorch Hub에서 YOLOv5 로드하기#
📚 This guide explains how to load YOLOv5 🚀 from PyTorch Hub at https://pytorch.org/hub/ultralytics_yolov5.
Link to this section시작하기 전에#
Install requirements.txt in a Python>=3.8.0 environment, including PyTorch>=1.8. Models and datasets download automatically from the latest YOLOv5 release.
pip install -r https://raw.githubusercontent.com/ultralytics/yolov5/master/requirements.txtPyTorch Hub가 코드를 자동으로 가져오므로 ultralytics/yolov5를 복제(cloning)할 필요는 없습니다.
Link to this sectionPyTorch Hub로 YOLOv5 로드하기#
Link to this section간단한 예제#
이 예제는 사전 훈련된 YOLOv5s 모델을 PyTorch Hub에서 model로 로드하고 추론을 위해 이미지를 전달합니다. 'yolov5s'는 가장 가볍고 빠른 YOLOv5 모델입니다. 사용 가능한 모든 모델에 대한 자세한 내용은 README를 참조하십시오.
import torch

# Model
model = torch.hub.load("ultralytics/yolov5", "yolov5s")

# Image
im = "https://ultralytics.com/images/zidane.jpg"

# Inference
results = model(im)

results.pandas().xyxy[0]
#      xmin    ymin    xmax   ymax  confidence  class    name
# 0  749.50   43.50  1148.0  704.5    0.874023      0  person
# 1  433.50  433.50   517.5  714.5    0.687988     27     tie
# 2  114.75  195.75  1095.0  708.0    0.624512      0  person
# 3  986.00  304.00  1028.0  420.0    0.286865     27     tie
Link to this section상세 예제#
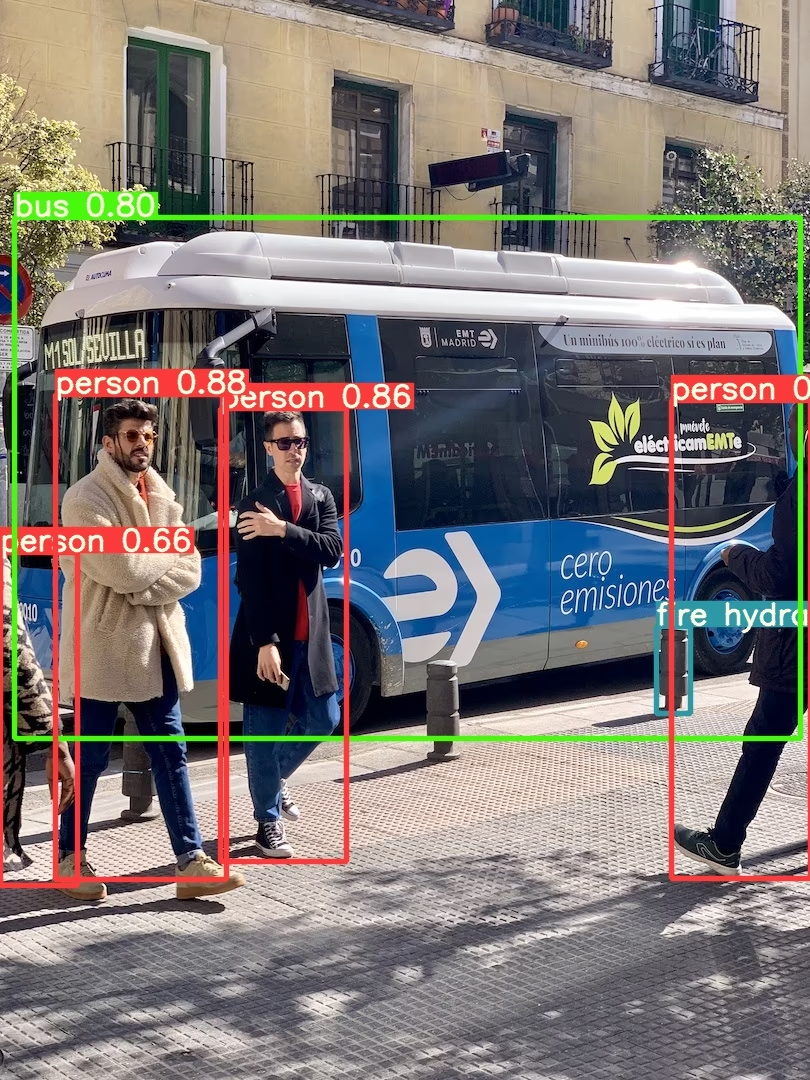
이 예제는 PIL 및 OpenCV 이미지 소스를 사용한 **배치 추론(batched inference)**을 보여줍니다. results는 콘솔에 출력하거나 runs/hub에 저장하거나 지원되는 환경에서 화면에 표시할 수 있으며, 텐서(tensor) 또는 pandas 데이터프레임으로 반환받을 수 있습니다.
import cv2
import torch
from PIL import Image

# Model
model = torch.hub.load("ultralytics/yolov5", "yolov5s")

# Images
for f in "zidane.jpg", "bus.jpg":
    torch.hub.download_url_to_file("https://ultralytics.com/images/" + f, f)  # download 2 images
im1 = Image.open("zidane.jpg")  # PIL image
im2 = cv2.imread("bus.jpg")[..., ::-1]  # OpenCV image (BGR to RGB)

# Inference
results = model([im1, im2], size=640)  # batch of images

# Results
results.print()
results.save()  # or .show()

results.xyxy[0]  # im1 predictions (tensor)
results.pandas().xyxy[0]  # im1 predictions (pandas)
#      xmin    ymin    xmax   ymax  confidence  class    name
# 0  749.50   43.50  1148.0  704.5    0.874023      0  person
# 1  433.50  433.50   517.5  714.5    0.687988     27     tie
# 2  114.75  195.75  1095.0  708.0    0.624512      0  person
# 3  986.00  304.00  1028.0  420.0    0.286865     27     tie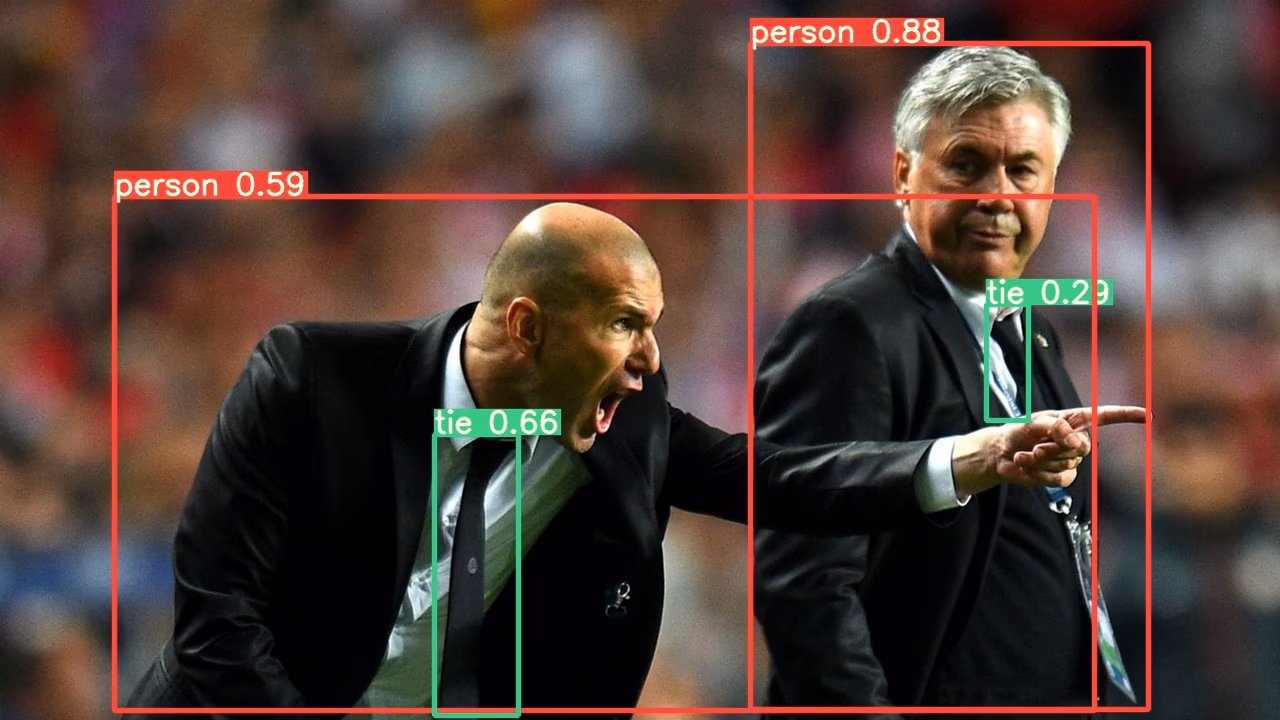
모든 추론 옵션에 대해서는 YOLOv5 AutoShape() forward 메서드를 참조하십시오.
Link to this section추론 설정#
YOLOv5 모델에는 신뢰도 임계값(confidence threshold), IoU 임계값 등 다양한 추론 속성이 포함되어 있으며, 다음과 같이 설정할 수 있습니다:
model.conf = 0.25  # NMS confidence threshold
model.iou = 0.45  # NMS IoU threshold
model.agnostic = False  # NMS class-agnostic
model.multi_label = False  # NMS multiple labels per box
model.classes = None  # (optional list) filter by class, i.e. = [0, 15, 16] for COCO persons, cats and dogs
model.max_det = 1000  # maximum number of detections per image
model.amp = False  # Automatic Mixed Precision (AMP) inference

results = model(im, size=320)  # custom inference size
Link to this section장치#
모델 생성 후 원하는 장치(device)로 전송할 수 있습니다:
model.cpu()  # CPU
model.cuda()  # GPU
model.to(device)  # i.e. device=torch.device(0)
모델을 원하는 device에서 직접 생성할 수도 있습니다:
model = torch.hub.load("ultralytics/yolov5", "yolov5s", device="cpu") # load on CPU입력 이미지는 추론 전에 자동으로 올바른 모델 장치로 전송됩니다.
Link to this section출력 생략#
_verbose=False를 사용하여 모델을 조용히 로드할 수 있습니다:
model = torch.hub.load("ultralytics/yolov5", "yolov5s", _verbose=False) # load silentlyLink to this section입력 채널#
기본값인 3 채널 대신 4개의 입력 채널을 가진 사전 훈련된 YOLOv5s 모델을 로드하려면 다음과 같이 합니다:
model = torch.hub.load("ultralytics/yolov5", "yolov5s", channels=4)이 경우 모델은 사전 훈련된 입력 레이어와 모양이 더 이상 같지 않은 첫 번째 입력 레이어를 제외하고는 사전 훈련된 가중치로 구성됩니다. 입력 레이어는 무작위 가중치로 초기화된 상태로 유지됩니다.
Link to this section클래스 수#
기본값인 80개 대신 10개의 출력 클래스를 가진 사전 훈련된 YOLOv5s 모델을 로드하려면 다음과 같이 합니다:
model = torch.hub.load("ultralytics/yolov5", "yolov5s", classes=10)이 경우 모델은 사전 훈련된 출력 레이어와 모양이 더 이상 같지 않은 출력 레이어를 제외하고는 사전 훈련된 가중치로 구성됩니다. 출력 레이어는 무작위 가중치로 초기화된 상태로 유지됩니다.
Link to this section강제 새로고침(Force Reload)#
위 단계에서 문제가 발생하면 force_reload=True로 설정하여 기존 캐시를 삭제하고 PyTorch Hub에서 최신 YOLOv5 버전을 강제로 새로 다운로드하는 것이 도움이 될 수 있습니다. 캐시된 복사본은 ~/.cache/torch/hub에 저장되며, 해당 폴더를 삭제해도 동일한 효과를 얻을 수 있습니다.
model = torch.hub.load("ultralytics/yolov5", "yolov5s", force_reload=True) # force reloadLink to this section화면 캡처 추론#
데스크톱 화면에서 추론을 실행하려면 다음과 같이 합니다:
import torch
from PIL import ImageGrab

# Model
model = torch.hub.load("ultralytics/yolov5", "yolov5s")

# Image
im = ImageGrab.grab()  # take a screenshot

# Inference
results = model(im)
Link to this section멀티 GPU 추론#
YOLOv5 모델은 스레드 추론을 통해 여러 GPU에 병렬로 로드할 수 있습니다:
import threading

import torch

def run(model, im):
    """Performs inference on an image using a given model and saves the output; model must support `.save()` method."""
    results = model(im)
    results.save()

# Models
model0 = torch.hub.load("ultralytics/yolov5", "yolov5s", device=0)
model1 = torch.hub.load("ultralytics/yolov5", "yolov5s", device=1)

# Inference
threading.Thread(target=run, args=[model0, "https://ultralytics.com/images/zidane.jpg"], daemon=True).start()
threading.Thread(target=run, args=[model1, "https://ultralytics.com/images/bus.jpg"], daemon=True).start()
Link to this section학습#
추론이 아닌 학습을 위해 YOLOv5 모델을 로드하려면 autoshape=False로 설정하십시오. (처음부터 학습하기 위해) 무작위로 초기화된 가중치로 모델을 로드하려면 pretrained=False를 사용하십시오. 이 경우 직접 학습 스크립트를 제공해야 합니다. 또는 모델 학습에 관해서는 YOLOv5 사용자 지정 데이터 학습 튜토리얼을 참조하십시오.
import torch

model = torch.hub.load("ultralytics/yolov5", "yolov5s", autoshape=False)  # load pretrained
model = torch.hub.load("ultralytics/yolov5", "yolov5s", autoshape=False, pretrained=False)  # load scratch
Link to this sectionBase64 결과#
API 서비스와 함께 사용하기 위함입니다. 자세한 내용은 Flask REST API 예제를 참조하십시오.
import base64
from io import BytesIO

from PIL import Image

results = model(im)  # inference

results.ims  # array of original images (as np array) passed to model for inference
results.render()  # updates results.ims with boxes and labels
for im in results.ims:
    buffered = BytesIO()
    im_base64 = Image.fromarray(im)
    im_base64.save(buffered, format="JPEG")
    print(base64.b64encode(buffered.getvalue()).decode("utf-8"))  # base64 encoded image with results
Link to this section크롭된 결과#
결과를 탐지 영역을 잘라내어(crop) 반환하고 저장할 수 있습니다:
results = model(im)  # inference
crops = results.crop(save=True)  # cropped detections dictionary
Link to this sectionPandas 결과#
결과를 Pandas DataFrames로 반환받을 수 있습니다:
results = model(im)  # inference
results.pandas().xyxy[0]  # Pandas DataFrame
Pandas Output (click to expand)
print(results.pandas().xyxy[0])
#      xmin    ymin    xmax   ymax  confidence  class    name
# 0  749.50   43.50  1148.0  704.5    0.874023      0  person
# 1  433.50  433.50   517.5  714.5    0.687988     27     tie
# 2  114.75  195.75  1095.0  708.0    0.624512      0  person
# 3  986.00  304.00  1028.0  420.0    0.286865     27     tie
Link to this section정렬된 결과#
결과는 열별로 정렬할 수 있습니다. 예를 들어, 자동차 번호판 숫자 탐지 결과를 왼쪽에서 오른쪽(x축)으로 정렬하려면 다음과 같이 합니다:
results = model(im)  # inference
results.pandas().xyxy[0].sort_values("xmin")  # sorted left-right
Link to this sectionJSON 결과#
Results can be returned in JSON format once converted to .pandas() dataframes using the .to_json() method. The JSON format can be modified using the orient argument. See pandas .to_json() documentation for details.
results = model(ims)  # inference
results.pandas().xyxy[0].to_json(orient="records")  # JSON img1 predictions
JSON Output (click to expand)
[
    {
        "xmin": 749.5,
        "ymin": 43.5,
        "xmax": 1148.0,
        "ymax": 704.5,
        "confidence": 0.8740234375,
        "class": 0,
        "name": "person"
    },
    {
        "xmin": 433.5,
        "ymin": 433.5,
        "xmax": 517.5,
        "ymax": 714.5,
        "confidence": 0.6879882812,
        "class": 27,
        "name": "tie"
    },
    {
        "xmin": 115.25,
        "ymin": 195.75,
        "xmax": 1096.0,
        "ymax": 708.0,
        "confidence": 0.6254882812,
        "class": 0,
        "name": "person"
    },
    {
        "xmin": 986.0,
        "ymin": 304.0,
        "xmax": 1028.0,
        "ymax": 420.0,
        "confidence": 0.2873535156,
        "class": 27,
        "name": "tie"
    }
]
Link to this section사용자 지정 모델#
이 예제는 PyTorch Hub를 사용하여 20개 클래스의 VOC로 훈련된 사용자 지정 YOLOv5s 모델 'best.pt'를 로드합니다.
import torch

model = torch.hub.load("ultralytics/yolov5", "custom", path="path/to/best.pt")  # local model
model = torch.hub.load("path/to/yolov5", "custom", path="path/to/best.pt", source="local")  # local repo
Link to this sectionTensorRT, ONNX 및 OpenVINO 모델#
PyTorch Hub는 사용자 지정 훈련 모델을 포함하여 대부분의 YOLOv5 내보내기 형식을 지원합니다. 모델 내보내기에 대한 자세한 내용은 TFLite, ONNX, CoreML, TensorRT 내보내기 튜토리얼을 참조하십시오.
import torch

model = torch.hub.load("ultralytics/yolov5", "custom", path="yolov5s.pt")  # PyTorch
model = torch.hub.load("ultralytics/yolov5", "custom", path="yolov5s.torchscript")  # TorchScript
model = torch.hub.load("ultralytics/yolov5", "custom", path="yolov5s.onnx")  # ONNX
model = torch.hub.load("ultralytics/yolov5", "custom", path="yolov5s_openvino_model/")  # OpenVINO
model = torch.hub.load("ultralytics/yolov5", "custom", path="yolov5s.engine")  # TensorRT
model = torch.hub.load("ultralytics/yolov5", "custom", path="yolov5s.mlmodel")  # CoreML (macOS-only)
model = torch.hub.load("ultralytics/yolov5", "custom", path="yolov5s.tflite")  # TFLite
model = torch.hub.load("ultralytics/yolov5", "custom", path="yolov5s_paddle_model/")  # PaddlePaddle
Link to this section지원되는 환경#
Ultralytics는 프로젝트를 신속하게 시작할 수 있도록 CUDA, CUDNN, Python, PyTorch와 같은 필수 의존성이 미리 설치된 다양한 환경을 제공합니다.
- 무료 GPU 노트북:


- Google Cloud: GCP 시작 가이드
- Amazon: AWS 퀵스타트 가이드
- Azure: AzureML 퀵스타트 가이드
- Docker: Docker 퀵스타트 가이드

Link to this section프로젝트 상태#
![]()
이 배지는 모든 YOLOv5 GitHub Actions CI(Continuous Integration) 테스트가 성공적으로 통과했음을 나타냅니다. 이러한 CI 테스트는 학습, 검증, 추론, 내보내기 및 벤치마크와 같은 YOLOv5의 기능 및 성능을 다양한 관점에서 엄격하게 점검합니다. 24시간마다 그리고 새로운 커밋이 발생할 때마다 테스트를 수행하여 macOS, Windows 및 Ubuntu 환경에서 일관되고 안정적인 작동을 보장합니다.