Набор данных Tiger-Pose
Введение#
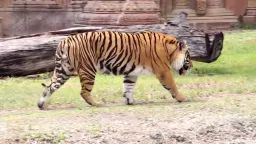
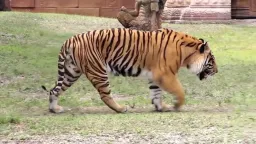
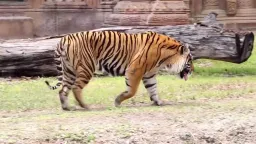
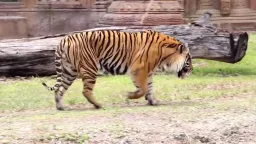
Датасет Tiger-Pose от Ultralytics — небольшой датасет для оценки позы, в котором для каждого тигра размечено 12 ключевых точек. Он включает 263 изображения из видео на YouTube: 210 изображений предназначены для обучения, а 53 — для валидации. Датасет хорошо подходит для тестирования и отладки алгоритмов оценки позы.
Несмотря на небольшой обучающий набор из 210 изображений, датасет Tiger-Pose достаточно разнообразен, чтобы оценивать конвейеры обучения, выявлять возможные ошибки и служить удобным первым шагом перед работой с более крупными датасетами для оценки позы.
Когда конвейер будет стабильно обучаться на этом небольшом наборе, замени ключевые точки на собственные точки животных или объектов и масштабируй обучение на платформе Ultralytics, не выходя из браузера.
Структура набора данных#
- Всего изображений: 263 (210 для обучения / 53 для валидации).
- Ключевые точки: 12 на тигра (без флага видимости).
- Размер для скачивания: ~49.8 МБ.
- Структура каталогов: ключевые точки в формате YOLO хранятся в
labels/{train,val}рядом с каталогамиimages/{train,val}.
Смотри: Обучи модель оценки позы Ultralytics YOLO на датасете Tiger-Pose
Файл YAML набора данных#
Файл tiger-pose.yaml задаёт конфигурацию датасета, включая пути к файлам, определения классов и параметры ключевых точек.
# Ultralytics 🚀 AGPL-3.0 License - https://ultralytics.com/license

# Tiger Pose dataset by Ultralytics
# Documentation: https://docs.ultralytics.com/datasets/pose/tiger-pose
# Example usage: yolo train data=tiger-pose.yaml
# parent
# ├── ultralytics
# └── datasets
#     └── tiger-pose ← downloads here (49.8 MB)

# Train/val/test sets as 1) dir: path/to/imgs, 2) file: path/to/imgs.txt, or 3) list: [path/to/imgs1, path/to/imgs2, ..]
path: tiger-pose # dataset root dir
train: images/train # train images (relative to 'path') 210 images
val: images/val # val images (relative to 'path') 53 images

# Keypoints
kpt_shape: [12, 2] # number of keypoints, number of dims (2 for x,y or 3 for x,y,visible)
flip_idx: [0, 1, 2, 3, 7, 6, 5, 4, 10, 11, 8, 9]

# Classes
names:
  0: tiger

# Keypoint names per class
kpt_names:
  0:
    - nose
    - head
    - withers
    - tail_base
    - right_hind_hock
    - right_hind_paw
    - left_hind_paw
    - left_hind_hock
    - right_front_wrist
    - right_front_paw
    - left_front_wrist
    - left_front_paw

# Download script/URL (optional)
download: https://github.com/ultralytics/assets/releases/download/v0.0.0/tiger-pose.zipИспользование#
Чтобы обучить модель YOLO26n-pose на наборе данных Tiger-Pose в течение 100 эпох с размером изображения 640, используй следующие фрагменты кода.
from ultralytics import YOLO

# Загрузить модель
model = YOLO("yolo26n-pose.pt")  # загрузить предварительно обученную модель (рекомендуется для обучения)

# Обучить модель
results = model.train(data="tiger-pose.yaml", epochs=100, imgsz=640)
Примеры изображений и аннотаций#
Ниже приведены примеры изображений из набора данных Tiger-Pose вместе с соответствующей разметкой:
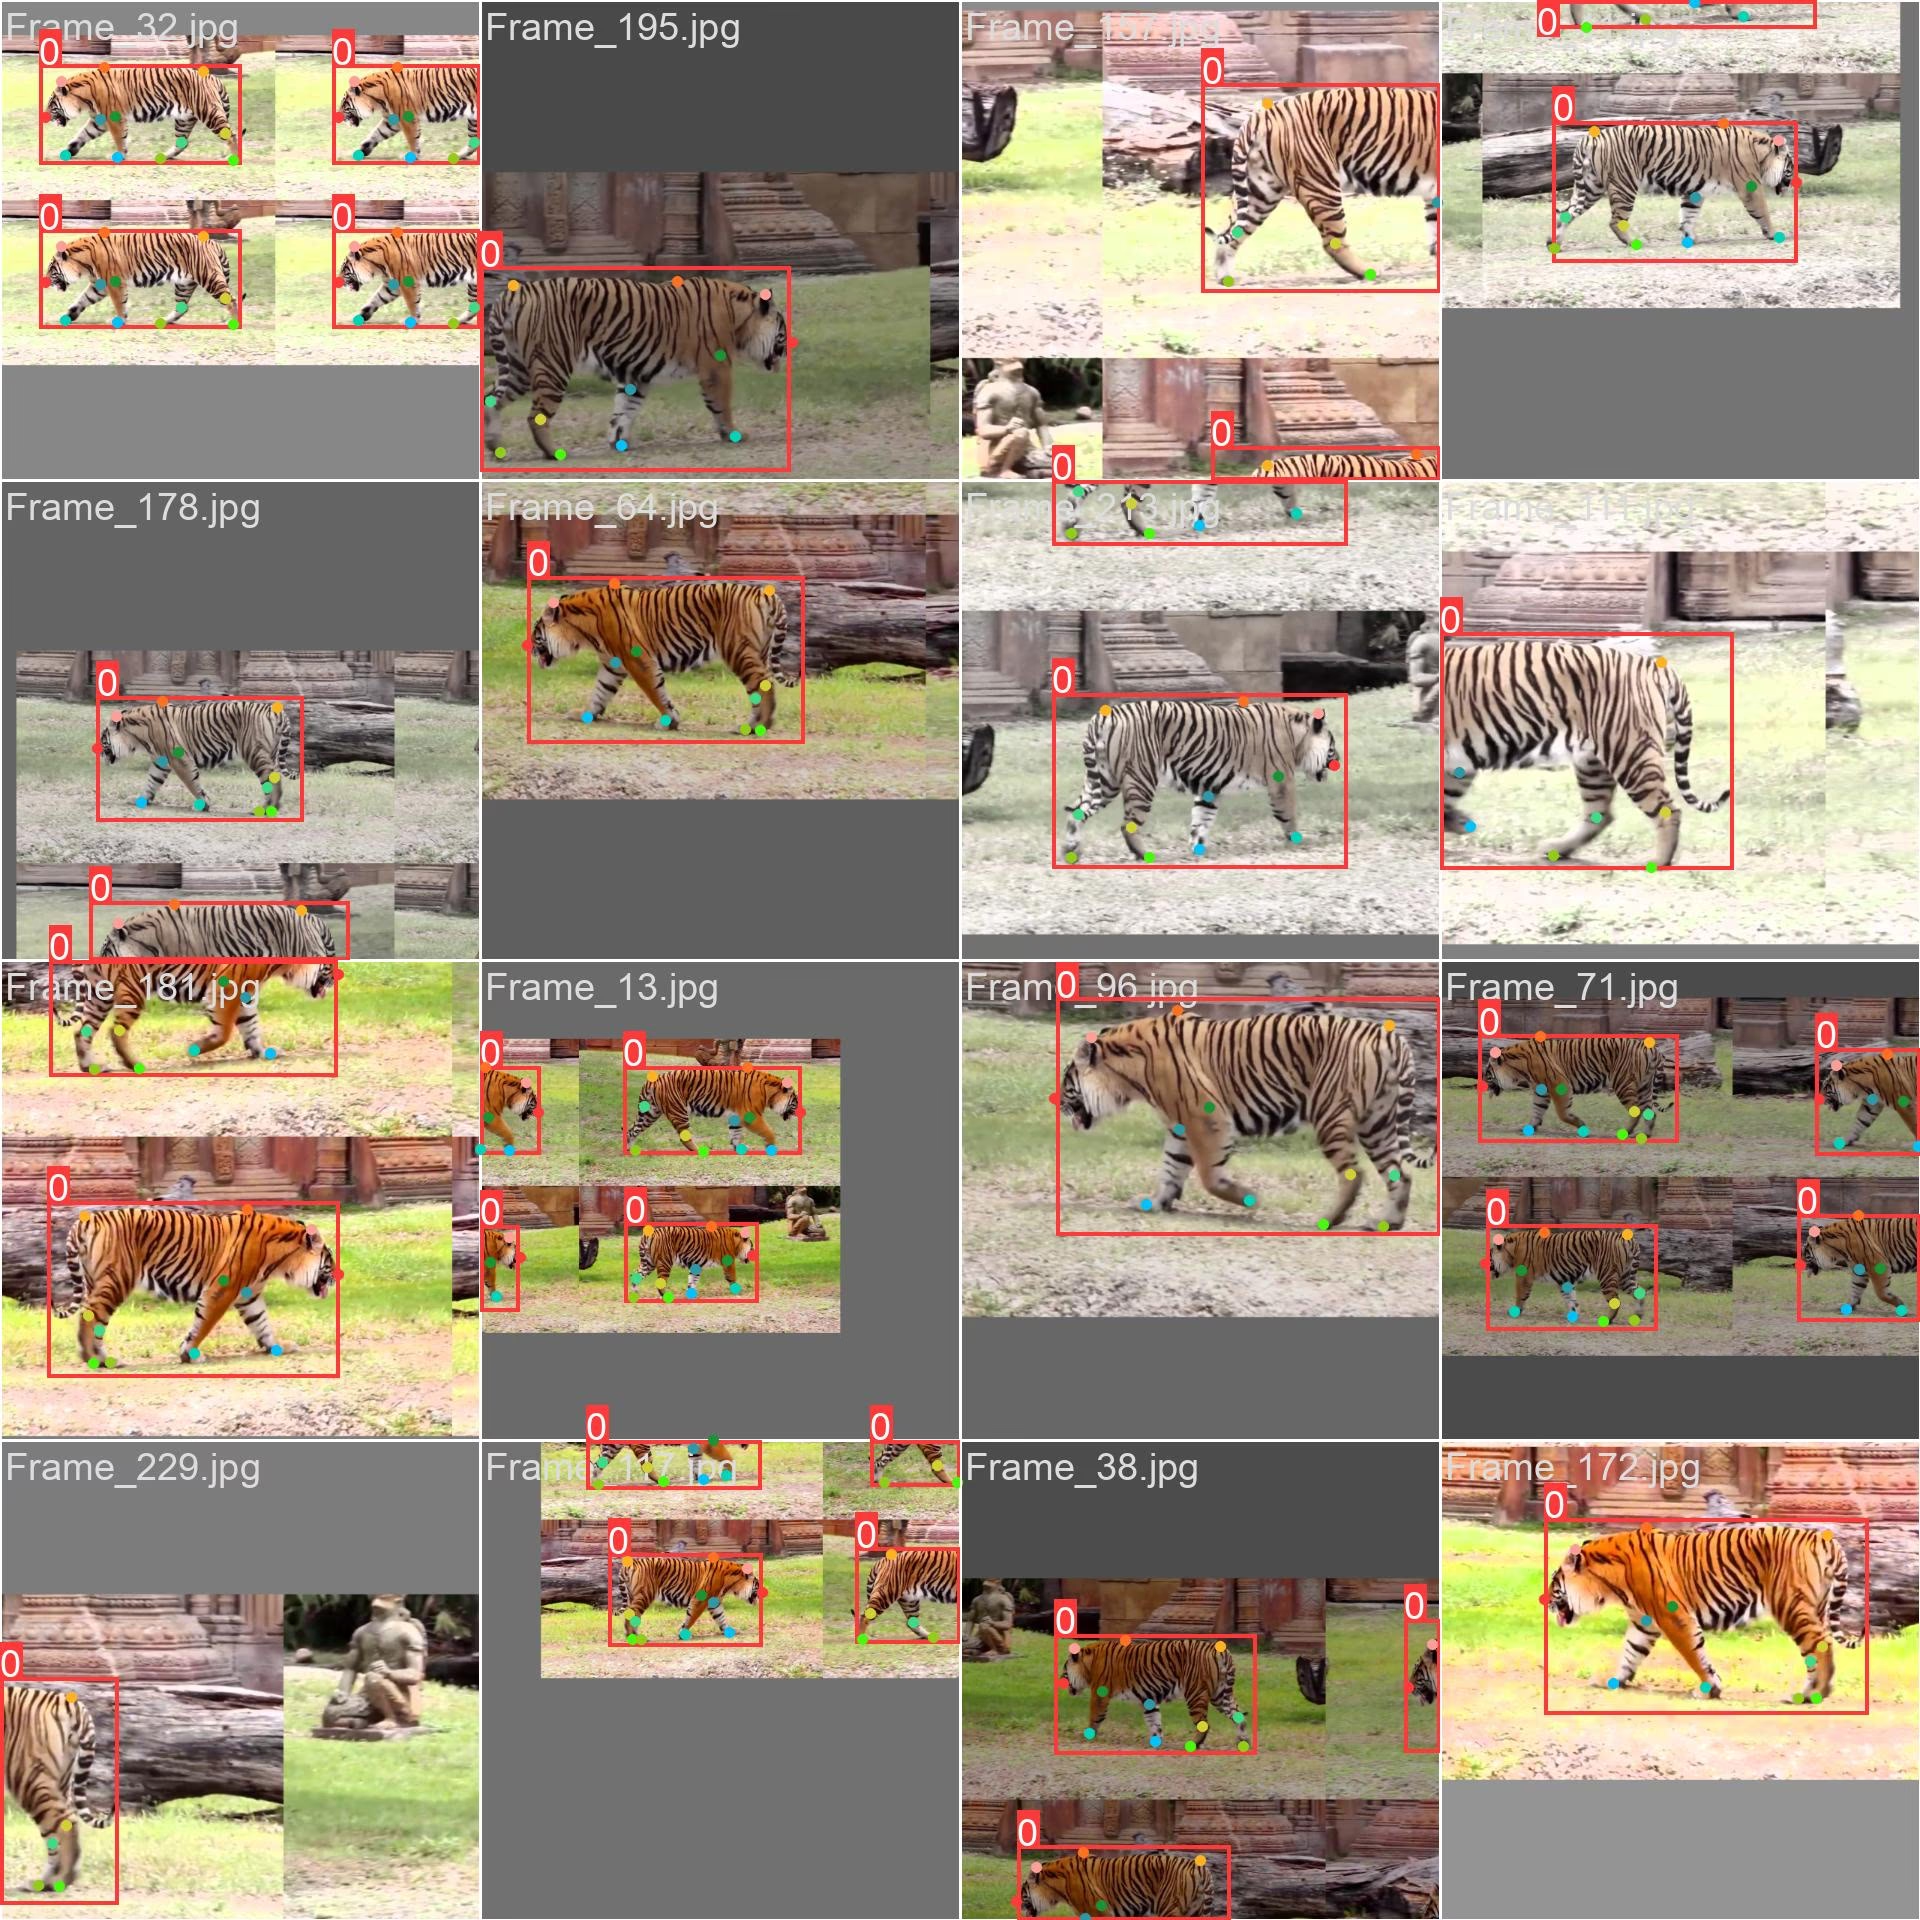
- Мозаичное изображение: на изображении показан обучающий батч, составленный из мозаично объединённых изображений датасета. Мозаичное объединение — это метод, применяемый во время обучения: несколько изображений объединяются в одно, чтобы увеличить разнообразие объектов и сцен в каждом обучающем батче. Это помогает модели лучше обобщать данные для объектов разных размеров, с разными соотношениями сторон и в разных контекстах.
Пример показывает разнообразие и сложность изображений в наборе данных Tiger-Pose, а также преимущества мозаичного объединения изображений во время обучения.
Пример инференса#
После обучения загрузи лучший чекпойнт и запусти инференс на новых изображениях или видео — полный список аргументов см. на странице Предсказание.
from ultralytics import YOLO

# Загрузить модель
model = YOLO("path/to/best.pt")  # загрузи модель, обученную на tiger-pose

# Выполнить инференс
results = model.predict(source="https://youtu.be/Gc6K5eKrTNQ", show=True)
Цитирование и благодарности#
Ultralytics выпускает аннотации набора данных Tiger-Pose по лицензии AGPL-3.0 License. На исходное видео распространяются исходные условия; ознакомься с ними, прежде чем использовать извлечённые кадры или распространять их.
Часто задаваемые вопросы#
Набор данных Ultralytics Tiger-Pose предназначен для задач оценки позы и состоит из 263 изображений, извлечённых из видео на YouTube. Он разделён на 210 обучающих и 53 валидационных изображения, поэтому отлично подходит для тестирования, обучения и доработки алгоритмов оценки позы.
Загрузи
yolo26n-pose.ptи вызовиmodel.train(data="tiger-pose.yaml", epochs=100, imgsz=640)— полные фрагменты кода для Python и CLI см. выше в разделе Пример обучения, а полный список аргументов — на странице Обучение.Файл
tiger-pose.yamlзадаёт путь к набору данных, каталоги изображений для обучения и валидации, один класс (tiger) иkpt_shape: [12, 2]— 12 ключевых точек на экземпляр без флага видимости. Точную конфигурацию см. в файле конфигурации набора данных Ultralytics Tiger-Pose.Загрузи обученный чекпойнт (например,
path/to/best.pt) и вызовиmodel.predict(source=..., show=True)— полные фрагменты кода для Python и CLI см. выше в разделе Пример инференса, а полный список аргументов — на странице Предсказание.В Tiger-Pose всего 263 изображения (210 для обучения / 53 для валидации), 1 класс, 12 ключевых точек на экземпляр, а размер набора для скачивания составляет ~49.8 МБ. Он достаточно мал, чтобы быстро с ним работать, и достаточно разнообразен, чтобы проверить конвейер обучения оценке позы и выявить ошибки до перехода к более крупным наборам данных.


Комментарии17
Задай вопрос, поделись результатами или помоги кому-нибудь.
wcy7788
@glenn-jocherWhere should I go to Ultralytics to find the code for this?
 Glenn JocherUltralytics
You can find the code for the Tiger-Pose dataset in the
ultralytics/cfg/datasets/tiger-pose.yamlfile. For more details, please visit the Tiger-Pose documentation.
What software should be used for the training of fish key points,I should mark a few key points?
- Glenn JocherUltralytics(изменено)
@wcy7788 for training fish keypoints, you can use the YOLO26-pose model. Annotate your dataset with keypoints and follow the training process similar to the Tiger-Pose example. For more details, refer to the Ultralytics documentation.
PedroPiana
In my dataset, do I necessarily need to have the Bounding Boxes?
- Glenn JocherUltralytics(изменено)
Yes, for pose estimation tasks like those using the Tiger-Pose dataset, each label row includes a bounding box followed by the keypoints:
<class-index> <x> <y> <width> <height> <px1> <py1> .... The bounding box (normalized center x, y, width, height) is part of the pose label format, so annotate both the box and the keypoints for each object. 🐅For more details on setting up your dataset for pose estimation, you can refer to the Tiger-Pose dataset documentation and the pose dataset format.
teengineer
Hello, when i executed the predict code, i took a warning 'WARNING ⚠️ Environment does not support cv2.imshow() or PIL Image.show() google colab'. I worked on Google Colab. How can i see the results?
- Glenn JocherUltralytics(изменено)
@teengineer hello! 😊 It seems you're facing an issue with displaying images in Google Colab due to its environment limitations. To view your results in Colab, you can use the following approach to display images directly in the notebook:
from pathlib import Path

from IPython.display import Image, display
from ultralytics import YOLO

# Load your model
model = YOLO('yolo26n.pt')  # or your custom model

# Run prediction (ensure 'save' is True to save output images)
results = model.predict(source='path/to/your/image.jpg', save=True)

# Display the saved image
display(Image(f"{results[0].save_dir}/{Path(results[0].path).name}"))  # saved output in the predict run folder
This method saves the output image and then uses IPython's display capabilities to show the image within your notebook. Hope this helps you see your results! Let us know if you have any more questions.
1 Thank you @glenn-jocher, i forgot the 'save' parameter on predict func.
Hi, I want to show prediction result on video but it throw an warning, is there a way for showing? This warning is 'WARNING ⚠️ Environment does not support cv2.imshow() or PIL Image.show()'
- Glenn JocherUltralytics(изменено)
Hey there! 😊 It looks like you're trying to display video predictions in an environment that doesn't support
cv2.imshow()orPIL Image.show(), such as Google Colab. No worries, you can still view your video predictions by saving the output and then displaying it directly in the notebook. Here's a quick example on how you could modify your code to save the video predictions and then useIPython.displayto show the video:from ultralytics import YOLO from pathlib import Path from IPython.display import FileLink, display # Load your model model = YOLO('yolo26n.pt') # or your custom model # Run prediction on your video and save the output results = model.predict(source='path/to/your/video.mp4', save=True) # The output is saved in the predict run folder (results[0].save_dir), named after the source file # (.mp4 on macOS, .avi on Windows/Linux) # Generate a link to download the video file output_video_path = next(Path(results[0].save_dir).glob('*.*')) display(FileLink(output_video_path))This code will provide a link to download the video file with the predictions. Just replace
'path/to/your/video.mp4'with your actual video path. Hope this helps you view your prediction results! Let me know if there's anything else I can assist you with.1 Thank you for your time.
- Glenn JocherUltralytics
Hey there! 😊 If you're encountering the 'WARNING ⚠️ Environment does not support cv2.imshow() or PIL Image.show()' message while trying to display video predictions in Google Colab, you can save the predictions to a video file and then display it directly in the notebook. Here's a quick example on how to do it:
from ultralytics import YOLO

# Load your model
model = YOLO('yolov8n.pt')  # or your custom model

# Run prediction on your video and save the output
results = model.predict(source='path/to/your/video.mp4', save=True)

# Use the 'files.download()' function from Google Colab to download the result video
from google.colab import files
files.download('path/to/saved/video.mp4')  # Adjust the path to your saved video
This way, you can view the video with predictions by downloading it. Hope this helps! Let me know if you have any more questions.
1
Hi, can yolov8-pose make classifications such as tiger standing, tiger lying down?
- Glenn JocherUltralytics
@teengineer hey there! 🐯 YOLOv8-pose can indeed classify different tiger poses like standing or lying down, but it primarily focuses on pose estimation rather than direct classification. You'd typically train the model to recognize various keypoints on the tiger, and based on the keypoints' positions, you could infer the pose.
For example, after training with the Tiger-Pose dataset, you could analyze the keypoints to determine the pose:
from ultralytics import YOLO

# Load your trained model
model = YOLO('path/to/your/trained_model.pt')

# Run inference
results = model.predict(source='path/to/your/image.jpg')

# Analyze keypoints for pose classification
keypoints = results[0].keypoints
# Here you'd implement your logic to classify poses based on keypoints
This approach gives you the flexibility to define what constitutes a "standing" or "lying down" pose based on the keypoints' arrangement. Hope this helps! Let us know if you have more questions.
Thank you.
- Glenn JocherUltralytics
Hey there! 🐅 Absolutely, YOLOv8-pose can be tailored to classify specific tiger poses by analyzing the keypoints' arrangement. While it's primarily designed for pose estimation, you can infer poses like standing or lying down based on the keypoints. Here's a quick example using the Tiger-Pose dataset:
from ultralytics import YOLO

# Load your trained model
model = YOLO('path/to/your/trained_model.pt')

# Run inference on an image
results = model.predict(source='path/to/your/image.jpg')

# Analyze keypoints for pose classification
keypoints = results[0].keypoints
# Implement your logic here to classify poses based on keypoints
This way, you can classify the tiger's pose by examining the positions of detected keypoints. Hope this helps, and feel free to reach out if you have more questions! 🚀
2