Conjunto de dados Tiger-Pose
Introdução#
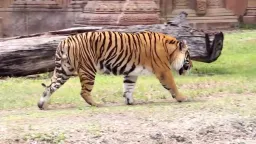
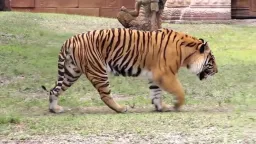
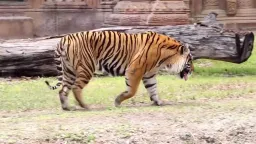
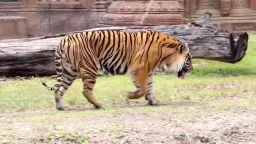
O conjunto de dados Tiger-Pose da Ultralytics é um pequeno conjunto de dados de estimativa de pose, anotado com 12 pontos-chave por tigre. Ele contém 263 imagens extraídas de um vídeo do YouTube, com 210 imagens destinadas ao treinamento e 53 à validação, sendo adequado para testar e solucionar problemas em algoritmos de estimativa de pose.
Apesar de ter uma divisão de treinamento administrável, com 210 imagens, o conjunto de dados Tiger-Pose oferece diversidade, sendo adequado para avaliar pipelines de treinamento, identificar possíveis erros e servir como uma etapa inicial útil antes de trabalhar com conjuntos de dados maiores de estimativa de pose.
Quando seu pipeline treinar sem problemas com esse pequeno conjunto, substitua os pontos-chave por pontos-chave dos seus próprios animais ou objetos e amplie o treinamento na Plataforma Ultralytics sem sair do navegador.
Estrutura do conjunto de dados#
- Total de imagens: 263 (210 para treino / 53 para validação).
- Pontos-chave: 12 por tigre (sem indicador de visibilidade).
- Tamanho do download: ~49,8 MB.
- Estrutura de diretórios: pontos-chave no formato YOLO armazenados em
labels/{train,val}junto aos diretóriosimages/{train,val}.
Assista: Treine um modelo de pose Ultralytics YOLO no conjunto de dados Tiger-Pose
YAML do conjunto de dados#
O arquivo tiger-pose.yaml define a configuração do conjunto de dados, incluindo caminhos de arquivos, definições de classes e configurações de pontos-chave.
# Ultralytics 🚀 AGPL-3.0 License - https://ultralytics.com/license

# Tiger Pose dataset by Ultralytics
# Documentation: https://docs.ultralytics.com/datasets/pose/tiger-pose
# Example usage: yolo train data=tiger-pose.yaml
# parent
# ├── ultralytics
# └── datasets
#     └── tiger-pose ← downloads here (49.8 MB)

# Train/val/test sets as 1) dir: path/to/imgs, 2) file: path/to/imgs.txt, or 3) list: [path/to/imgs1, path/to/imgs2, ..]
path: tiger-pose # dataset root dir
train: images/train # train images (relative to 'path') 210 images
val: images/val # val images (relative to 'path') 53 images

# Keypoints
kpt_shape: [12, 2] # number of keypoints, number of dims (2 for x,y or 3 for x,y,visible)
flip_idx: [0, 1, 2, 3, 7, 6, 5, 4, 10, 11, 8, 9]

# Classes
names:
  0: tiger

# Keypoint names per class
kpt_names:
  0:
    - nose
    - head
    - withers
    - tail_base
    - right_hind_hock
    - right_hind_paw
    - left_hind_paw
    - left_hind_hock
    - right_front_wrist
    - right_front_paw
    - left_front_wrist
    - left_front_paw

# Download script/URL (optional)
download: https://github.com/ultralytics/assets/releases/download/v0.0.0/tiger-pose.zipUso#
Para treinar um modelo YOLO26n-pose no conjunto de dados Tiger-Pose por 100 épocas, com tamanho de imagem 640, você pode usar os seguintes trechos de código.
from ultralytics import YOLO

# Carregar um modelo
model = YOLO("yolo26n-pose.pt")  # carregue um modelo pré-treinado (recomendado para treinamento)

# Treinar o modelo
results = model.train(data="tiger-pose.yaml", epochs=100, imgsz=640)
Imagens de exemplo e anotações#
Aqui estão alguns exemplos de imagens do conjunto de dados Tiger-Pose, junto com as respectivas anotações:
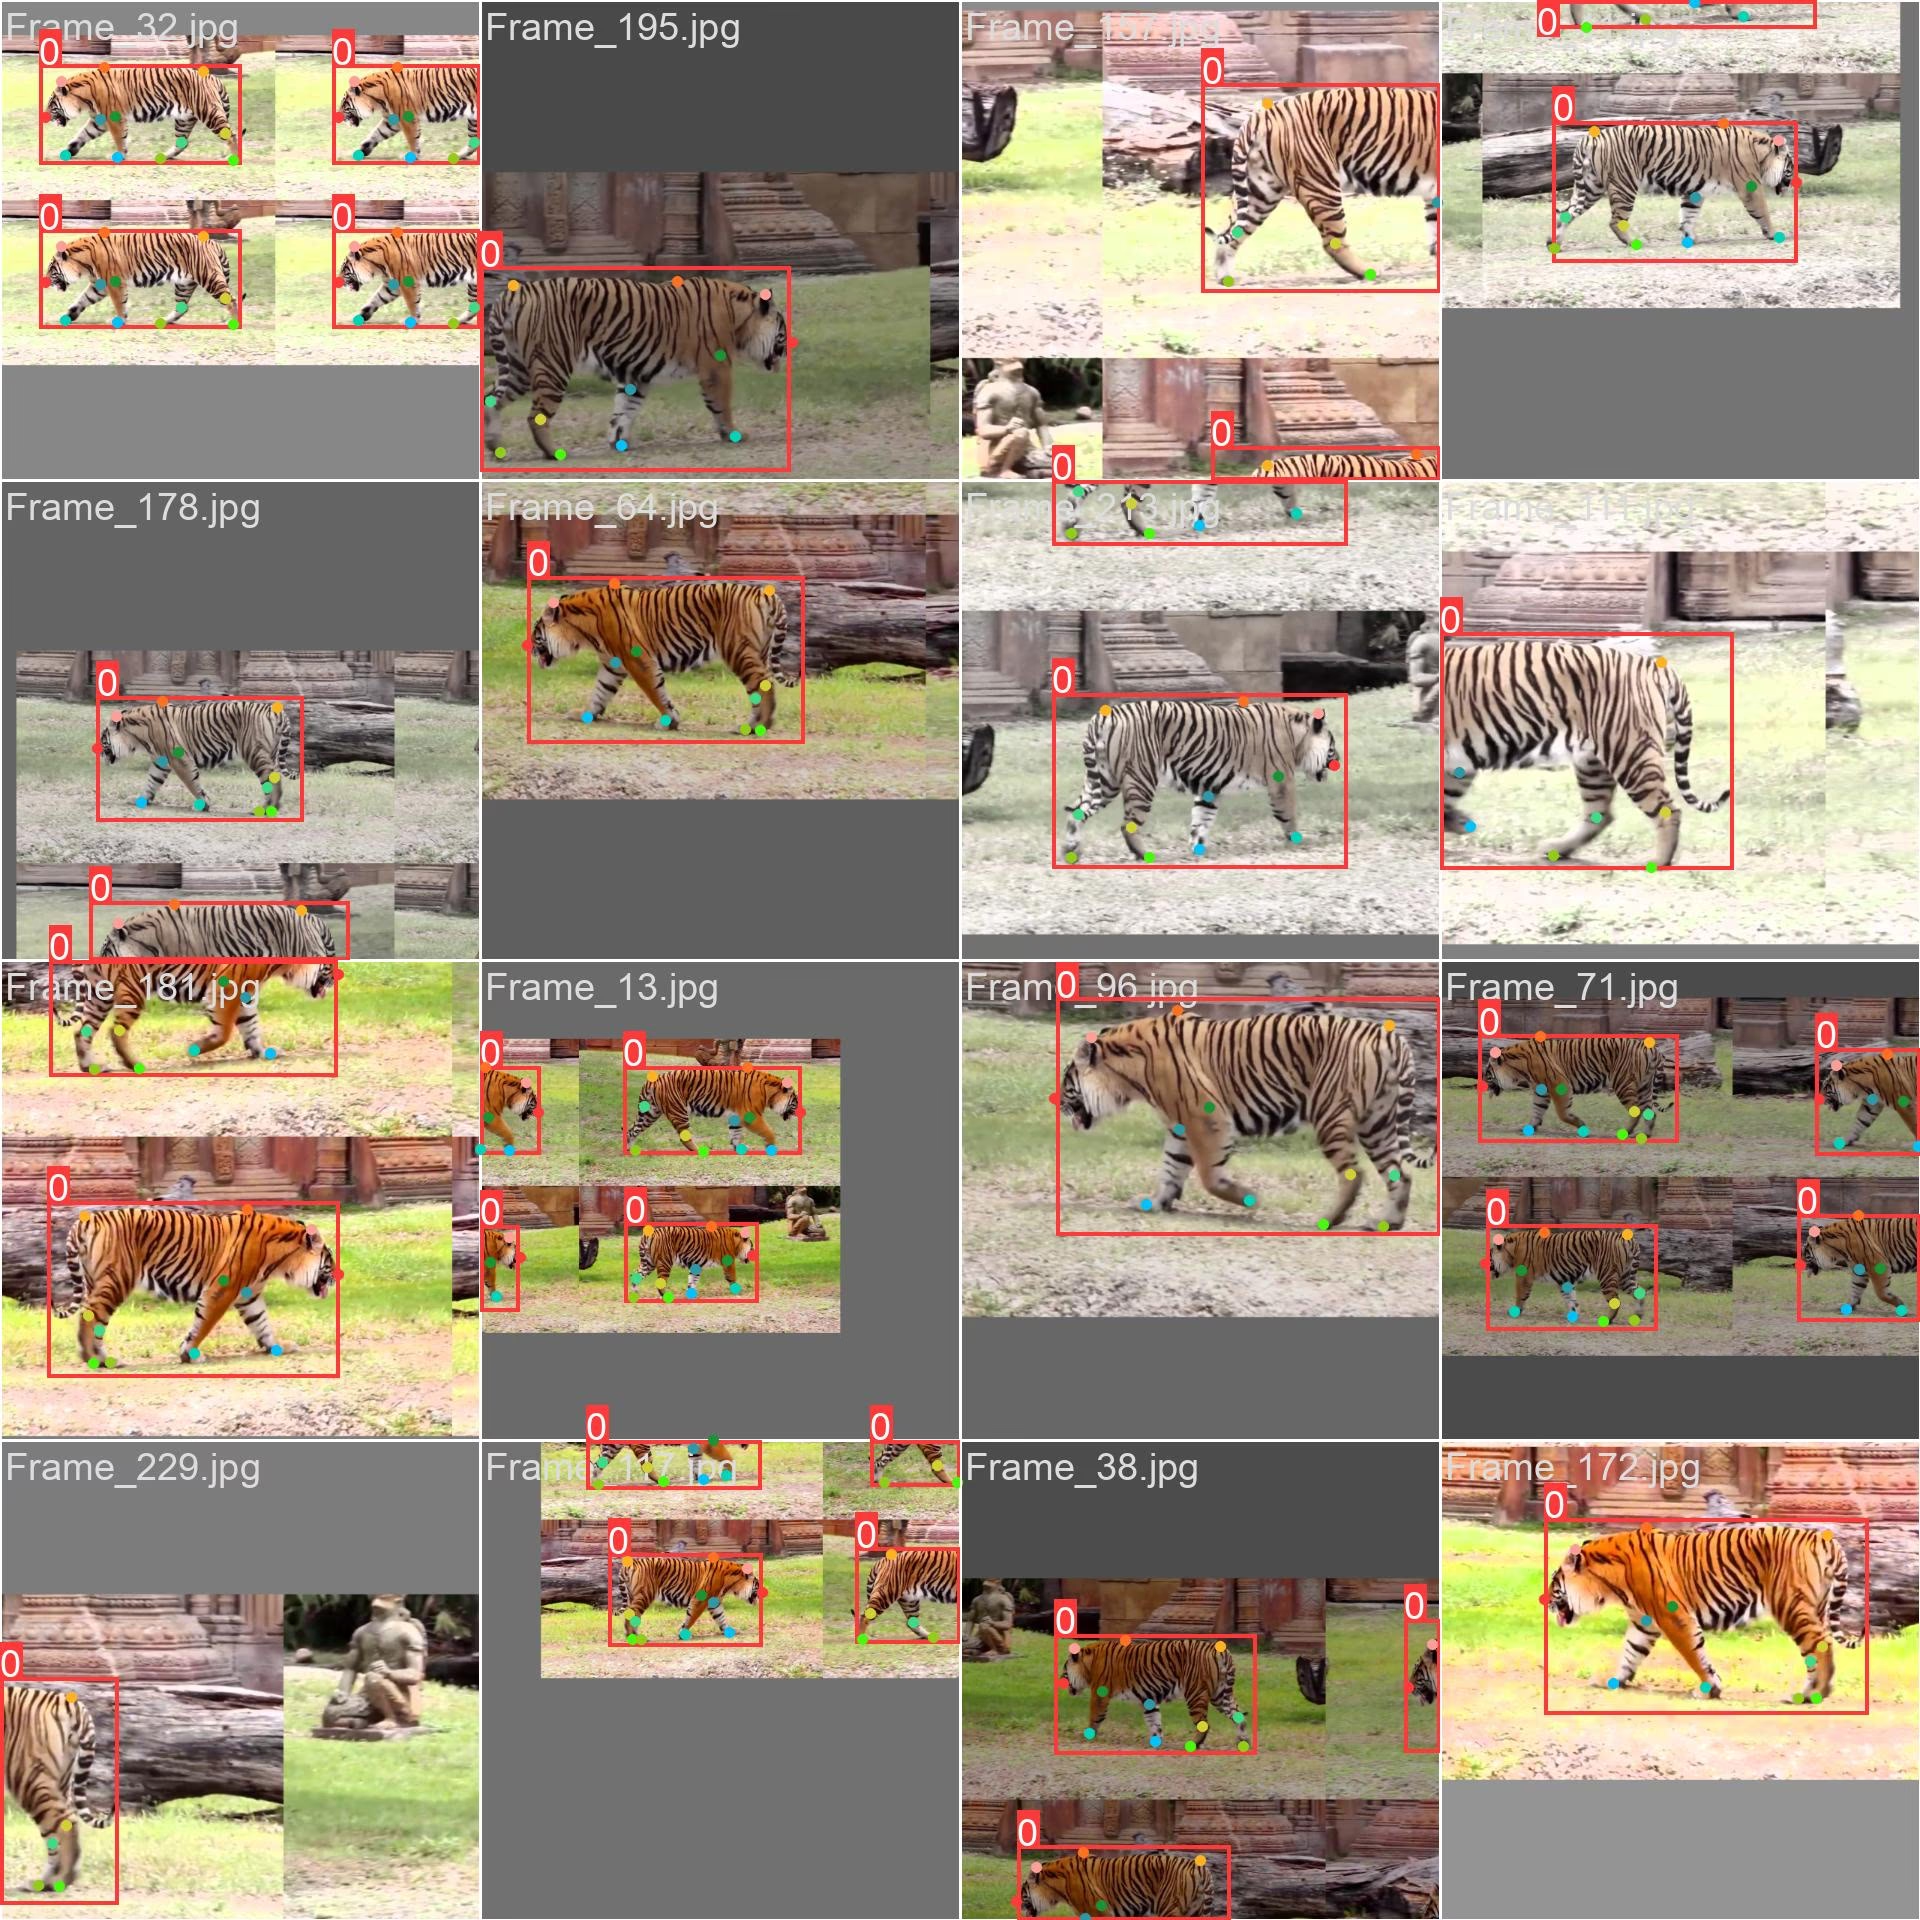
- Imagem em mosaico: esta imagem mostra um lote de treinamento composto por imagens do conjunto de dados organizadas em mosaico. A criação de mosaicos é uma técnica usada durante o treinamento que combina várias imagens numa só para aumentar a variedade de objetos e cenas em cada lote de treinamento. Isso ajuda a melhorar a capacidade do modelo de generalizar para diferentes tamanhos de objetos, proporções e contextos.
O exemplo mostra a variedade e a complexidade das imagens do conjunto de dados Tiger-Pose e os benefícios de usar mosaicos durante o processo de treinamento.
Exemplo de inferência#
Após o treinamento, carregue seu melhor checkpoint e execute a inferência em novas imagens ou vídeos — consulte a página de Predição para ver a lista completa de argumentos.
from ultralytics import YOLO

# Carregar um modelo
model = YOLO("path/to/best.pt")  # carrega um modelo treinado com tiger-pose

# Executar inferência
results = model.predict(source="https://youtu.be/Gc6K5eKrTNQ", show=True)
Citações e agradecimentos#
A Ultralytics disponibiliza as anotações do conjunto de dados Tiger-Pose sob a Licença AGPL-3.0. O vídeo de origem continua sujeito aos seus termos originais, que devem ser analisados antes de usar ou redistribuir os quadros extraídos.
Perguntas frequentes#
O conjunto de dados Tiger-Pose da Ultralytics foi criado para tarefas de estimativa de pose e é composto por 263 imagens obtidas de um vídeo do YouTube. O conjunto de dados está dividido em 210 imagens de treinamento e 53 imagens de validação, sendo ideal para testar, treinar e aprimorar algoritmos de estimativa de pose.
Carregue
yolo26n-pose.pte chamemodel.train(data="tiger-pose.yaml", epochs=100, imgsz=640)— consulte o Exemplo de treinamento acima para ver os trechos completos de Python e da CLI, e a página de Treinamento para consultar a lista completa de argumentos.O arquivo
tiger-pose.yamldefine o caminho do conjunto de dados, os diretórios de imagens de treino/validação, uma única classe (tiger) ekpt_shape: [12, 2]— 12 pontos-chave por instância, sem indicador de visibilidade. Consulte o Arquivo de configuração do conjunto de dados Tiger-Pose da Ultralytics para ver a configuração exata.Carregue seu checkpoint treinado (por exemplo,
path/to/best.pt) e chamemodel.predict(source=..., show=True)— consulte o Exemplo de inferência acima para ver os trechos completos de Python e da CLI, e a página de Predição para consultar a lista completa de argumentos.Com 263 imagens no total (210 para treino / 53 para validação), 1 classe, 12 pontos-chave por instância e um download de ~49,8 MB, Tiger-Pose é pequeno o bastante para ser gerenciado rapidamente, mas diversificado o suficiente para verificar um pipeline de treinamento de pose e identificar erros antes de trabalhar com conjuntos de dados maiores.


Comentários17
Faz uma pergunta, partilha os teus resultados ou ajuda alguém.
wcy7788
@glenn-jocherWhere should I go to Ultralytics to find the code for this?
 Glenn JocherUltralytics
You can find the code for the Tiger-Pose dataset in the
ultralytics/cfg/datasets/tiger-pose.yamlfile. For more details, please visit the Tiger-Pose documentation.
What software should be used for the training of fish key points,I should mark a few key points?
- Glenn JocherUltralytics(editado)
@wcy7788 for training fish keypoints, you can use the YOLO26-pose model. Annotate your dataset with keypoints and follow the training process similar to the Tiger-Pose example. For more details, refer to the Ultralytics documentation.
PedroPiana
In my dataset, do I necessarily need to have the Bounding Boxes?
- Glenn JocherUltralytics(editado)
Yes, for pose estimation tasks like those using the Tiger-Pose dataset, each label row includes a bounding box followed by the keypoints:
<class-index> <x> <y> <width> <height> <px1> <py1> .... The bounding box (normalized center x, y, width, height) is part of the pose label format, so annotate both the box and the keypoints for each object. 🐅For more details on setting up your dataset for pose estimation, you can refer to the Tiger-Pose dataset documentation and the pose dataset format.
teengineer
Hello, when i executed the predict code, i took a warning 'WARNING ⚠️ Environment does not support cv2.imshow() or PIL Image.show() google colab'. I worked on Google Colab. How can i see the results?
- Glenn JocherUltralytics(editado)
@teengineer hello! 😊 It seems you're facing an issue with displaying images in Google Colab due to its environment limitations. To view your results in Colab, you can use the following approach to display images directly in the notebook:
from pathlib import Path

from IPython.display import Image, display
from ultralytics import YOLO

# Load your model
model = YOLO('yolo26n.pt')  # or your custom model

# Run prediction (ensure 'save' is True to save output images)
results = model.predict(source='path/to/your/image.jpg', save=True)

# Display the saved image
display(Image(f"{results[0].save_dir}/{Path(results[0].path).name}"))  # saved output in the predict run folder
This method saves the output image and then uses IPython's display capabilities to show the image within your notebook. Hope this helps you see your results! Let us know if you have any more questions.
1 Thank you @glenn-jocher, i forgot the 'save' parameter on predict func.
Hi, I want to show prediction result on video but it throw an warning, is there a way for showing? This warning is 'WARNING ⚠️ Environment does not support cv2.imshow() or PIL Image.show()'
- Glenn JocherUltralytics(editado)
Hey there! 😊 It looks like you're trying to display video predictions in an environment that doesn't support
cv2.imshow()orPIL Image.show(), such as Google Colab. No worries, you can still view your video predictions by saving the output and then displaying it directly in the notebook. Here's a quick example on how you could modify your code to save the video predictions and then useIPython.displayto show the video:from ultralytics import YOLO from pathlib import Path from IPython.display import FileLink, display # Load your model model = YOLO('yolo26n.pt') # or your custom model # Run prediction on your video and save the output results = model.predict(source='path/to/your/video.mp4', save=True) # The output is saved in the predict run folder (results[0].save_dir), named after the source file # (.mp4 on macOS, .avi on Windows/Linux) # Generate a link to download the video file output_video_path = next(Path(results[0].save_dir).glob('*.*')) display(FileLink(output_video_path))This code will provide a link to download the video file with the predictions. Just replace
'path/to/your/video.mp4'with your actual video path. Hope this helps you view your prediction results! Let me know if there's anything else I can assist you with.1 Thank you for your time.
- Glenn JocherUltralytics
Hey there! 😊 If you're encountering the 'WARNING ⚠️ Environment does not support cv2.imshow() or PIL Image.show()' message while trying to display video predictions in Google Colab, you can save the predictions to a video file and then display it directly in the notebook. Here's a quick example on how to do it:
from ultralytics import YOLO

# Load your model
model = YOLO('yolov8n.pt')  # or your custom model

# Run prediction on your video and save the output
results = model.predict(source='path/to/your/video.mp4', save=True)

# Use the 'files.download()' function from Google Colab to download the result video
from google.colab import files
files.download('path/to/saved/video.mp4')  # Adjust the path to your saved video
This way, you can view the video with predictions by downloading it. Hope this helps! Let me know if you have any more questions.
1
Hi, can yolov8-pose make classifications such as tiger standing, tiger lying down?
- Glenn JocherUltralytics
@teengineer hey there! 🐯 YOLOv8-pose can indeed classify different tiger poses like standing or lying down, but it primarily focuses on pose estimation rather than direct classification. You'd typically train the model to recognize various keypoints on the tiger, and based on the keypoints' positions, you could infer the pose.
For example, after training with the Tiger-Pose dataset, you could analyze the keypoints to determine the pose:
from ultralytics import YOLO

# Load your trained model
model = YOLO('path/to/your/trained_model.pt')

# Run inference
results = model.predict(source='path/to/your/image.jpg')

# Analyze keypoints for pose classification
keypoints = results[0].keypoints
# Here you'd implement your logic to classify poses based on keypoints
This approach gives you the flexibility to define what constitutes a "standing" or "lying down" pose based on the keypoints' arrangement. Hope this helps! Let us know if you have more questions.
Thank you.
- Glenn JocherUltralytics
Hey there! 🐅 Absolutely, YOLOv8-pose can be tailored to classify specific tiger poses by analyzing the keypoints' arrangement. While it's primarily designed for pose estimation, you can infer poses like standing or lying down based on the keypoints. Here's a quick example using the Tiger-Pose dataset:
from ultralytics import YOLO

# Load your trained model
model = YOLO('path/to/your/trained_model.pt')

# Run inference on an image
results = model.predict(source='path/to/your/image.jpg')

# Analyze keypoints for pose classification
keypoints = results[0].keypoints
# Implement your logic here to classify poses based on keypoints
This way, you can classify the tiger's pose by examining the positions of detected keypoints. Hope this helps, and feel free to reach out if you have more questions! 🚀
2