Conda Quickstart Guide for Ultralytics
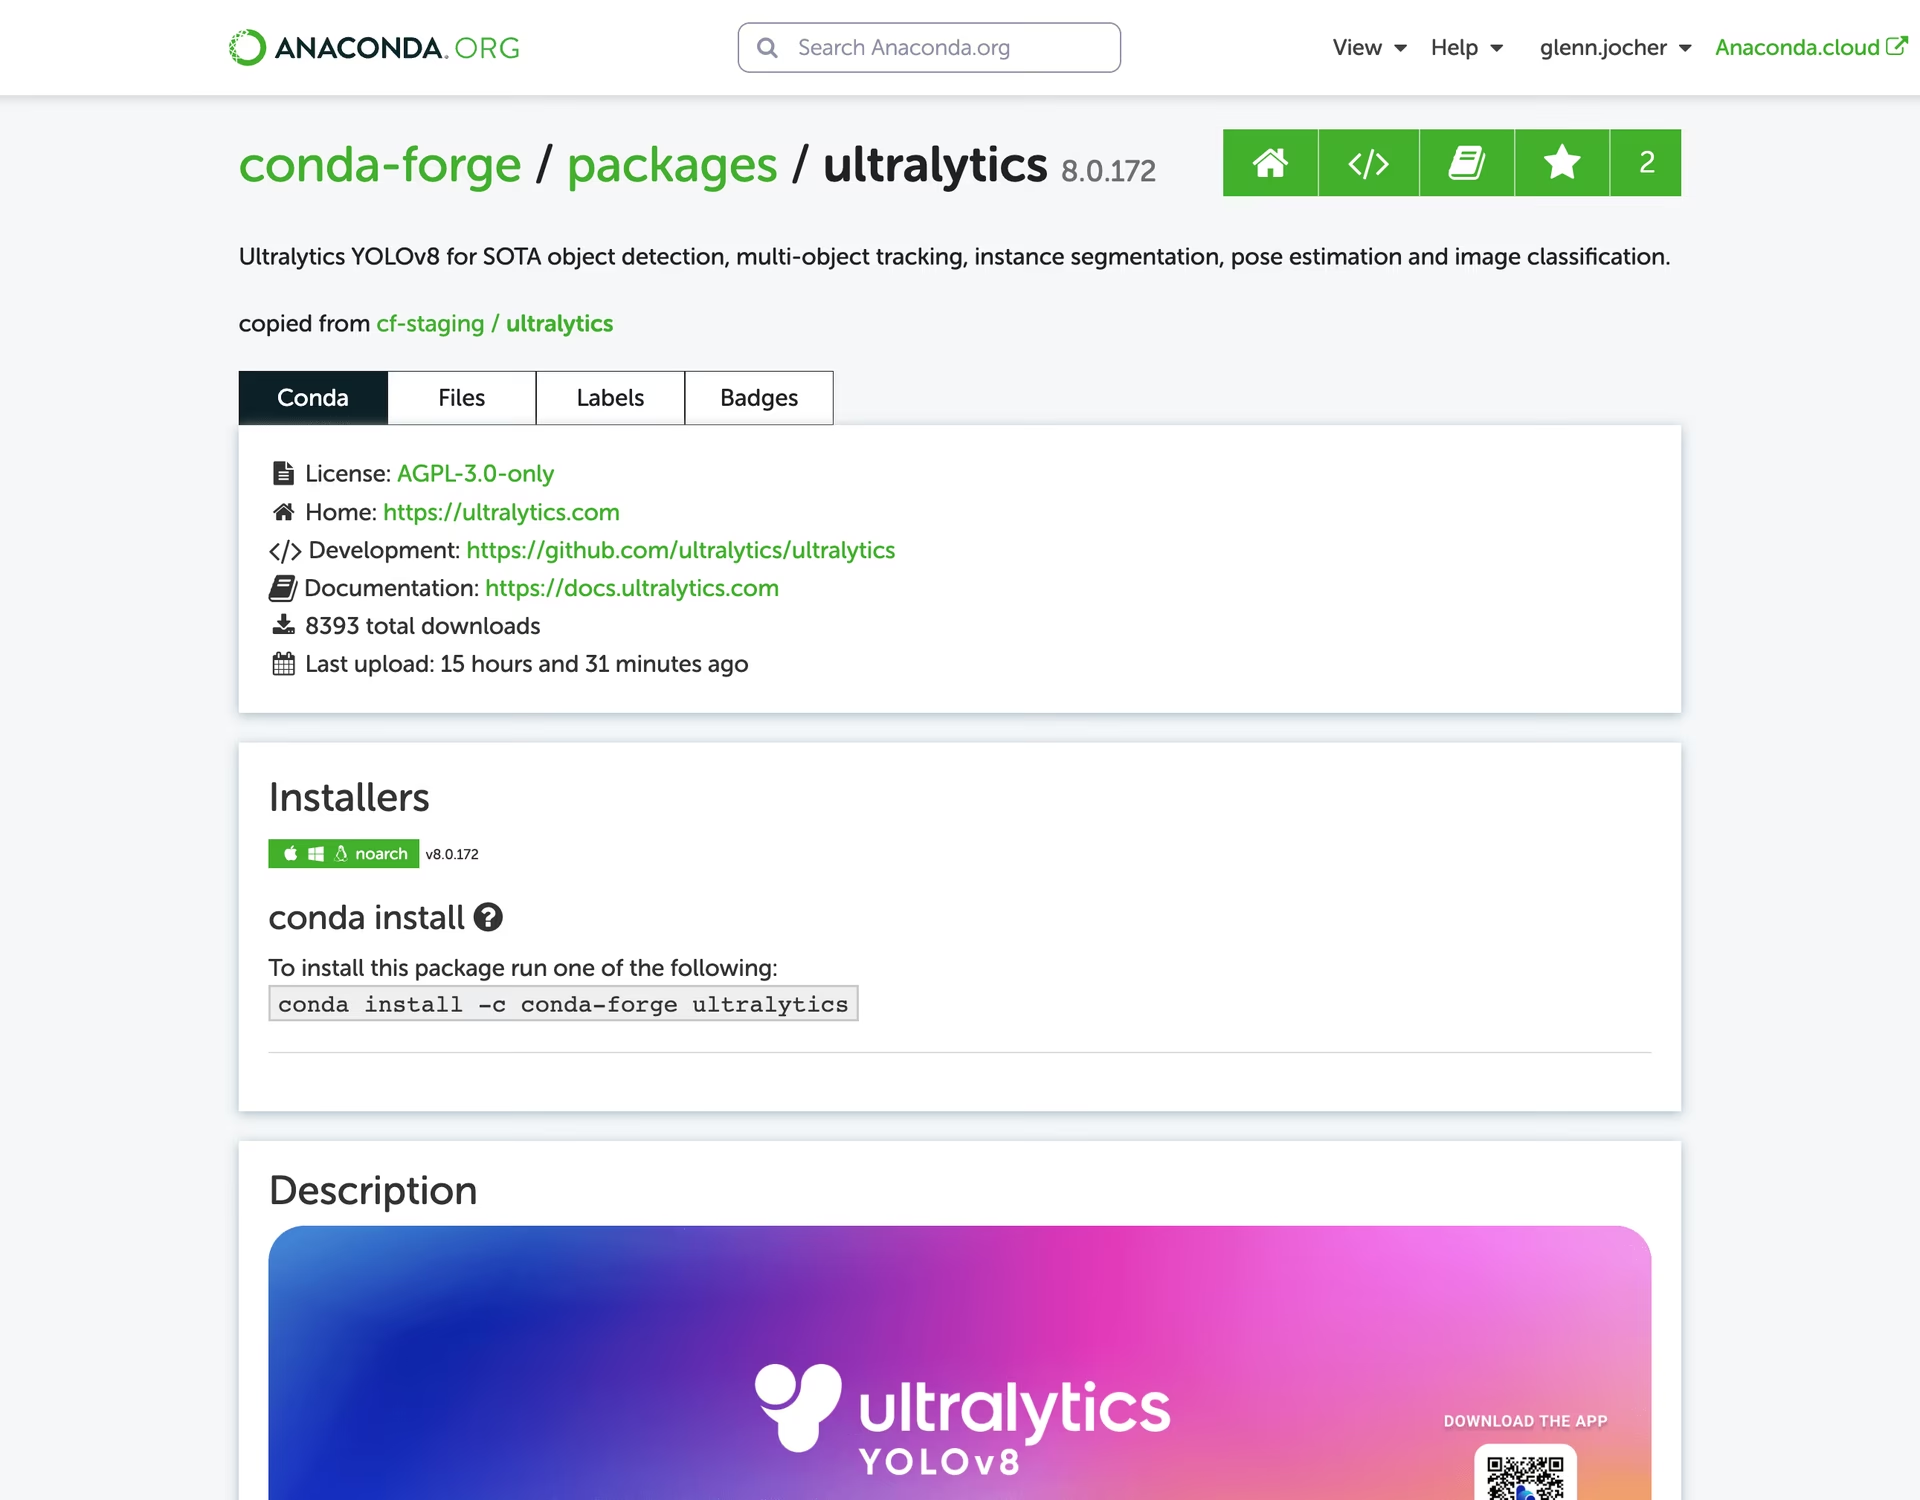
This guide provides a comprehensive introduction to setting up a Conda environment for your Ultralytics projects. Conda is an open-source package and environment management system that offers an excellent alternative to pip for installing packages and dependencies. Its isolated environments make it particularly well-suited for data science and machine learning endeavors. For more details, visit the Ultralytics Conda package on Anaconda and check out the Ultralytics feedstock repository for package updates on GitHub.

![]()


What You Will Learn
- Setting up a Conda environment
- Installing Ultralytics via Conda
- Initializing Ultralytics in your environment
- Using Ultralytics Docker images with Conda
Prerequisites
- You should have Anaconda or Miniconda installed on your system. If not, download and install it from Anaconda or Miniconda.
Setting up a Conda Environment
First, let's create a new Conda environment. Open your terminal and run the following command:
conda create --name ultralytics-env python=3.11 -y
Activate the new environment:
conda activate ultralytics-env
Installing Ultralytics
You can install the Ultralytics package from the conda-forge channel. Execute the following command:
conda install -c conda-forge ultralytics
Note on CUDA Environment
If you're working in a CUDA-enabled environment, it's a good practice to install ultralytics, pytorch, and pytorch-cuda together to resolve any conflicts:
conda install -c pytorch -c nvidia -c conda-forge pytorch torchvision pytorch-cuda=11.8 ultralytics
Using Ultralytics
With Ultralytics installed, you can now start using its robust features for object detection, instance segmentation, and more. For example, to predict an image, you can run:
from ultralytics import YOLO

model = YOLO("yolo26n.pt")  # initialize model
results = model("path/to/image.jpg")  # perform inference
results[0].show()  # display results for the first image
Ultralytics Conda Docker Image
If you prefer using Docker, Ultralytics offers Docker images with a Conda environment included. You can pull these images from DockerHub.
Pull the latest Ultralytics image:
# Set image name as a variable
t=ultralytics/ultralytics:latest-conda

# Pull the latest Ultralytics image from Docker Hub
sudo docker pull $t
Run the image:
# Run the Ultralytics image in a container with GPU support
sudo docker run -it --ipc=host --runtime=nvidia --gpus all $t            # all GPUs
sudo docker run -it --ipc=host --runtime=nvidia --gpus '"device=2,3"' $t # specify GPUs
Speeding Up Installation with Libmamba
If you're looking to speed up the package installation process in Conda, you can opt to use libmamba, a fast, cross-platform, and dependency-aware package manager that serves as an alternative solver to Conda's default.
How to Enable Libmamba
To enable libmamba as the solver for Conda, you can perform the following steps:
First, install the
conda-libmamba-solverpackage. This can be skipped if your Conda version is 4.11 or above, aslibmambais included by default.conda install conda-libmamba-solverNext, configure Conda to use
libmambaas the solver:conda config --set solver libmamba
And that's it! Your Conda installation will now use libmamba as the solver, which should result in a faster package installation process.
You have successfully set up a Conda environment, installed the Ultralytics package, and are now ready to explore its features. For more advanced tutorials and examples, see the Ultralytics documentation.
FAQ
What is the process for setting up a Conda environment for Ultralytics projects?
Setting up a Conda environment for Ultralytics projects is straightforward and ensures smooth package management. First, create a new Conda environment using the following command:
conda create --name ultralytics-env python=3.11 -y
Then, activate the new environment with:
conda activate ultralytics-env
Finally, install Ultralytics from the conda-forge channel:
conda install -c conda-forge ultralytics
Why should I use Conda over pip for managing dependencies in Ultralytics projects?
Conda is a robust package and environment management system that offers several advantages over pip. It manages dependencies efficiently and ensures that all necessary libraries are compatible. Conda's isolated environments prevent conflicts between packages, which is crucial in data science and machine learning projects. Additionally, Conda supports binary package distribution, speeding up the installation process.
Can I use Ultralytics YOLO in a CUDA-enabled environment for faster performance?
Yes, you can enhance performance by utilizing a CUDA-enabled environment. Ensure that you install ultralytics, pytorch, and pytorch-cuda together to avoid conflicts:
conda install -c pytorch -c nvidia -c conda-forge pytorch torchvision pytorch-cuda=11.8 ultralytics
This setup enables GPU acceleration, crucial for intensive tasks like deep learning model training and inference. For more information, visit the Ultralytics installation guide.
What are the benefits of using Ultralytics Docker images with a Conda environment?
Using Ultralytics Docker images ensures a consistent and reproducible environment, eliminating "it works on my machine" issues. These images include a pre-configured Conda environment, simplifying the setup process. You can pull and run the latest Ultralytics Docker image with the following commands:
sudo docker pull ultralytics/ultralytics:latest-conda
sudo docker run -it --ipc=host --runtime=nvidia --gpus all ultralytics/ultralytics:latest-conda            # all GPUs
sudo docker run -it --ipc=host --runtime=nvidia --gpus '"device=2,3"' ultralytics/ultralytics:latest-conda # specify GPUs
This approach is ideal for deploying applications in production or running complex workflows without manual configuration. Learn more about Ultralytics Conda Docker Image.
How can I speed up Conda package installation in my Ultralytics environment?
You can speed up the package installation process by using libmamba, a fast dependency solver for Conda. First, install the conda-libmamba-solver package:
conda install conda-libmamba-solver
Then configure Conda to use libmamba as the solver:
conda config --set solver libmamba
This setup provides faster and more efficient package management. For more tips on optimizing your environment, read about libmamba installation.


