Cách cài đặt Ultralytics YOLO bằng Conda
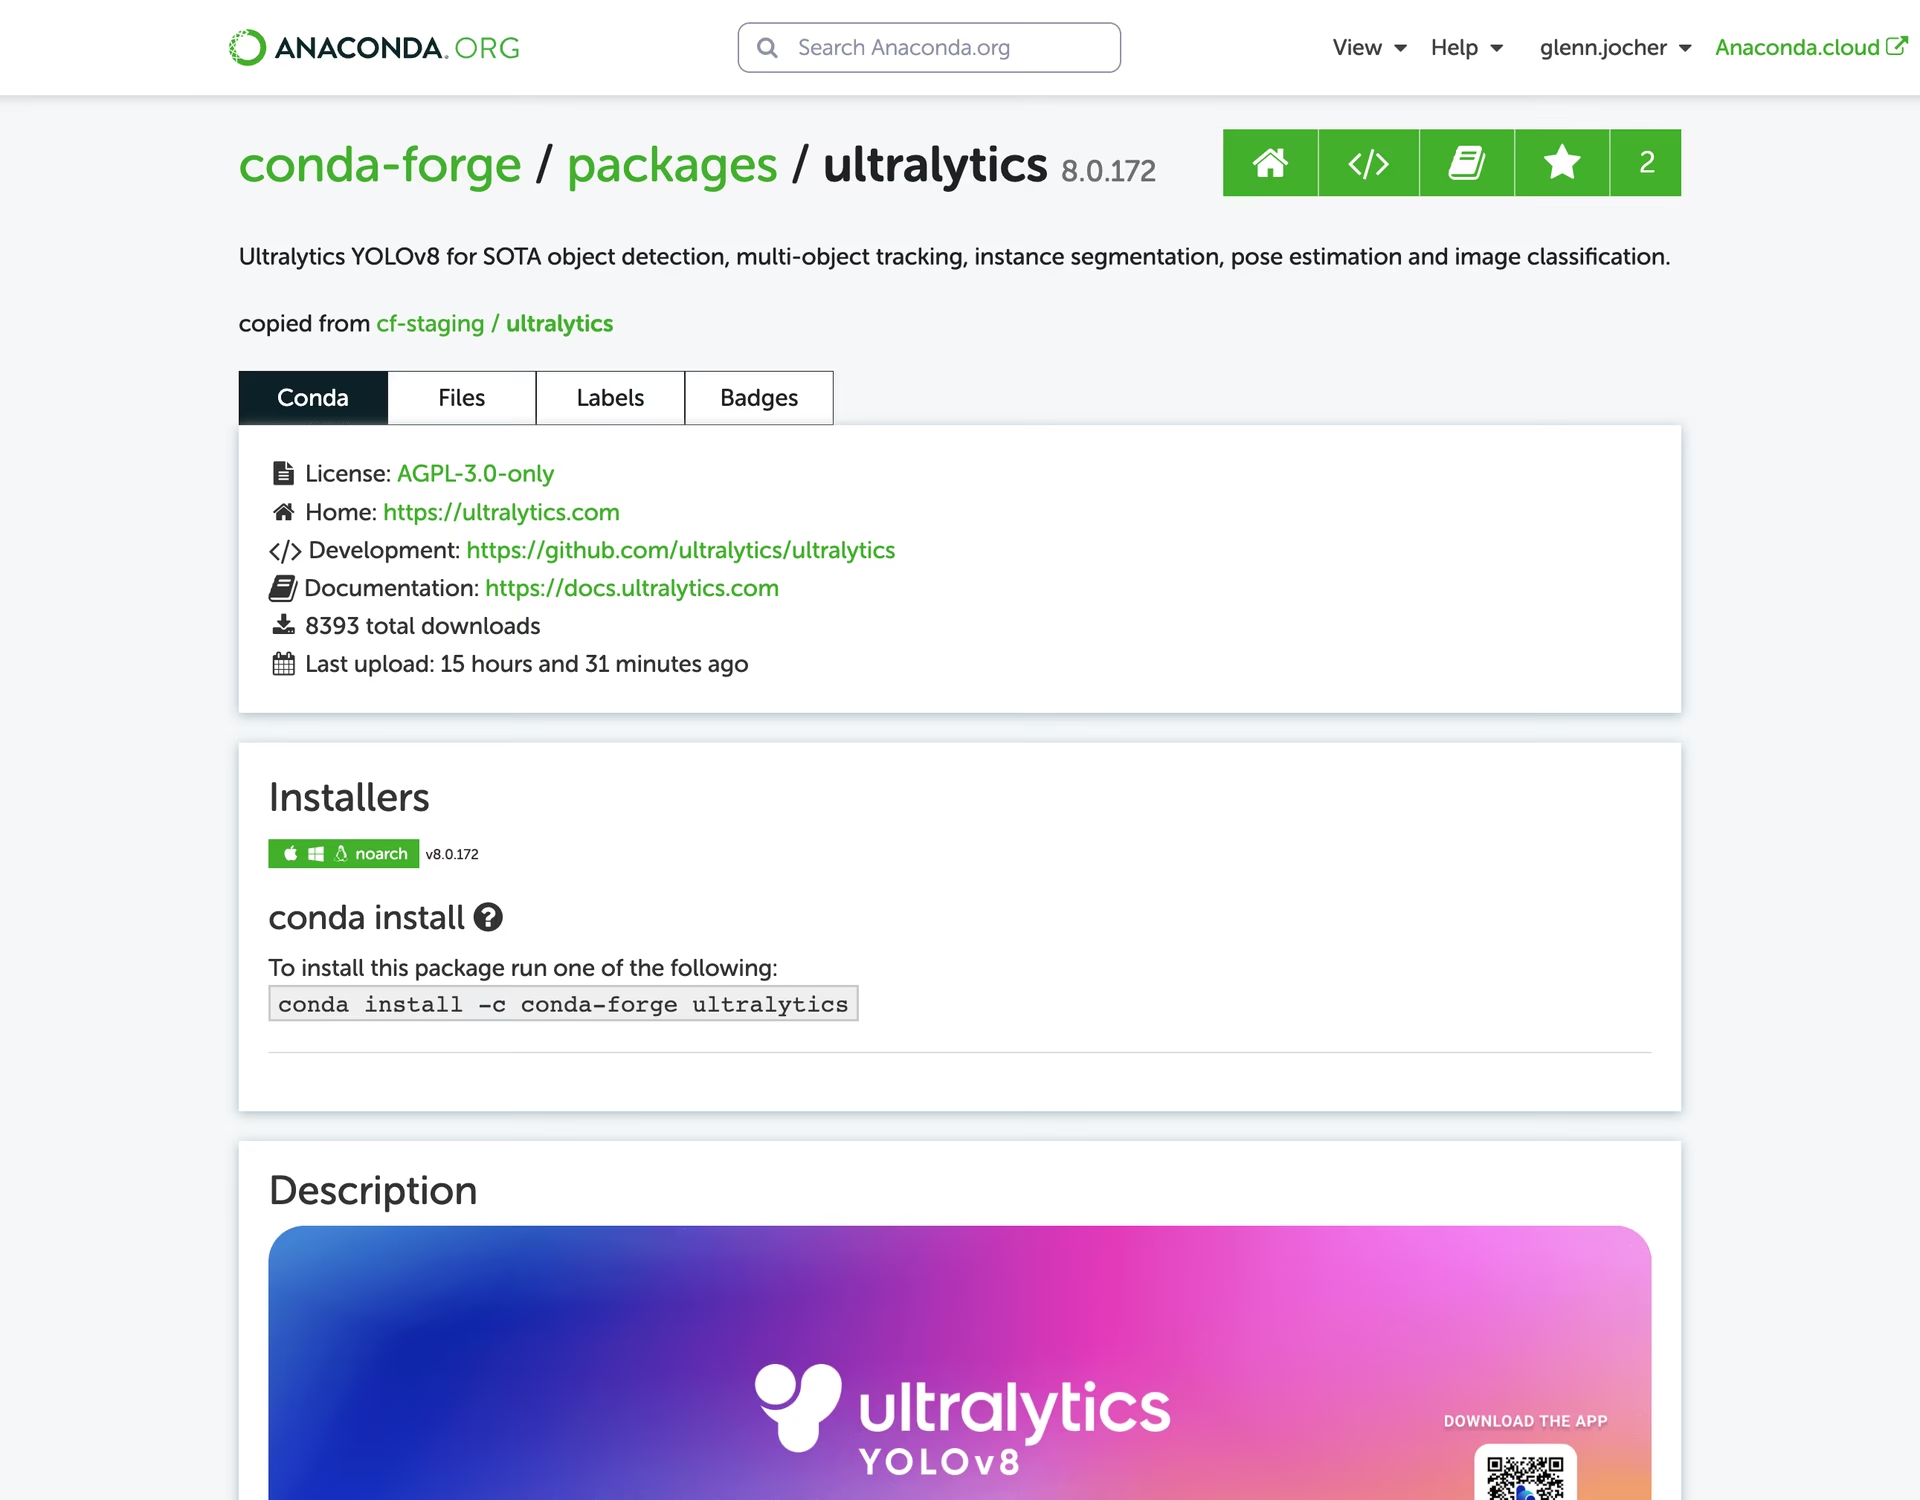
Hướng dẫn này trình bày cách thiết lập môi trường Conda cho các dự án Ultralytics. Conda là hệ thống mã nguồn mở để quản lý package và môi trường, đồng thời là lựa chọn thay thế pip để cài đặt package và dependency. Các môi trường cô lập khiến Conda đặc biệt phù hợp cho công việc khoa học dữ liệu và machine learning.



Hướng dẫn này trình bày cách tạo môi trường với Ultralytics, chạy inference, sử dụng image Docker Conda và tăng tốc quá trình cài đặt bằng libmamba.
Điều kiện tiên quyết#
Bạn cần cài đặt Anaconda hoặc Miniconda trên hệ thống. Nếu chưa có, hãy tải xuống và cài đặt từ Anaconda hoặc Miniconda.
Cài đặt Ultralytics#
Tạo một môi trường Conda mới với Ultralytics từ channel conda-forge, sau đó kích hoạt môi trường đó. Cài đặt Python, Ultralytics và torchvision (không phải dependency của package conda-forge) trong cùng một lệnh để conda phân giải các phiên bản hiện tại tương thích với nhau:
conda create --name ultralytics-env -c conda-forge python=3.11 ultralytics torchvision -y
conda activate ultralytics-envNếu đang làm việc trong môi trường hỗ trợ CUDA, hãy thêm metapackage pytorch-gpu của conda-forge vào cùng lệnh để conda phân giải bản PyTorch hỗ trợ CUDA:
conda create --name ultralytics-env -c conda-forge python=3.11 ultralytics torchvision pytorch-gpu -y
conda activate ultralytics-env
Lưu ý về môi trường ROCm (GPU AMD, Linux)#
Để tăng tốc bằng GPU AMD trên Linux với ROCm, các wheel PyTorch ROCm không có sẵn qua Conda và phải được cài đặt bằng pip. Hãy sử dụng môi trường Conda để cách ly, sau đó cài đặt PyTorch ROCm và Ultralytics bằng pip:
conda create --name ultralytics-rocm python=3.12 -y
conda activate ultralytics-rocm
pip install "torch[device-all]" "torchvision[device-all]" --index-url https://stable.repo.amd.com/rocm/whl-next/
pip install ultralytics
Xem trang Bắt đầu với PyTorch để biết các phiên bản ROCm được hỗ trợ và hướng dẫn GPU AMD để thiết lập inference MIGraphX; yêu cầu Python 3.11 trở lên trên Linux x86_64.
Sử dụng Ultralytics#
Sau khi cài đặt Ultralytics, bạn có thể chạy phát hiện đối tượng, phân đoạn thực thể và các tác vụ thị giác khác. Ví dụ, để chạy suy luận trên ảnh:
from ultralytics import YOLO

model = YOLO("yolo26n.pt")  # khởi tạo model
results = model("path/to/image.jpg")  # thực hiện inference
results[0].show()  # hiển thị kết quả cho ảnh đầu tiên
Docker image Conda của Ultralytics#
Conda Dockerfile sử dụng PyTorch 2.13, torchvision 0.28 và CUDA 13.0 từ conda-forge. Các bản phát hành conda-forge có thể chậm hơn các bản phát hành PyTorch pip được dùng trong GPU image tiêu chuẩn. Tính năng tự động xuất bản latest-conda đã bị tắt, vì vậy hãy build image hiện tại trên máy:
git clone https://github.com/ultralytics/ultralytics
cd ultralytics
t=ultralytics-conda:local
sudo docker build -f docker/Dockerfile-conda -t $t .
Chạy image:
# Run the Ultralytics image in a container with GPU support
sudo docker run -it --ipc=host --device nvidia.com/gpu=all $t                         # all GPUs
sudo docker run -it --ipc=host --device nvidia.com/gpu=2 --device nvidia.com/gpu=3 $t # specify GPUs
Trên Linux, yêu cầu thiết bị CDI cần Docker >= 28.2.0 và NVIDIA Container Toolkit >= 1.18. Cờ --gpus all cũ có thể khiến GPU không còn truy cập được sau khi daemon trên host tải lại, vì vậy hãy nâng cấp các host Linux cũ và thay vào đó sử dụng --device. Xem Hướng dẫn bắt đầu nhanh với Docker để biết chi tiết.
Tăng tốc cài đặt bằng Libmamba#
libmamba là solver nhanh, đa nền tảng, có xét đến dependency, thay thế solver cổ điển của Conda. Conda 23.10 trở lên đã sử dụng libmamba làm solver mặc định, vì vậy hầu hết bản cài đặt đều nhanh hơn ngay từ đầu.
Nếu bạn đang dùng phiên bản Conda cũ hơn, bạn có thể bật libmamba theo cách thủ công:
-
Trước tiên, cài đặt package
conda-libmamba-solver:conda install conda-libmamba-solver -
Tiếp theo, cấu hình Conda để sử dụng
libmambalàm solver:conda config --set solver libmamba
Bạn đã thiết lập thành công môi trường Conda, cài đặt package Ultralytics và hiện đã sẵn sàng khám phá các tính năng của package. Để xem thêm hướng dẫn và ví dụ nâng cao, hãy tham khảo tài liệu Ultralytics.
Câu hỏi thường gặp#
Tạo môi trường bằng Python và Ultralytics từ channel conda-forge trong một lệnh để conda phân giải chúng cùng lúc, sau đó kích hoạt môi trường:
conda create --name ultralytics-env -c conda-forge python=3.11 ultralytics torchvision -y conda activate ultralytics-envConda là hệ thống quản lý package và môi trường, có một số ưu điểm so với pip. Conda quản lý dependency hiệu quả và đảm bảo tất cả thư viện cần thiết tương thích với nhau. Các môi trường cô lập của Conda ngăn xung đột giữa các package, điều rất quan trọng trong các dự án khoa học dữ liệu và machine learning. Ngoài ra, Conda hỗ trợ phân phối package nhị phân, giúp tăng tốc quá trình cài đặt.
Có. Tạo môi trường bằng
ultralyticsvà metapackage conda-forgepytorch-gputrong cùng một lệnh để bản dựng PyTorch hỗ trợ CUDA được phân giải đồng thời:conda create --name ultralytics-env -c conda-forge python=3.11 ultralytics torchvision pytorch-gpu -y conda activate ultralytics-envThiết lập này bật khả năng tăng tốc GPU, yếu tố thiết yếu cho các tác vụ chuyên sâu như huấn luyện và suy luận model deep learning. Để biết thêm thông tin, hãy truy cập hướng dẫn cài đặt Ultralytics.
Dockerfile Conda cung cấp một môi trường conda-forge biệt lập với PyTorch hỗ trợ CUDA. Làm theo hướng dẫn build cục bộ, sau đó chạy image với các tùy chọn GPU được trình bày tại đó. Image GPU tiêu chuẩn đã phát hành và các lựa chọn khác được liệt kê trong hướng dẫn Docker.
Conda 23.10 trở lên đã mặc định sử dụng solver nhanh
libmamba. Với các phiên bản Conda cũ hơn, bạn có thể bật solver này theo cách thủ công bằng cách cài đặt packageconda-libmamba-solvertrước:conda install conda-libmamba-solverSau đó, cấu hình Conda để sử dụng
libmambalàm solver:conda config --set solver libmambaThiết lập này giúp quản lý package nhanh và hiệu quả hơn.


Bình luận6
Đặt câu hỏi, chia sẻ kết quả hoặc giúp đỡ người khác.
najwazkiyahh
Hi! I'm the new to using YOLO. I have python 3.12 on my laptop because my previous exam need it-the latest version of python. I want to install ultralytics YOLOv11, should I downgrade my python version from 3.12 into 3.11? Or I should downgrade my python version to the recommended requirement, 3.8? Thank you, hope you (anybody) can answer my confusion.
 Glenn JocherUltralytics
@najwazkiyahh you don't need to downgrade your system Python! 😊 Simply create a Conda environment with Python 3.11 using
conda create --name yolo_env python=3.11, then activate it and install Ultralytics. This keeps your existing Python 3.12 intact while giving you a compatible YOLO11 environment. For full steps, see the Conda Quickstart Guide for Ultralytics.We recommend this approach as it maintains version isolation while allowing you to work with both Python versions seamlessly. Welcome to the YOLO community! 🚀
Malvinlam
Hi is there a way to install the yolov8 dependencies using Anaconda prompt to the virtual environment other than pip install ultralytics? For example I already downloaded the ultralytics package from GitHub and opened it as project folder using PyCharm. Is there a way to only install the required libraries?
- Glenn JocherUltralytics(đã chỉnh sửa)
@Malvinlam hi there! 👋
Absolutely, you can install the required dependencies for Ultralytics using Conda without relying on
pip install ultralytics. Here's a step-by-step guide to help you set up your Conda environment and install the necessary libraries:-
Create a New Conda Environment: First, create a new Conda environment with Python 3.11 (or your preferred version):
conda create --name ultralytics-env python=3.11 -y -
Activate the Environment: Activate your newly created environment:
conda activate ultralytics-env -
Install Required Libraries: The repository no longer has a
requirements.txt; its dependencies are declared inpyproject.toml. From the root of your cloned repository, run:pip install -e .Alternatively, if you want to install specific packages manually, you can use:
conda install -c conda-forge numpy pandas matplotlib opencv scikit-learn conda install -c pytorch pytorch torchvision torchaudio -
Note on CUDA Environment: If you're working in a CUDA-enabled environment, it's a good practice to install
pytorchandpytorch-cudatogether to resolve any conflicts:conda install -c pytorch -c nvidia -c conda-forge pytorch torchvision torchaudio pytorch-cuda=11.8 -
Using Ultralytics: With the dependencies installed, you can now start using Ultralytics. For example, to perform inference with YOLO26:
from ultralytics import YOLO

model = YOLO("yolo26n.pt")  # initialize model
results = model("path/to/image.jpg")  # perform inference
results[0].show()  # display results for the first image
For more detailed instructions, you can refer to our Conda Quickstart Guide.
If you encounter any issues or have further questions, feel free to ask. Happy coding! 😊
-
nadinator
Does the python version have to be 3.8? Can it be a newer version? What would/wouldn't break if we used 3.11, for example (I'm thinking of the [ray]tuning feature)?
- Glenn JocherUltralytics
Hey there! 😊
You can definitely use Python versions newer than 3.8, including 3.11. However, it's important to note that while most features should work fine, there might be some compatibility issues with newer Python versions, especially with external libraries or specific features like [ray] tuning.
If you're keen on using Python 3.11, I'd recommend testing the key functionalities you plan to use in your project to ensure everything runs smoothly. For the [ray] tuning feature, you might want to check Ray's documentation or GitHub issues for any known compatibility concerns with Python 3.11.
Here's a quick example of how you might set up your environment with Python 3.11:
conda create --name ultralytics-env python=3.11 -y
conda activate ultralytics-env
conda install -c conda-forge ultralytics
And remember, if you encounter any issues, the Ultralytics community is here to help! 🚀