Tiger-Pose Dataset
Introduction#
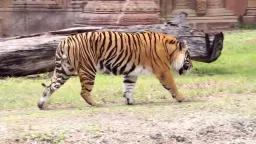
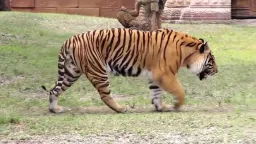
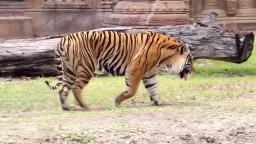
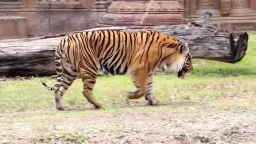
The Ultralytics Tiger-Pose dataset is a small pose estimation dataset annotated with 12 keypoints per tiger. It comprises 263 images sourced from a YouTube video, with 210 images allocated for training and 53 for validation, and is well suited to testing and troubleshooting pose estimation algorithms.
Despite its manageable training split of 210 images, the Tiger-Pose dataset offers diversity, making it suitable for assessing training pipelines, identifying potential errors, and serving as a useful first step before working with larger pose estimation datasets.
Once your pipeline trains cleanly on this small set, swap in your own animal or object keypoints and scale up training on Ultralytics Platform without leaving the browser.
Dataset Structure#
- Total images: 263 (210 train / 53 val).
- Keypoints: 12 per tiger (no visibility flag).
- Download size: ~49.8 MB.
- Directory layout: YOLO-format keypoints stored under
labels/{train,val}alongsideimages/{train,val}directories.
Watch: Train an Ultralytics YOLO Pose Model on the Tiger-Pose Dataset
Dataset YAML#
The tiger-pose.yaml file defines the dataset configuration, including file paths, class definitions, and keypoint settings.
# Ultralytics 🚀 AGPL-3.0 License - https://ultralytics.com/license

# Tiger Pose dataset by Ultralytics
# Documentation: https://docs.ultralytics.com/datasets/pose/tiger-pose
# Example usage: yolo train data=tiger-pose.yaml
# parent
# ├── ultralytics
# └── datasets
#     └── tiger-pose ← downloads here (49.8 MB)

# Train/val/test sets as 1) dir: path/to/imgs, 2) file: path/to/imgs.txt, or 3) list: [path/to/imgs1, path/to/imgs2, ..]
path: tiger-pose # dataset root dir
train: images/train # train images (relative to 'path') 210 images
val: images/val # val images (relative to 'path') 53 images

# Keypoints
kpt_shape: [12, 2] # number of keypoints, number of dims (2 for x,y or 3 for x,y,visible)
flip_idx: [0, 1, 2, 3, 7, 6, 5, 4, 10, 11, 8, 9]

# Classes
names:
  0: tiger

# Keypoint names per class
kpt_names:
  0:
    - nose
    - head
    - withers
    - tail_base
    - right_hind_hock
    - right_hind_paw
    - left_hind_paw
    - left_hind_hock
    - right_front_wrist
    - right_front_paw
    - left_front_wrist
    - left_front_paw

# Download script/URL (optional)
download: https://github.com/ultralytics/assets/releases/download/v0.0.0/tiger-pose.zipUsage#
To train a YOLO26n-pose model on the Tiger-Pose dataset for 100 epochs with an image size of 640, you can use the following code snippets.
from ultralytics import YOLO

# Load a model
model = YOLO("yolo26n-pose.pt")  # load a pretrained model (recommended for training)

# Train the model
results = model.train(data="tiger-pose.yaml", epochs=100, imgsz=640)
Sample Images and Annotations#
Here are some examples of images from the Tiger-Pose dataset, along with their corresponding annotations:
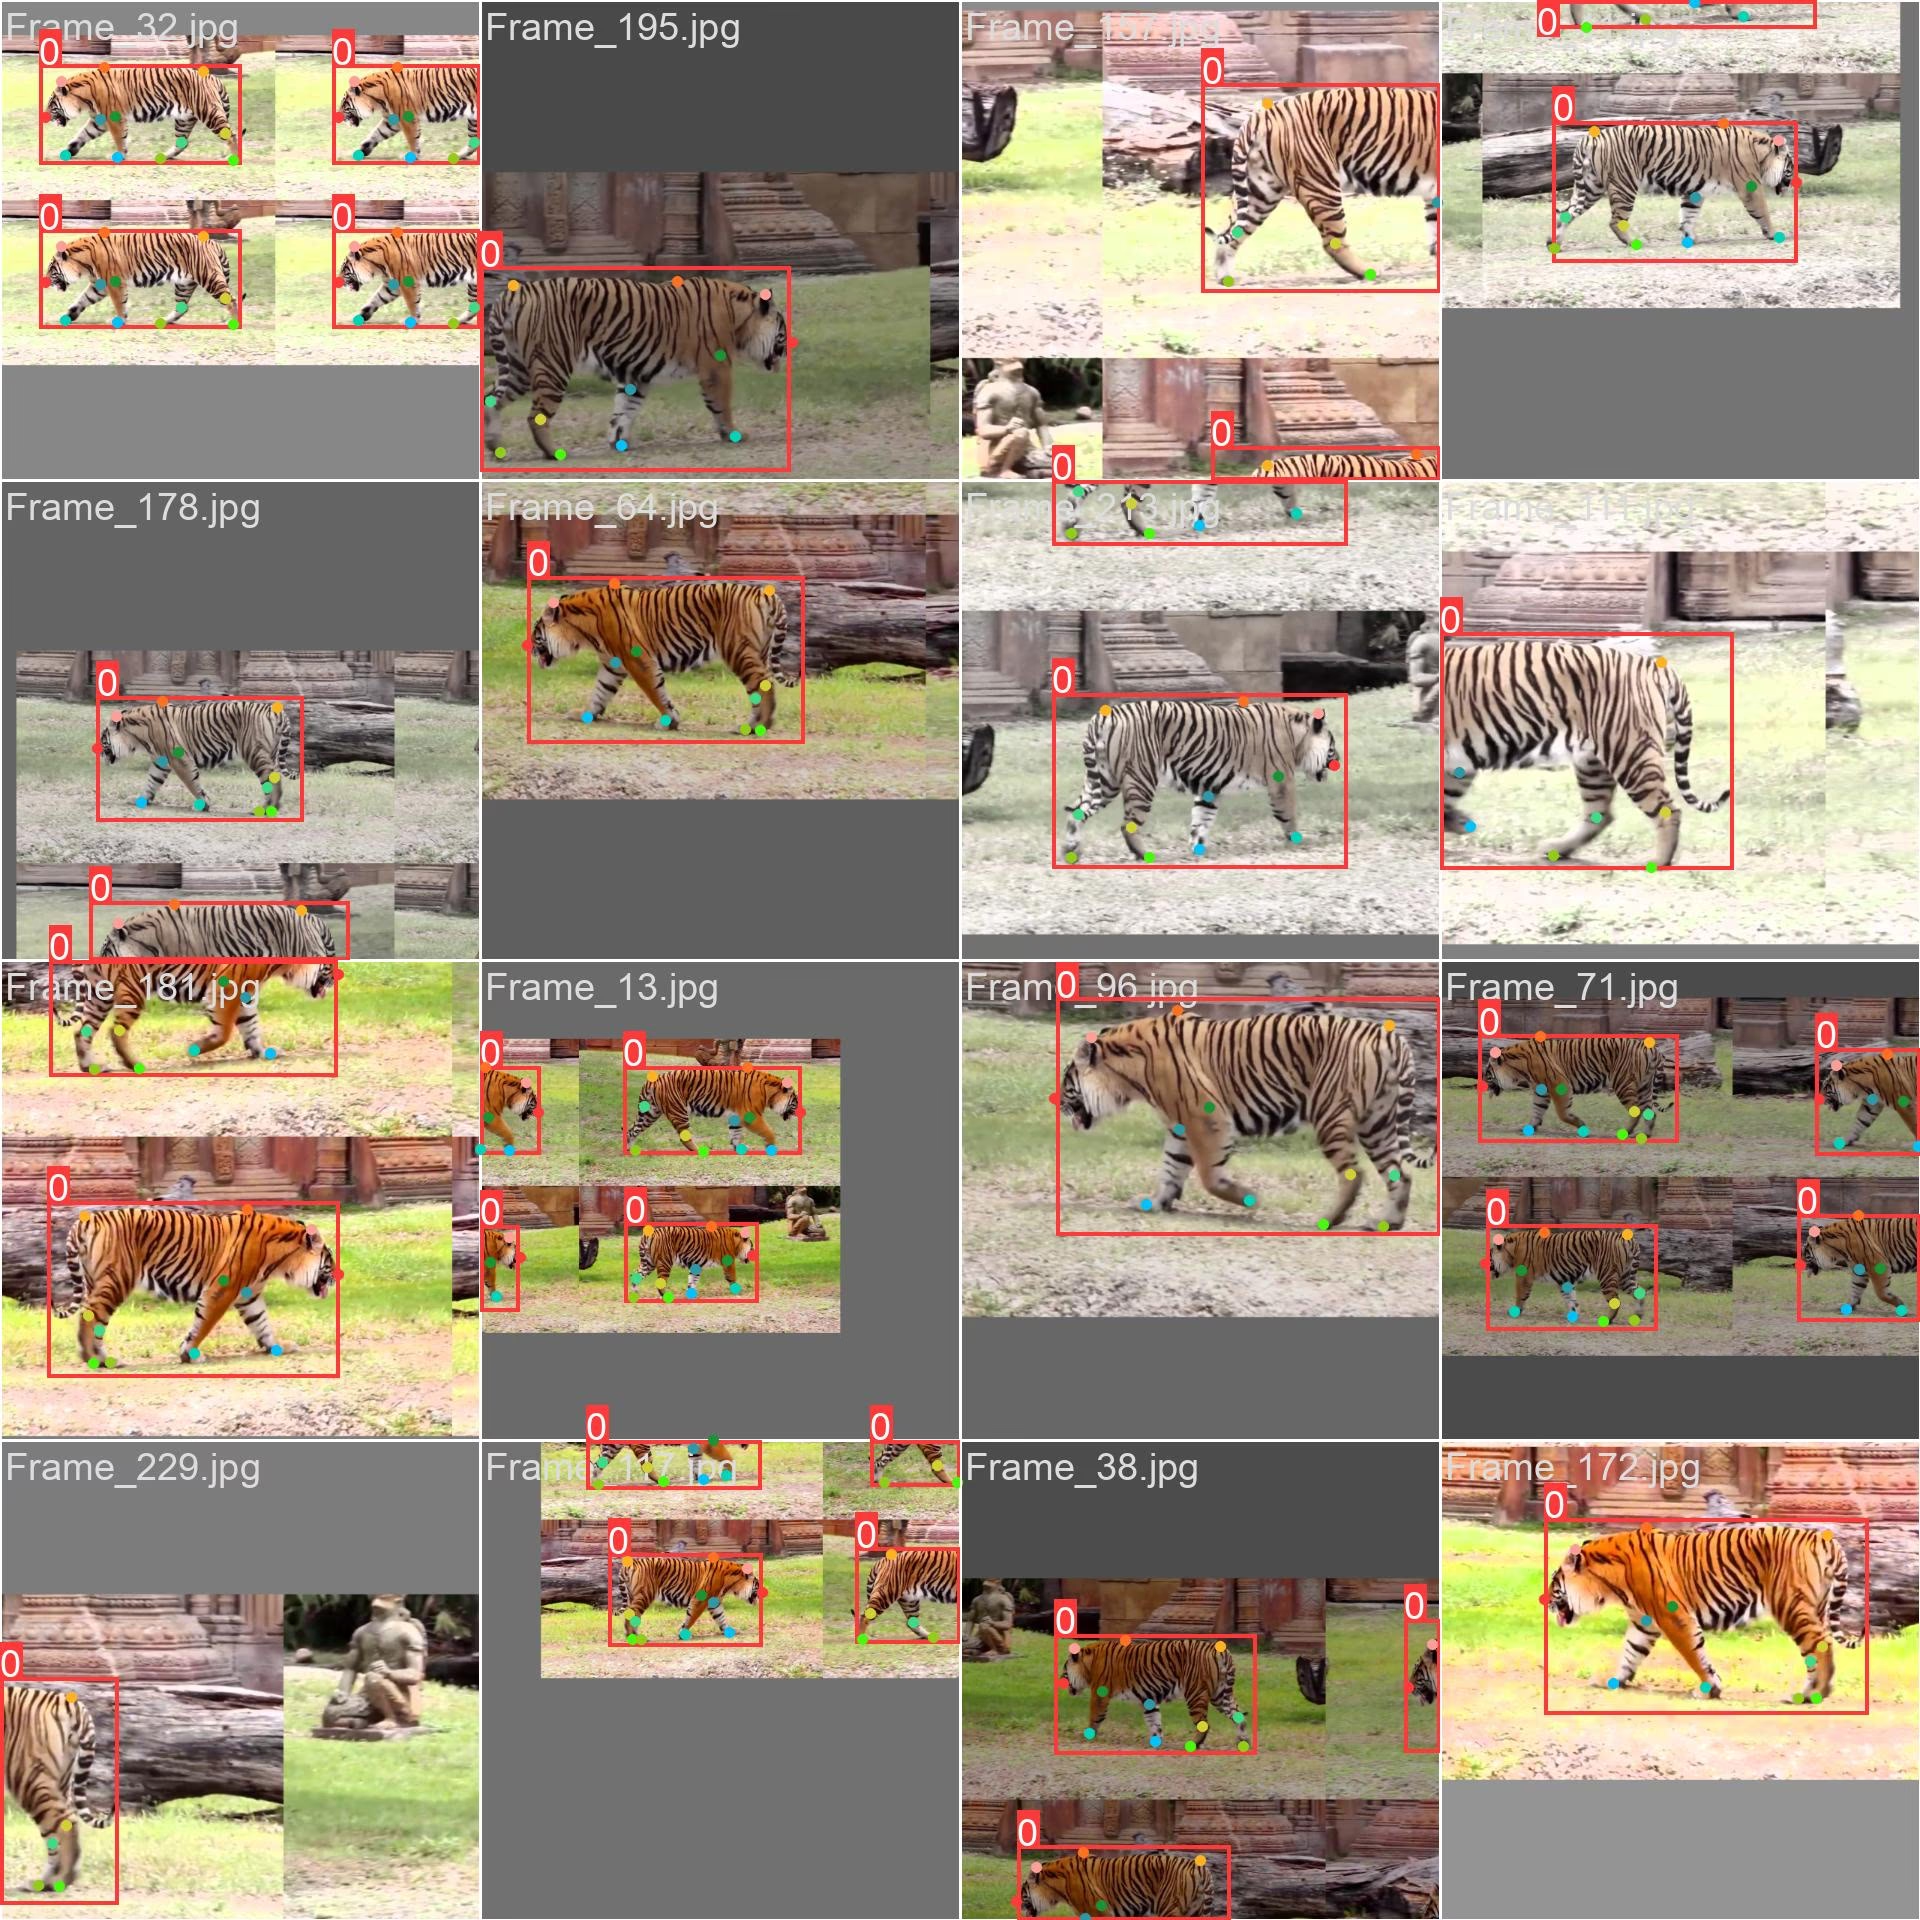
- Mosaiced Image: This image demonstrates a training batch composed of mosaiced dataset images. Mosaicing is a technique used during training that combines multiple images into a single image to increase the variety of objects and scenes within each training batch. This helps improve the model's ability to generalize to different object sizes, aspect ratios, and contexts.
The example showcases the variety and complexity of the images in the Tiger-Pose dataset and the benefits of using mosaicing during the training process.
Inference Example#
After training, load your best checkpoint and run inference on new images or video — see the Prediction page for the full list of arguments.
from ultralytics import YOLO

# Load a model
model = YOLO("path/to/best.pt")  # load a tiger-pose trained model

# Run inference
results = model.predict(source="https://youtu.be/Gc6K5eKrTNQ", show=True)
Citations and Acknowledgments#
Ultralytics releases the Tiger-Pose dataset annotations under the AGPL-3.0 License. The source video remains subject to its original terms, which should be reviewed before using or redistributing extracted frames.
FAQ#
The Ultralytics Tiger-Pose dataset is designed for pose estimation tasks, consisting of 263 images sourced from a YouTube video. The dataset is divided into 210 training images and 53 validation images, making it well-suited for testing, training, and refining pose estimation algorithms.
Load
yolo26n-pose.ptand callmodel.train(data="tiger-pose.yaml", epochs=100, imgsz=640)— see the Train Example above for the full Python and CLI snippets, and the Training page for a comprehensive list of arguments.The
tiger-pose.yamlfile defines the dataset path, train/val image directories, a single class (tiger), andkpt_shape: [12, 2]— 12 keypoints per instance with no visibility flag. See the Ultralytics Tiger-Pose Dataset Configuration File for the exact configuration.Load your trained checkpoint (e.g.,
path/to/best.pt) and callmodel.predict(source=..., show=True)— see the Inference Example above for the full Python and CLI snippets, and the Prediction page for a comprehensive list of arguments.With 263 total images (210 train / 53 val), 1 class, 12 keypoints per instance, and a ~49.8 MB download, Tiger-Pose is small enough to manage quickly yet diverse enough to sanity-check a pose training pipeline and identify errors before working with larger datasets.


Comments17
Ask a question, share your results, or help someone else.
wcy7788
@glenn-jocherWhere should I go to Ultralytics to find the code for this?
 Glenn JocherUltralytics
You can find the code for the Tiger-Pose dataset in the
ultralytics/cfg/datasets/tiger-pose.yamlfile. For more details, please visit the Tiger-Pose documentation.
What software should be used for the training of fish key points,I should mark a few key points?
- Glenn JocherUltralytics(edited)
@wcy7788 for training fish keypoints, you can use the YOLO26-pose model. Annotate your dataset with keypoints and follow the training process similar to the Tiger-Pose example. For more details, refer to the Ultralytics documentation.
PedroPiana
In my dataset, do I necessarily need to have the Bounding Boxes?
- Glenn JocherUltralytics(edited)
Yes, for pose estimation tasks like those using the Tiger-Pose dataset, each label row includes a bounding box followed by the keypoints:
<class-index> <x> <y> <width> <height> <px1> <py1> .... The bounding box (normalized center x, y, width, height) is part of the pose label format, so annotate both the box and the keypoints for each object. 🐅For more details on setting up your dataset for pose estimation, you can refer to the Tiger-Pose dataset documentation and the pose dataset format.
teengineer
Hello, when i executed the predict code, i took a warning 'WARNING ⚠️ Environment does not support cv2.imshow() or PIL Image.show() google colab'. I worked on Google Colab. How can i see the results?
- Glenn JocherUltralytics(edited)
@teengineer hello! 😊 It seems you're facing an issue with displaying images in Google Colab due to its environment limitations. To view your results in Colab, you can use the following approach to display images directly in the notebook:
from pathlib import Path

from IPython.display import Image, display
from ultralytics import YOLO

# Load your model
model = YOLO('yolo26n.pt')  # or your custom model

# Run prediction (ensure 'save' is True to save output images)
results = model.predict(source='path/to/your/image.jpg', save=True)

# Display the saved image
display(Image(f"{results[0].save_dir}/{Path(results[0].path).name}"))  # saved output in the predict run folder
This method saves the output image and then uses IPython's display capabilities to show the image within your notebook. Hope this helps you see your results! Let us know if you have any more questions.
1 Thank you @glenn-jocher, i forgot the 'save' parameter on predict func.
Hi, I want to show prediction result on video but it throw an warning, is there a way for showing? This warning is 'WARNING ⚠️ Environment does not support cv2.imshow() or PIL Image.show()'
- Glenn JocherUltralytics(edited)
Hey there! 😊 It looks like you're trying to display video predictions in an environment that doesn't support
cv2.imshow()orPIL Image.show(), such as Google Colab. No worries, you can still view your video predictions by saving the output and then displaying it directly in the notebook. Here's a quick example on how you could modify your code to save the video predictions and then useIPython.displayto show the video:from ultralytics import YOLO from pathlib import Path from IPython.display import FileLink, display # Load your model model = YOLO('yolo26n.pt') # or your custom model # Run prediction on your video and save the output results = model.predict(source='path/to/your/video.mp4', save=True) # The output is saved in the predict run folder (results[0].save_dir), named after the source file # (.mp4 on macOS, .avi on Windows/Linux) # Generate a link to download the video file output_video_path = next(Path(results[0].save_dir).glob('*.*')) display(FileLink(output_video_path))This code will provide a link to download the video file with the predictions. Just replace
'path/to/your/video.mp4'with your actual video path. Hope this helps you view your prediction results! Let me know if there's anything else I can assist you with.1 Thank you for your time.
- Glenn JocherUltralytics
Hey there! 😊 If you're encountering the 'WARNING ⚠️ Environment does not support cv2.imshow() or PIL Image.show()' message while trying to display video predictions in Google Colab, you can save the predictions to a video file and then display it directly in the notebook. Here's a quick example on how to do it:
from ultralytics import YOLO

# Load your model
model = YOLO('yolov8n.pt')  # or your custom model

# Run prediction on your video and save the output
results = model.predict(source='path/to/your/video.mp4', save=True)

# Use the 'files.download()' function from Google Colab to download the result video
from google.colab import files
files.download('path/to/saved/video.mp4')  # Adjust the path to your saved video
This way, you can view the video with predictions by downloading it. Hope this helps! Let me know if you have any more questions.
1
Hi, can yolov8-pose make classifications such as tiger standing, tiger lying down?
- Glenn JocherUltralytics
@teengineer hey there! 🐯 YOLOv8-pose can indeed classify different tiger poses like standing or lying down, but it primarily focuses on pose estimation rather than direct classification. You'd typically train the model to recognize various keypoints on the tiger, and based on the keypoints' positions, you could infer the pose.
For example, after training with the Tiger-Pose dataset, you could analyze the keypoints to determine the pose:
from ultralytics import YOLO

# Load your trained model
model = YOLO('path/to/your/trained_model.pt')

# Run inference
results = model.predict(source='path/to/your/image.jpg')

# Analyze keypoints for pose classification
keypoints = results[0].keypoints
# Here you'd implement your logic to classify poses based on keypoints
This approach gives you the flexibility to define what constitutes a "standing" or "lying down" pose based on the keypoints' arrangement. Hope this helps! Let us know if you have more questions.
Thank you.
- Glenn JocherUltralytics
Hey there! 🐅 Absolutely, YOLOv8-pose can be tailored to classify specific tiger poses by analyzing the keypoints' arrangement. While it's primarily designed for pose estimation, you can infer poses like standing or lying down based on the keypoints. Here's a quick example using the Tiger-Pose dataset:
from ultralytics import YOLO

# Load your trained model
model = YOLO('path/to/your/trained_model.pt')

# Run inference on an image
results = model.predict(source='path/to/your/image.jpg')

# Analyze keypoints for pose classification
keypoints = results[0].keypoints
# Implement your logic here to classify poses based on keypoints
This way, you can classify the tiger's pose by examining the positions of detected keypoints. Hope this helps, and feel free to reach out if you have more questions! 🚀
2