Data Augmentation using Ultralytics YOLO
Introduction
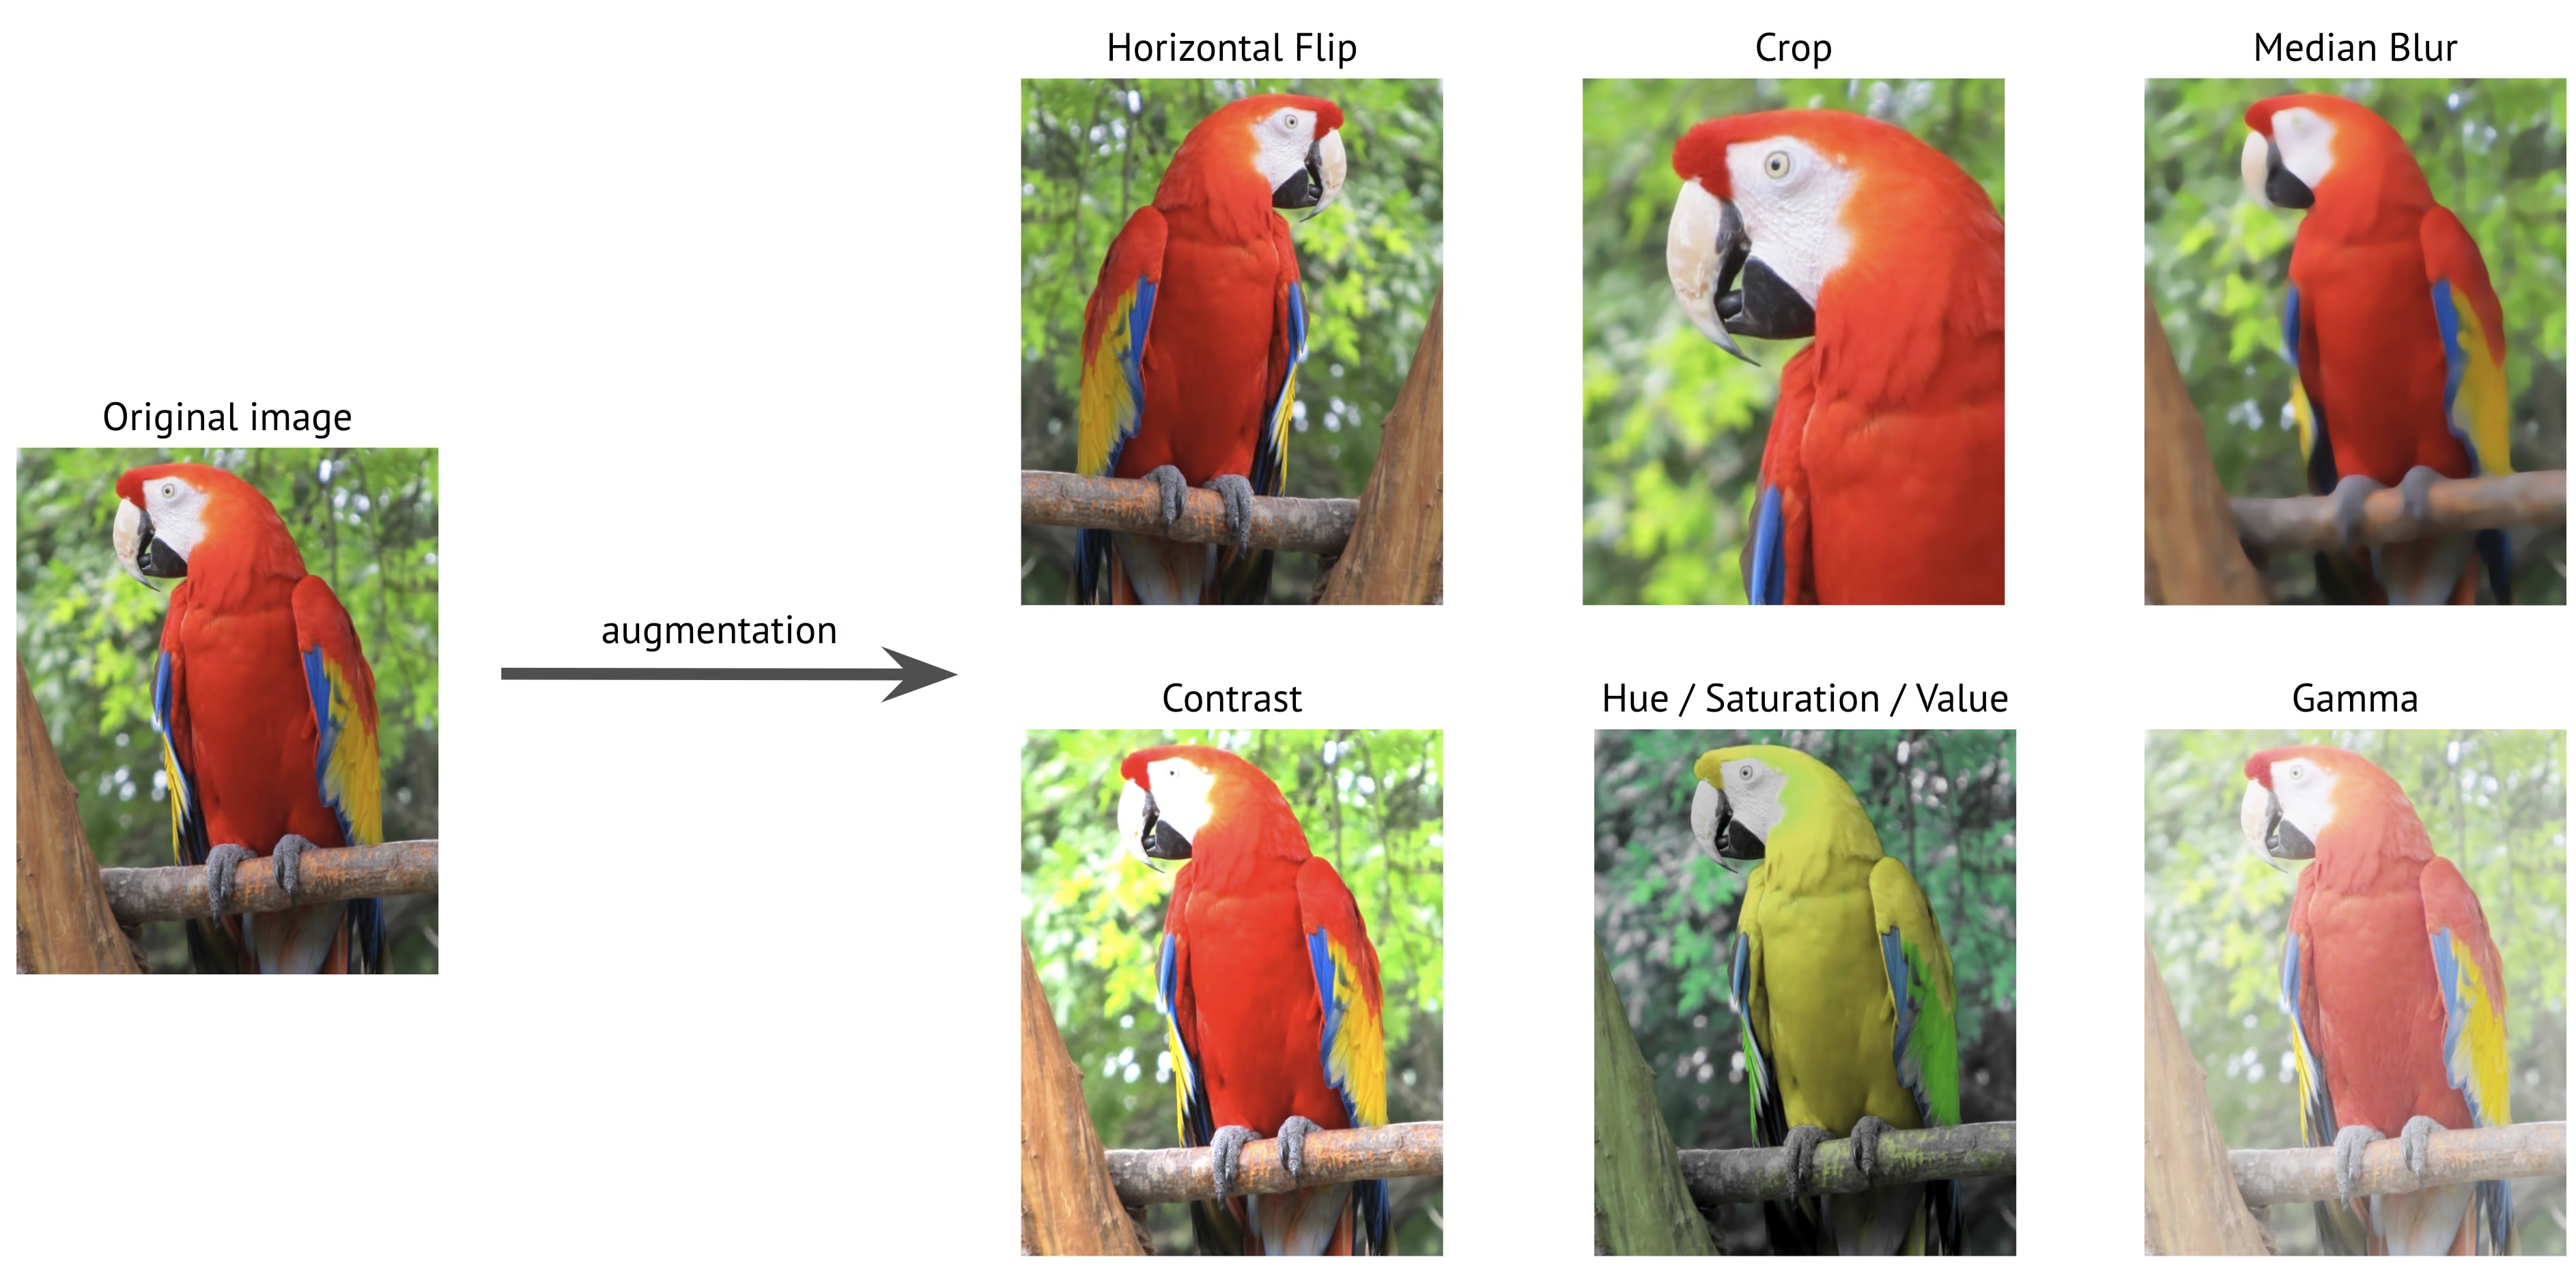
Data augmentation is a crucial technique in computer vision that artificially expands your training dataset by applying various transformations to existing images. When training deep learning models like Ultralytics YOLO, data augmentation helps improve model robustness, reduces overfitting, and enhances generalization to real-world scenarios.
Watch: How to use Mosaic, MixUp & more Data Augmentations to help Ultralytics YOLO Models generalize better 🚀
Why Data Augmentation Matters
Data augmentation serves multiple critical purposes in training computer vision models:
- Expanded Dataset: By creating variations of existing images, you can effectively increase your training dataset size without collecting new data.
- Improved Generalization: Models learn to recognize objects under various conditions, making them more robust in real-world applications.
- Reduced Overfitting: By introducing variability in the training data, models are less likely to memorize specific image characteristics.
- Enhanced Performance: Models trained with proper augmentation typically achieve better accuracy on validation and test sets.
Ultralytics YOLO's implementation provides a comprehensive suite of augmentation techniques, each serving specific purposes and contributing to model performance in different ways. This guide will explore each augmentation parameter in detail, helping you understand when and how to use them effectively in your projects.
Example Configurations
You can customize each parameter using the Python API, the command line interface (CLI), or a configuration file. Below are examples of how to set up data augmentation in each method.
Configuration Examples
import albumentations as A

from ultralytics import YOLO

# Load a model
model = YOLO("yolo26n.pt")

# Training with custom augmentation parameters
model.train(data="coco.yaml", epochs=100, hsv_h=0.03, hsv_s=0.6, hsv_v=0.5)

# Training without any augmentations (disabled values omitted for clarity)
model.train(
    data="coco.yaml",
    epochs=100,
    hsv_h=0.0,
    hsv_s=0.0,
    hsv_v=0.0,
    translate=0.0,
    scale=0.0,
    fliplr=0.0,
    mosaic=0.0,
    erasing=0.0,
    auto_augment=None,
)

# Training with custom Albumentations transforms (Python API only)
custom_transforms = [
    A.Blur(blur_limit=7, p=0.5),
    A.CLAHE(clip_limit=4.0, p=0.5),
]
model.train(data="coco.yaml", epochs=100, augmentations=custom_transforms)
# Training with custom augmentation parameters
yolo detect train data=coco8.yaml model=yolo26n.pt epochs=100 hsv_h=0.03 hsv_s=0.6 hsv_v=0.5
Using a configuration file
You can define all training parameters, including augmentations, in a YAML configuration file (e.g., train_custom.yaml). The mode parameter is only required when using the CLI. This new YAML file will then override the default one located in the ultralytics package.
# train_custom.yaml
# 'mode' is required only for CLI usage
mode: train
data: coco8.yaml
model: yolo26n.pt
epochs: 100
hsv_h: 0.03
hsv_s: 0.6
hsv_v: 0.5
Then launch the training with the Python API:
Train Example
from ultralytics import YOLO

# Load a COCO-pretrained YOLO26n model
model = YOLO("yolo26n.pt")

# Train the model with custom configuration
model.train(cfg="train_custom.yaml")
# Train the model with custom configuration
yolo detect train model="yolo26n.pt" cfg=train_custom.yaml
Color Space Augmentations
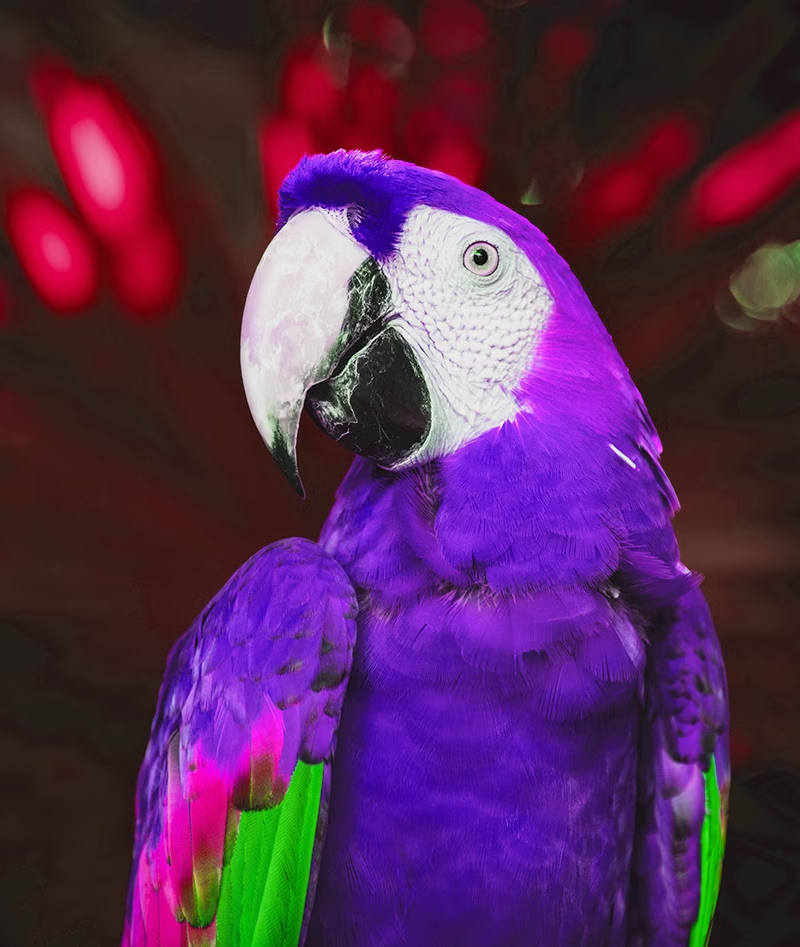
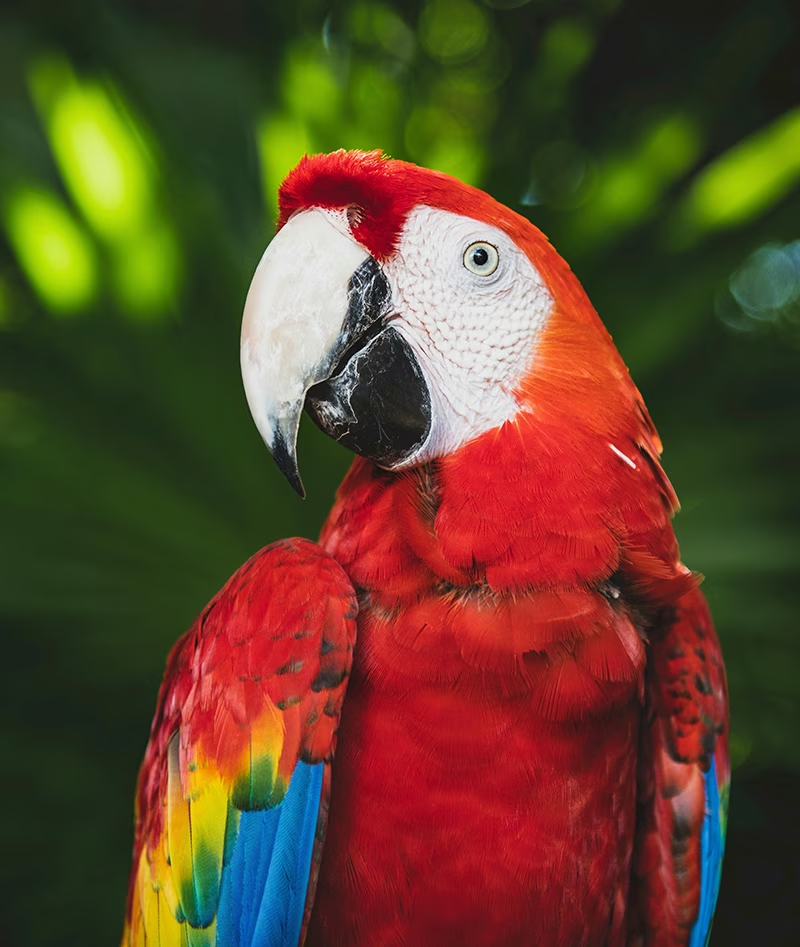
Hue Adjustment (hsv_h)
- Range:
0.0-1.0 - Default:
0.015 - Usage: Shifts image colors while preserving their relationships. The
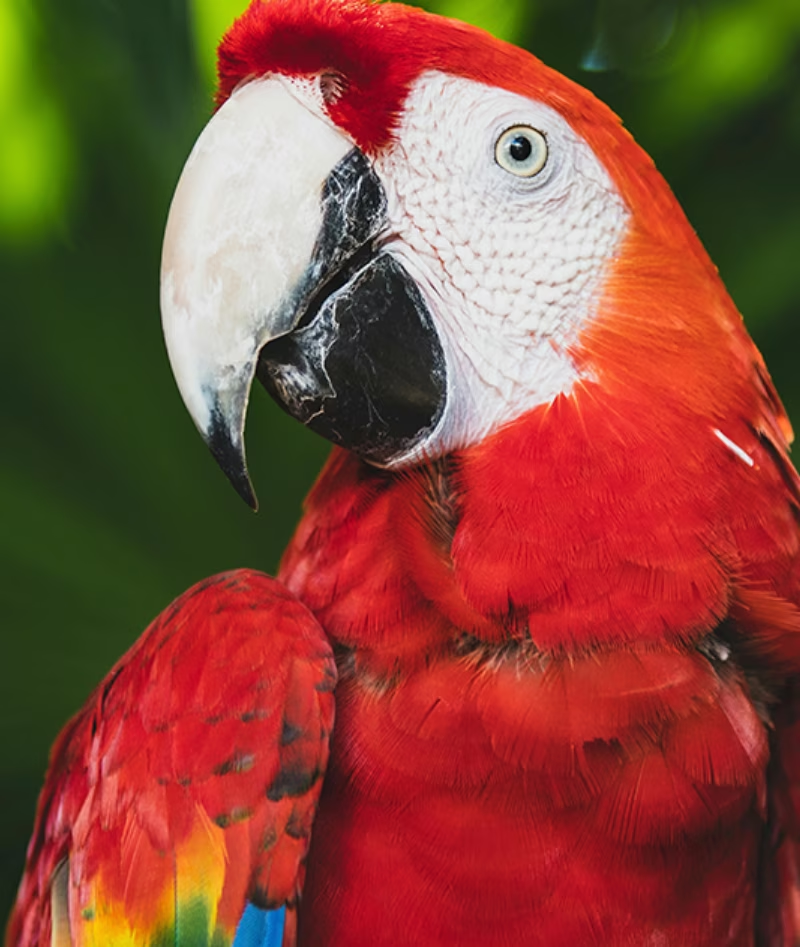
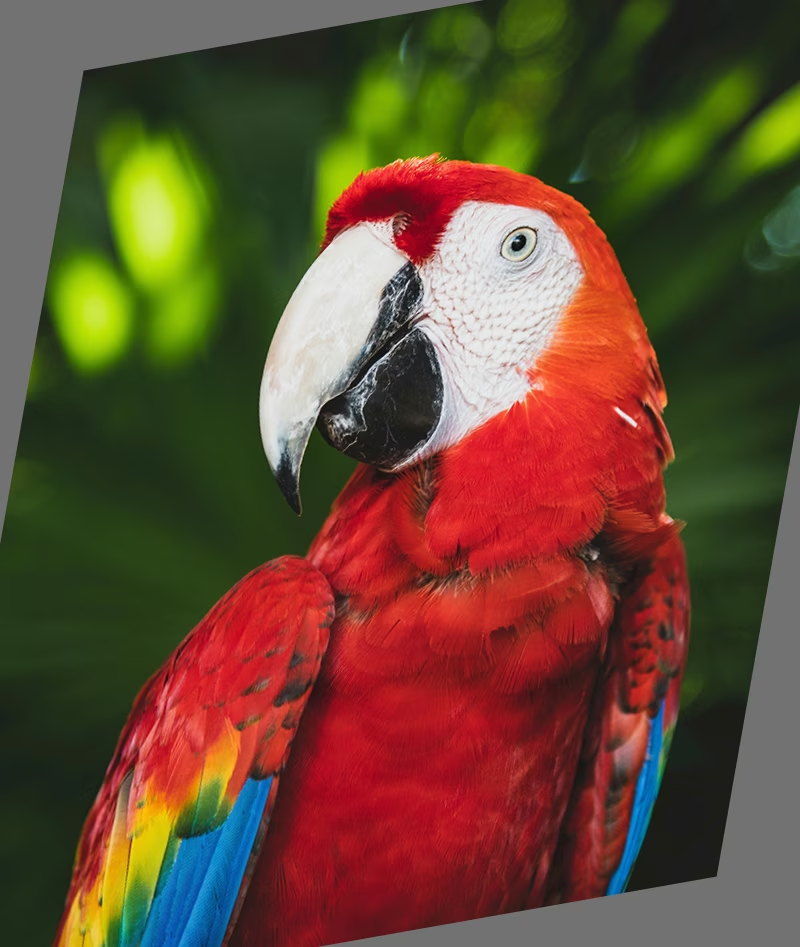
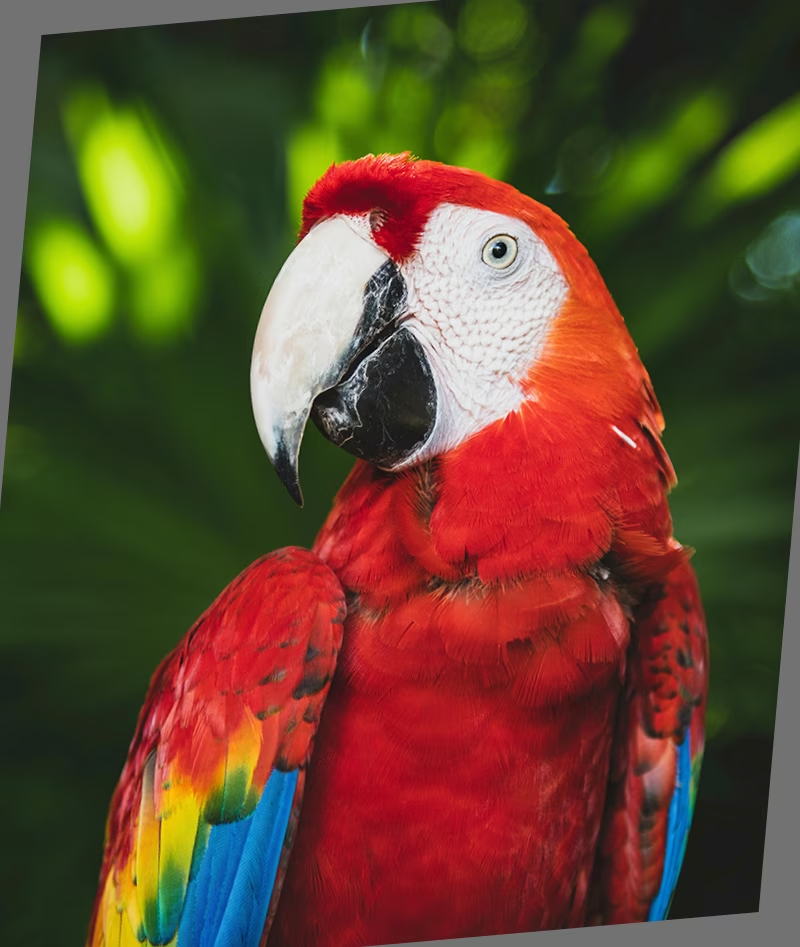
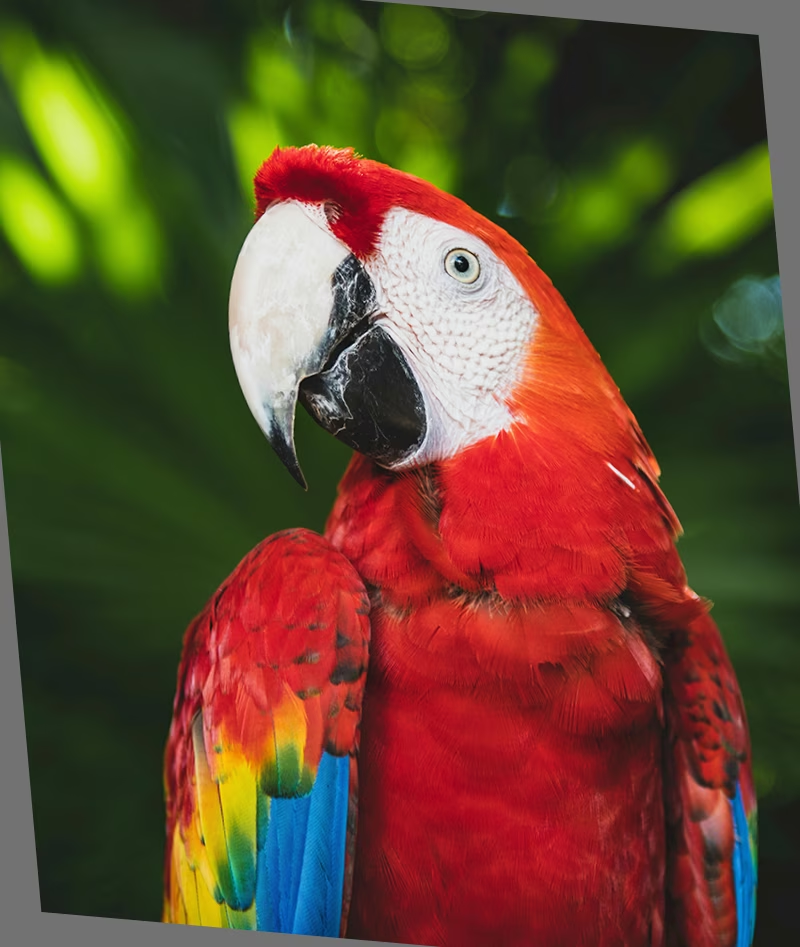
hsv_hhyperparameter defines the shift magnitude, with the final adjustment randomly chosen between-hsv_handhsv_h. For example, withhsv_h=0.3, the shift is randomly selected within-0.3to0.3. For values above0.5, the hue shift wraps around the color wheel, that's why the augmentations look the same between0.5and-0.5. - Purpose: Particularly useful for outdoor scenarios where lighting conditions can dramatically affect object appearance. For example, a banana might look more yellow under bright sunlight but more greenish indoors.
- Ultralytics' implementation: RandomHSV
-0.5 | -0.25 | 0.0 | 0.25 | 0.5 |
|---|---|---|---|---|
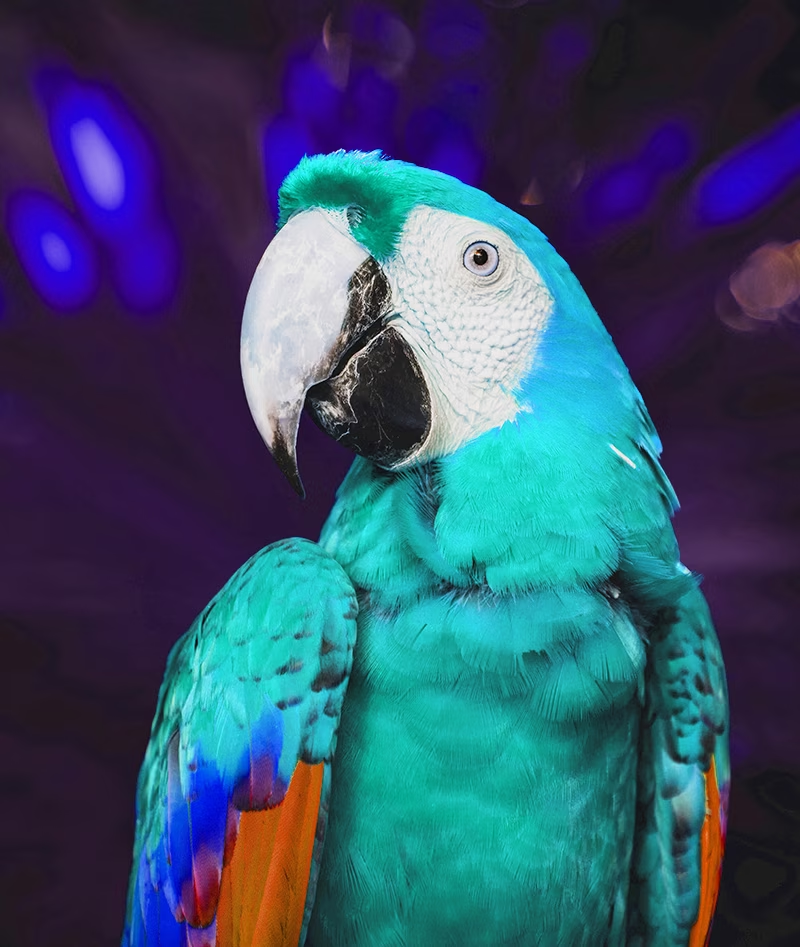 |  |  |  |  |
Saturation Adjustment (hsv_s)
- Range:
0.0-1.0 - Default:
0.7 - Usage: Modifies the intensity of colors in the image. The
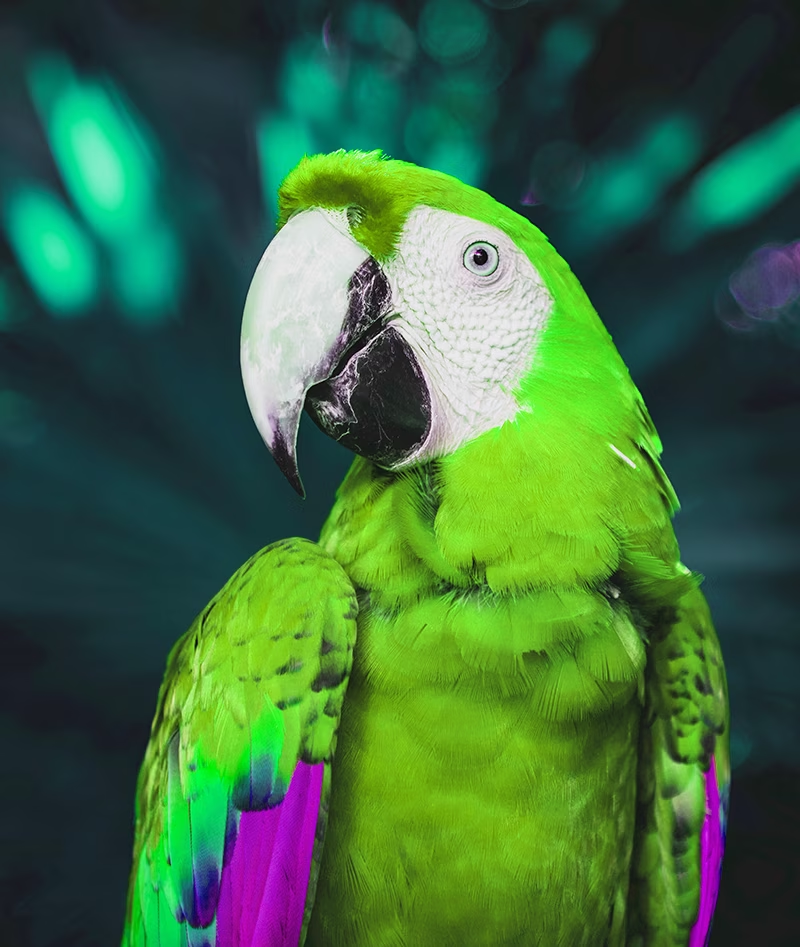
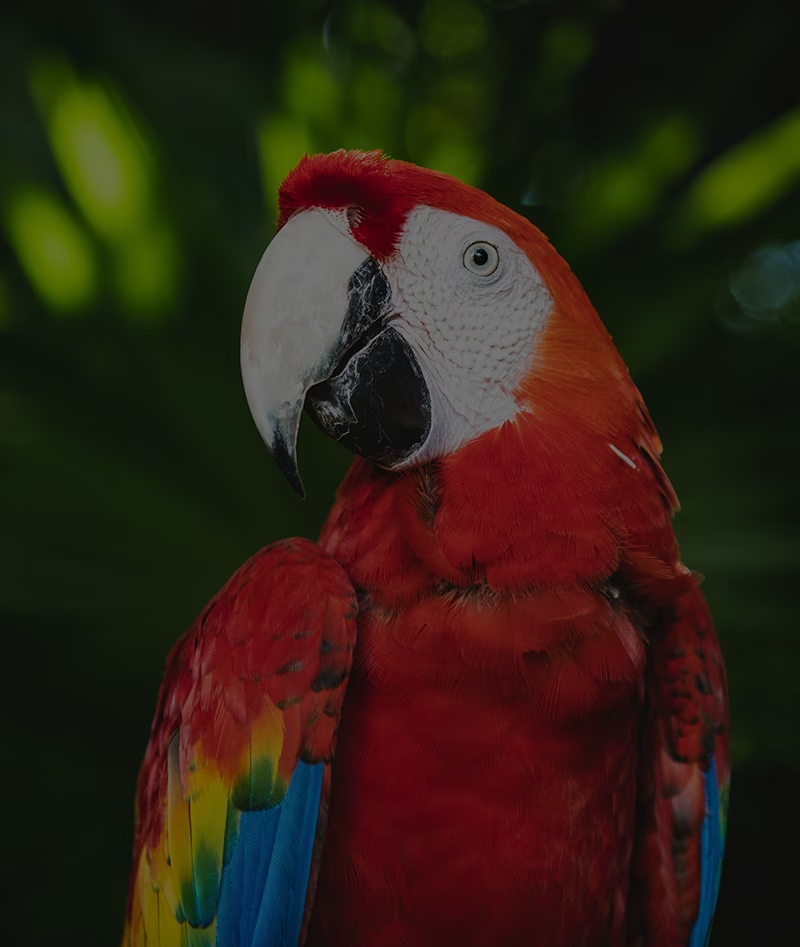
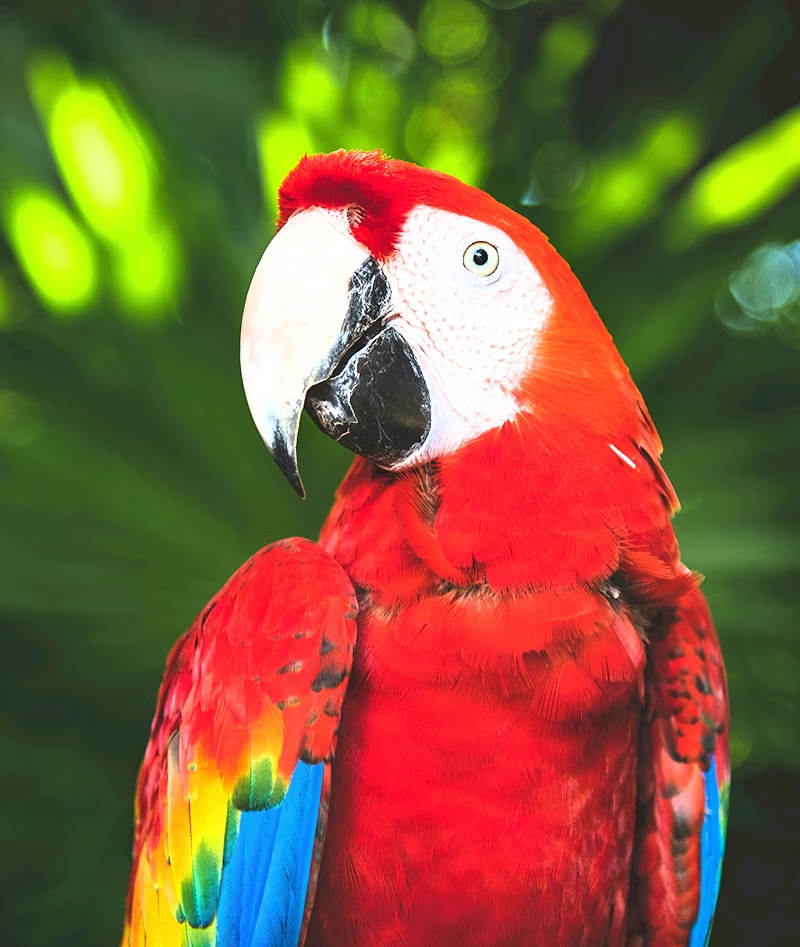
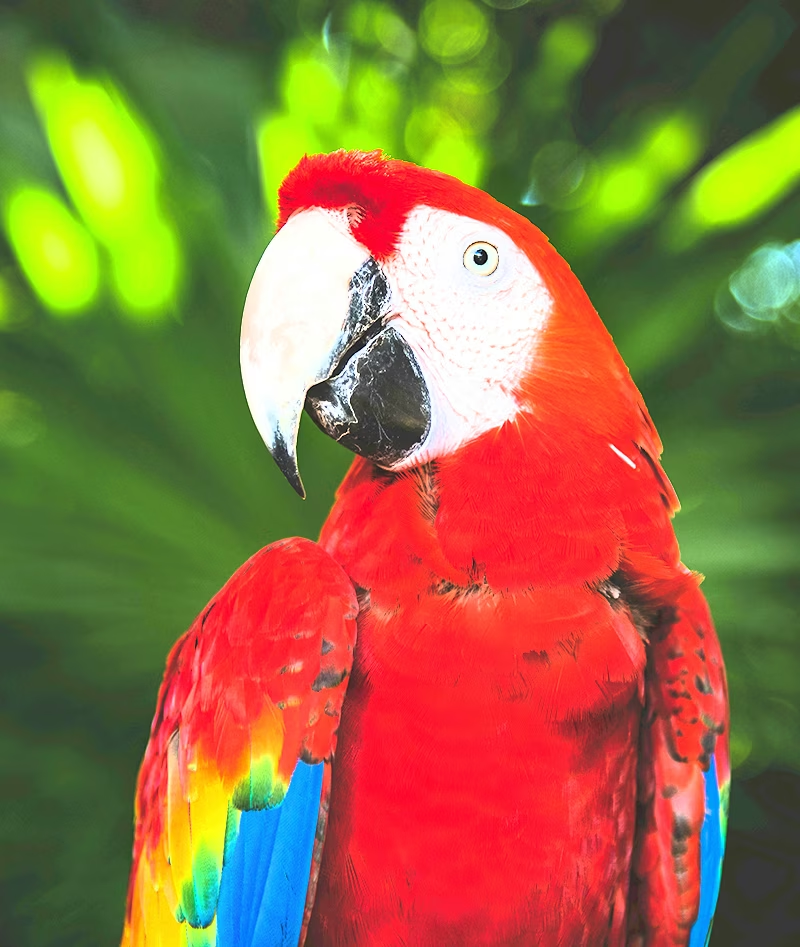
hsv_shyperparameter defines the shift magnitude, with the final adjustment randomly chosen between-hsv_sandhsv_s. For example, withhsv_s=0.7, the intensity is randomly selected within-0.7to0.7. - Purpose: Helps models handle varying weather conditions and camera settings. For example, a red traffic sign might appear highly vivid on a sunny day but look dull and faded in foggy conditions.
- Ultralytics' implementation: RandomHSV
-1.0 | -0.5 | 0.0 | 0.5 | 1.0 |
|---|---|---|---|---|
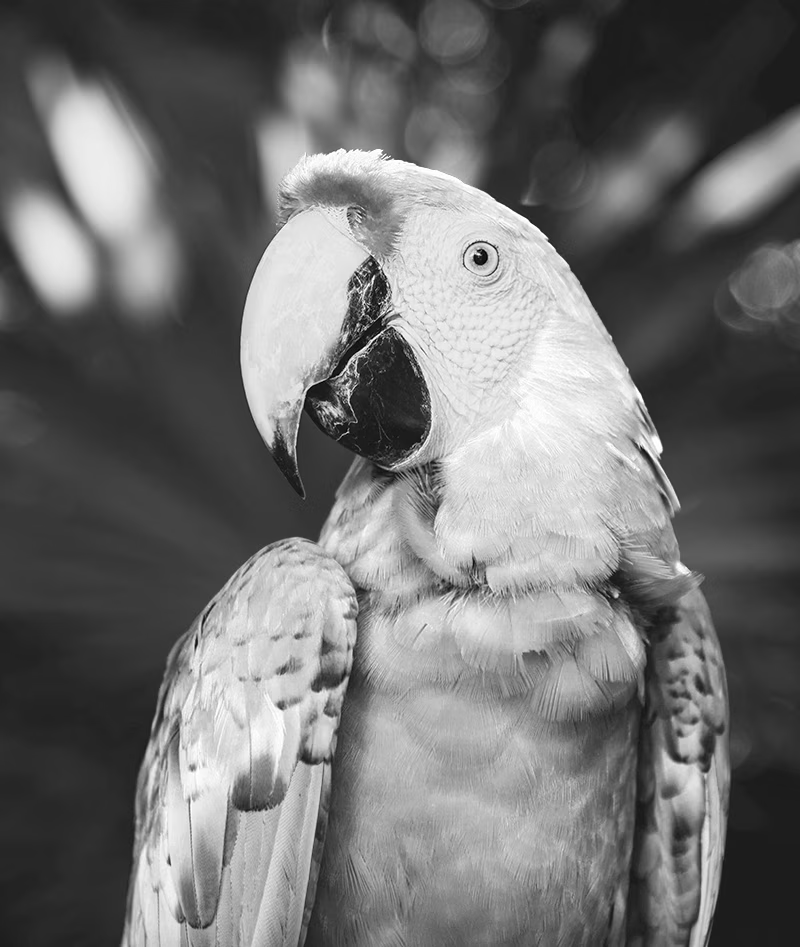 |  | | 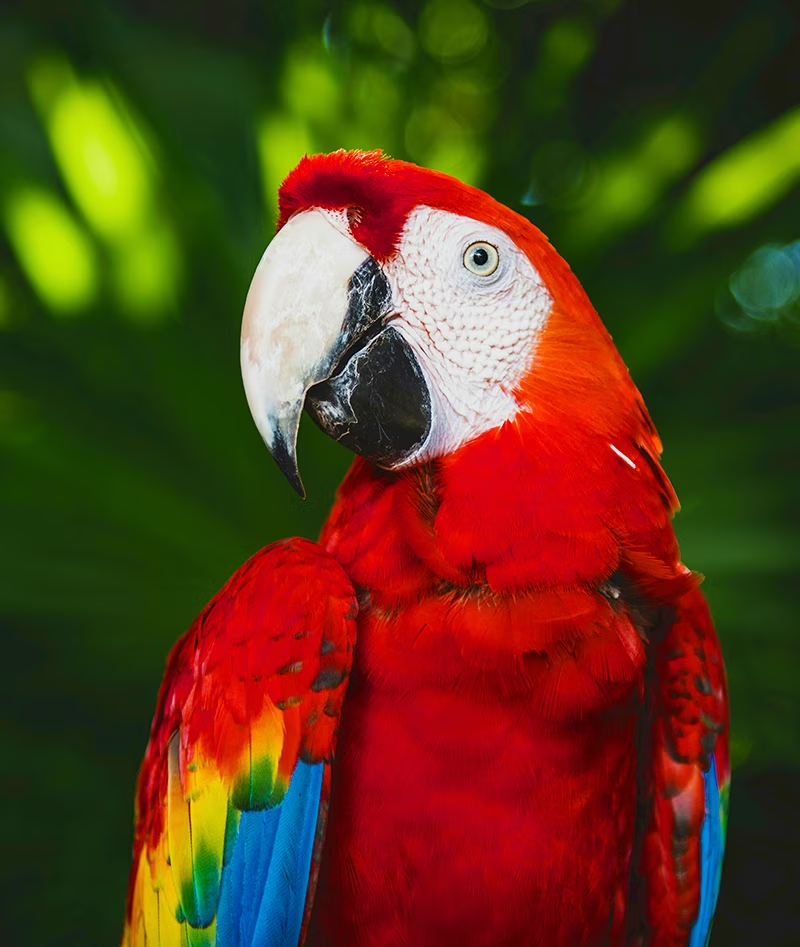 | 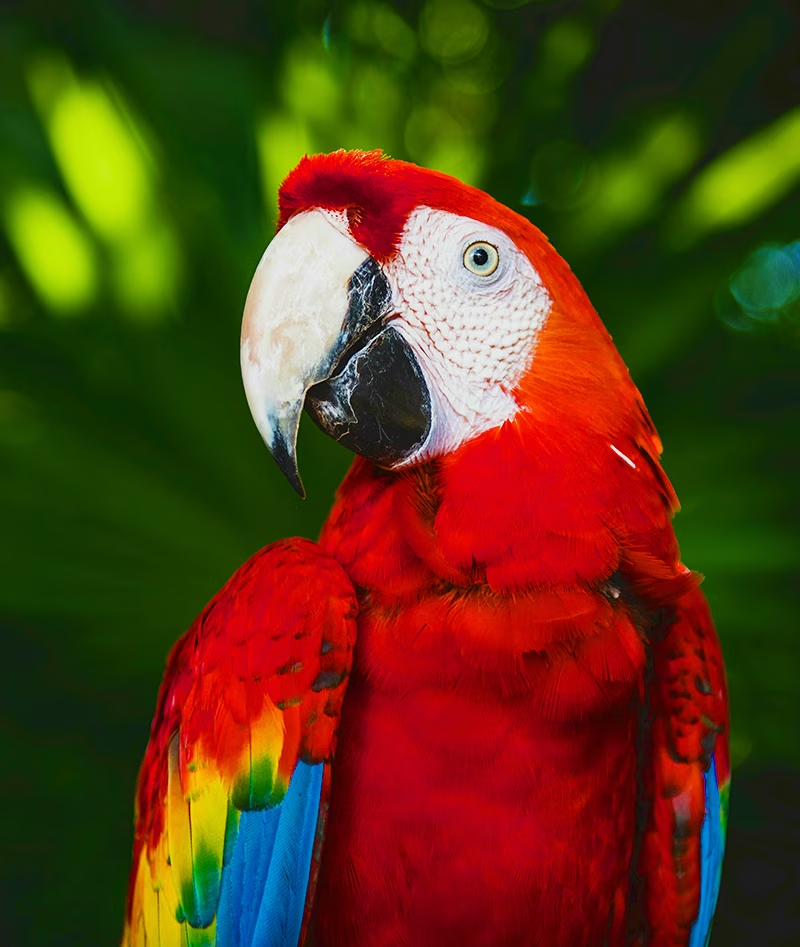 |
Brightness Adjustment (hsv_v)
- Range:
0.0-1.0 - Default:
0.4 - Usage: Changes the brightness of the image. The
hsv_vhyperparameter defines the shift magnitude, with the final adjustment randomly chosen between-hsv_vandhsv_v. For example, withhsv_v=0.4, the intensity is randomly selected within-0.4to0.4. - Purpose: Essential for training models that need to perform in different lighting conditions. For example, a red apple might look bright in sunlight but much darker in the shade.
- Ultralytics' implementation: RandomHSV
-1.0 | -0.5 | 0.0 | 0.5 | 1.0 |
|---|---|---|---|---|
 |  | |  |  |
Geometric Transformations
Rotation (degrees)
- Range:
0.0to180 - Default:
0.0 - Usage: Rotates images randomly within the specified range. The
degreeshyperparameter defines the rotation angle, with the final adjustment randomly chosen between-degreesanddegrees. For example, withdegrees=10.0, the rotation is randomly selected within-10.0to10.0. - Purpose: Crucial for applications where objects can appear at different orientations. For example, in aerial drone imagery, vehicles can be oriented in any direction, requiring models to recognize objects regardless of their rotation.
- Ultralytics' implementation: RandomPerspective
-180 | -90 | 0.0 | 90 | 180 |
|---|---|---|---|---|
 | 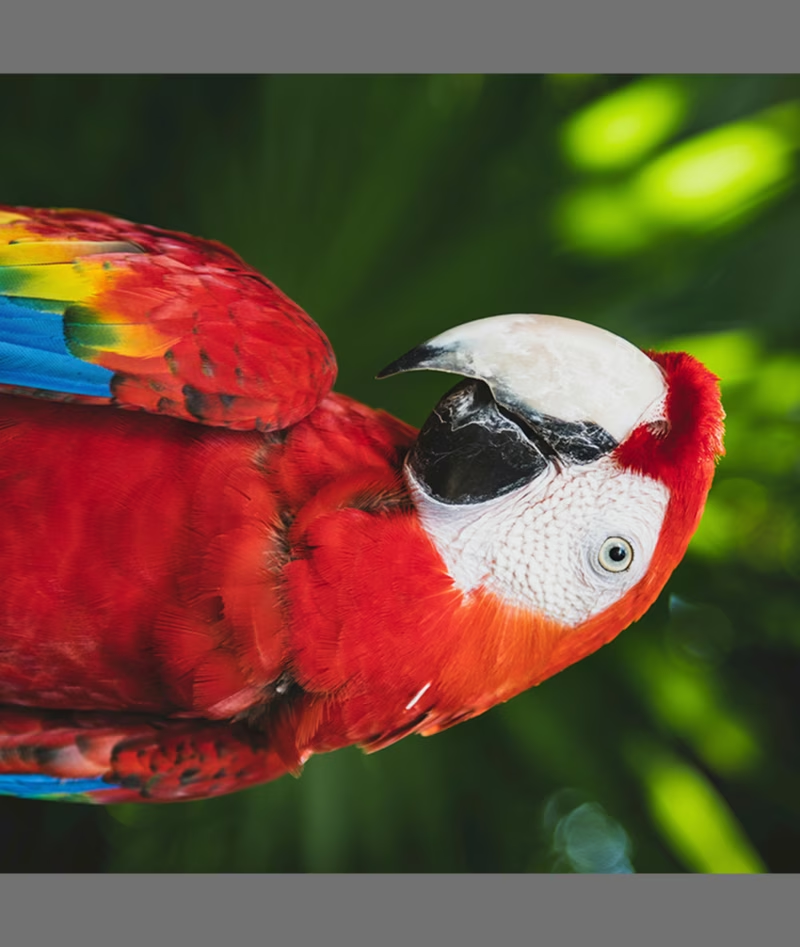 | |  |  |
Translation (translate)
- Range:
0.0-1.0 - Default:
0.1 - Usage: Shifts images horizontally and vertically by a random fraction of the image size. The
translatehyperparameter defines the shift magnitude, with the final adjustment randomly chosen twice (once for each axis) within the range-translateandtranslate. For example, withtranslate=0.5, the translation is randomly selected within-0.5to0.5on the x-axis, and another independent random value is selected within the same range on the y-axis. - Purpose: Helps models learn to detect partially visible objects and improves robustness to object position. For example, in vehicle damage assessment applications, car parts may appear fully or partially in frame depending on the photographer's position and distance, the translation augmentation will teach the model to recognize these features regardless of their completeness or position.
- Ultralytics' implementation: RandomPerspective
- Note: For simplicity, the translations applied below are the same each time for both
xandyaxes. Values-1.0and1.0are not shown as they would translate the image completely out of the frame.
-0.5 | -0.25 | 0.0 | 0.25 | 0.5 |
|---|---|---|---|---|
 |  | | 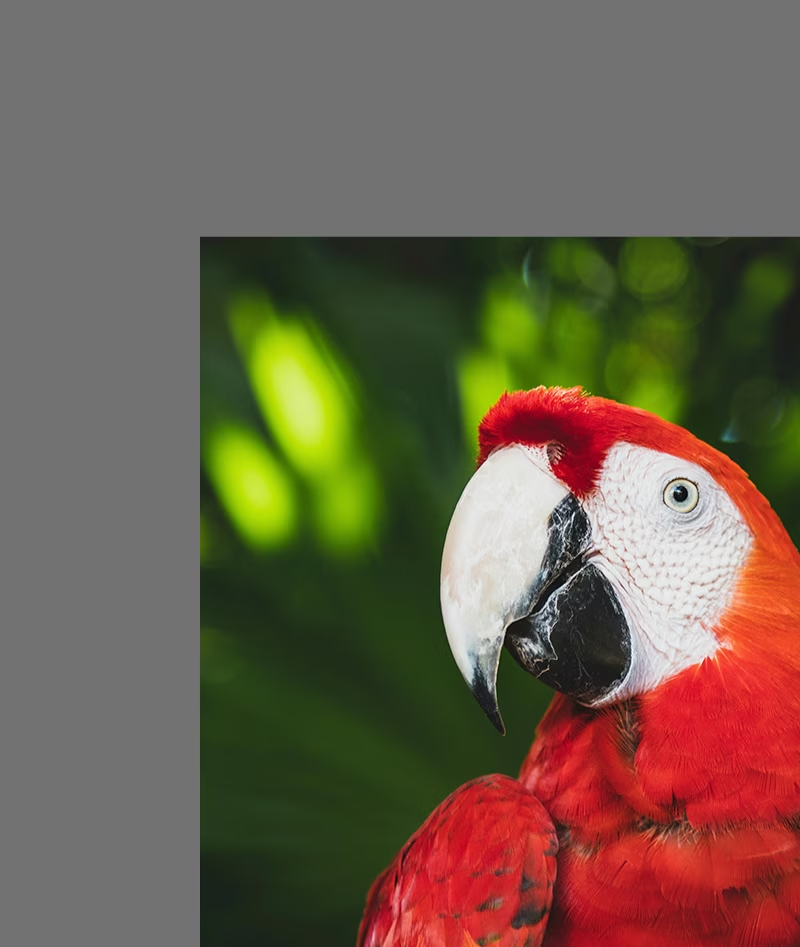 | 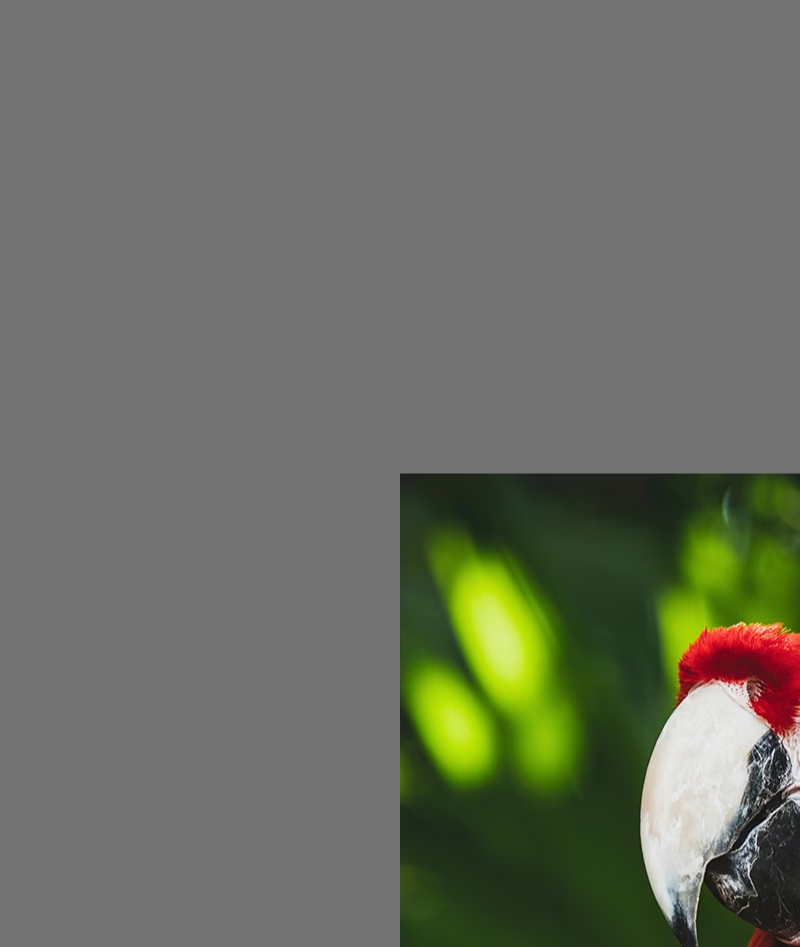 |
Scale (scale)
- Range:
0.0-1.0 - Default:
0.5 - Usage: Resizes images by a random factor within the specified range. The
scalehyperparameter defines the scaling factor, with the final adjustment randomly chosen between1-scaleand1+scale. For example, withscale=0.5, the scaling is randomly selected within0.5to1.5. - Purpose: Enables models to handle objects at different distances and sizes. For example, in autonomous driving applications, vehicles can appear at various distances from the camera, requiring the model to recognize them regardless of their size.
- Ultralytics' implementation: RandomPerspective
- Note:
- The value
-1.0is not shown as it would make the image disappear, while1.0simply results in a 2x zoom. - The values displayed in the table below are the ones applied through the hyperparameter
scale, not the final scale factor. - If
scaleis greater than1.0, the image can be either very small or flipped, as the scaling factor is randomly chosen between1-scaleand1+scale. For example, withscale=3.0, the scaling is randomly selected within-2.0to4.0. If a negative value is chosen, the image is flipped.
- The value
-0.5 | -0.25 | 0.0 | 0.25 | 0.5 |
|---|---|---|---|---|
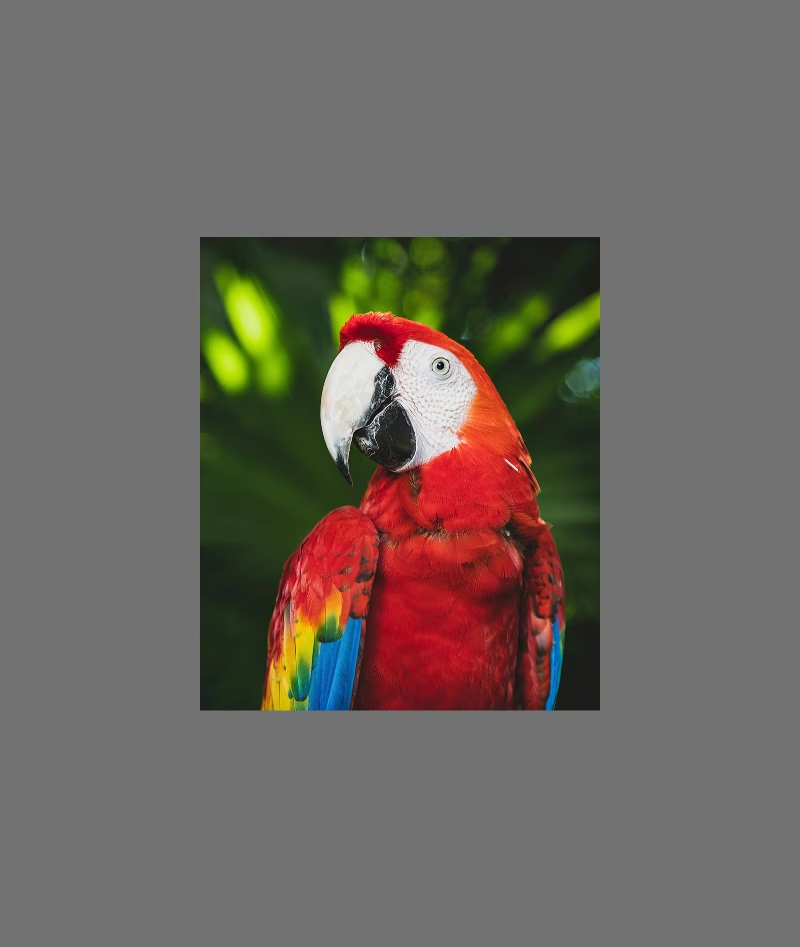 | 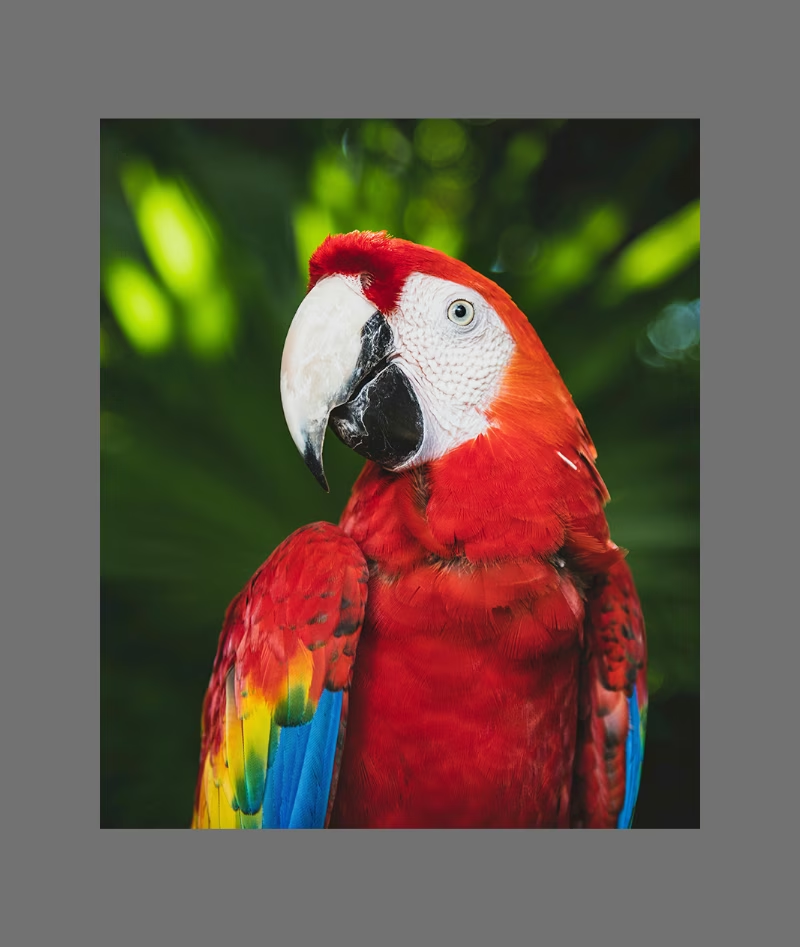 | |  |  |
Shear (shear)
- Range:
-180to+180 - Default:
0.0 - Usage: Introduces a geometric transformation that skews the image along both x-axis and y-axis, effectively shifting parts of the image in one direction while maintaining parallel lines. The
shearhyperparameter defines the shear angle, with the final adjustment randomly chosen between-shearandshear. For example, withshear=10.0, the shear is randomly selected within-10to10on the x-axis, and another independent random value is selected within the same range on the y-axis. - Purpose: Helps models generalize to variations in viewing angles caused by slight tilts or oblique viewpoints. For instance, in traffic monitoring, objects like cars and road signs may appear slanted due to non-perpendicular camera placements. Applying shear augmentation ensures the model learns to recognize objects despite such skewed distortions.
- Ultralytics' implementation: RandomPerspective
- Note:
shearvalues can rapidly distort the image, so it's recommended to start with small values and gradually increase them.- Unlike perspective transformations, shear does not introduce depth or vanishing points but instead distorts the shape of objects by changing their angles while keeping opposite sides parallel.
-10 | -5 | 0.0 | 5 | 10 |
|---|---|---|---|---|
 |  | |  |  |
Perspective (perspective)
- Range:
0.0-0.001 - Default:
0.0 - Usage: Applies a full perspective transformation along both x-axis and y-axis, simulating how objects appear when viewed from different depths or angles. The
perspectivehyperparameter defines the perspective magnitude, with the final adjustment randomly chosen between-perspectiveandperspective. For example, withperspective=0.001, the perspective is randomly selected within-0.001to0.001on the x-axis, and another independent random value is selected within the same range on the y-axis. - Purpose: Perspective augmentation is crucial for handling extreme viewpoint changes, especially in scenarios where objects appear foreshortened or distorted due to perspective shifts. For example, in drone-based object detection, buildings, roads, and vehicles can appear stretched or compressed depending on the drone's tilt and altitude. By applying perspective transformations, models learn to recognize objects despite these perspective-induced distortions, improving their robustness in real-world deployments.
- Ultralytics' implementation: RandomPerspective
-0.001 | -0.0005 | 0.0 | 0.0005 | 0.001 |
|---|---|---|---|---|
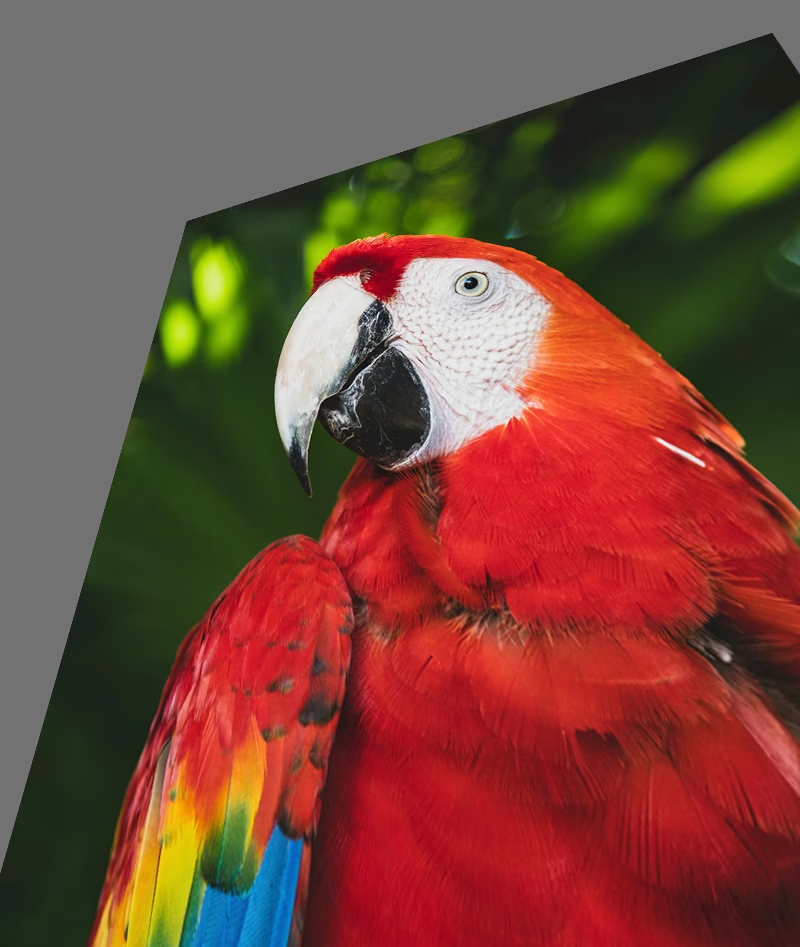 | 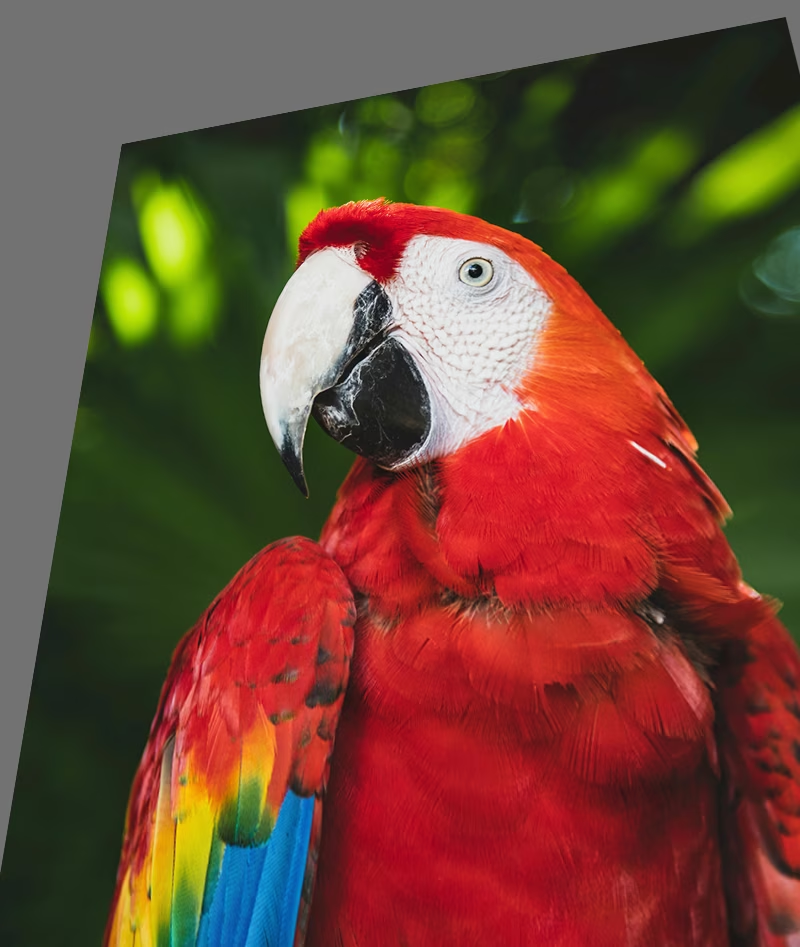 | | 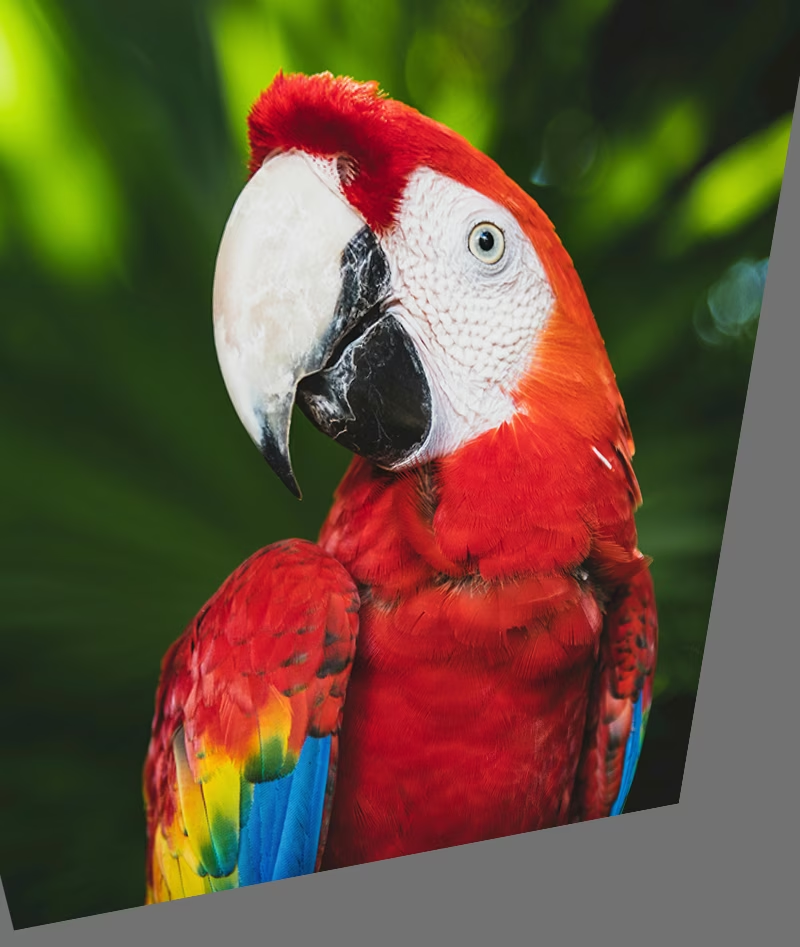 |  |
Flip Up-Down (flipud)
- Range:
0.0-1.0 - Default:
0.0 - Usage: Performs a vertical flip by inverting the image along the y-axis. This transformation mirrors the entire image upside-down but preserves all spatial relationships between objects. The flipud hyperparameter defines the probability of applying the transformation, with a value of
flipud=1.0ensuring that all images are flipped and a value offlipud=0.0disabling the transformation entirely. For example, withflipud=0.5, each image has a 50% chance of being flipped upside-down. - Purpose: Useful for scenarios where objects can appear upside down. For example, in robotic vision systems, objects on conveyor belts or robotic arms may be picked up and placed in various orientations. Vertical flipping helps the model recognize objects regardless of their top-down positioning.
- Ultralytics' implementation: RandomFlip
flipud off | flipud on |
|---|---|
| 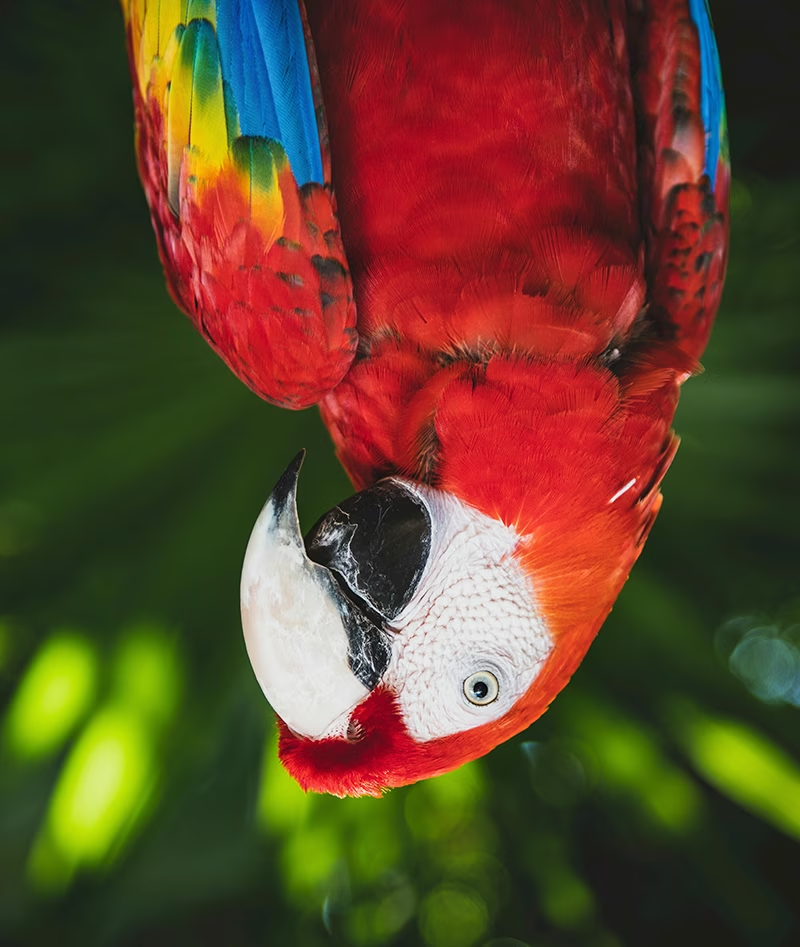 |
Flip Left-Right (fliplr)
- Range:
0.0-1.0 - Default:
0.5 - Usage: Performs a horizontal flip by mirroring the image along the x-axis. This transformation swaps the left and right sides while maintaining spatial consistency, which helps the model generalize to objects appearing in mirrored orientations. The
fliplrhyperparameter defines the probability of applying the transformation, with a value offliplr=1.0ensuring that all images are flipped and a value offliplr=0.0disabling the transformation entirely. For example, withfliplr=0.5, each image has a 50% chance of being flipped left to right. - Purpose: Horizontal flipping is widely used in object detection, pose estimation, and facial recognition to improve robustness against left-right variations. For example, in autonomous driving, vehicles and pedestrians can appear on either side of the road, and horizontal flipping helps the model recognize them equally well in both orientations.
- Ultralytics' implementation: RandomFlip
fliplr off | fliplr on |
|---|---|
|  |
BGR Channel Swap (bgr)
- Range:
0.0-1.0 - Default:
0.0 - Usage: Swaps the color channels of an image from RGB to BGR, altering the order in which colors are represented. The
bgrhyperparameter defines the probability of applying the transformation, withbgr=1.0ensuring all images undergo the channel swap andbgr=0.0disabling it. For example, withbgr=0.5, each image has a 50% chance of being converted from RGB to BGR. - Purpose: Increases robustness to different color channel orderings. For example, when training models that must work across various camera systems and imaging libraries where RGB and BGR formats may be inconsistently used, or when deploying models to environments where the input color format might differ from the training data.
- Ultralytics' implementation: Format
bgr off | bgr on |
|---|---|
|  |
Mosaic (mosaic)
- Range:
0.0-1.0 - Default:
1.0 - Usage: Combines four training images into one. The
mosaichyperparameter defines the probability of applying the transformation, withmosaic=1.0ensuring that all images are combined andmosaic=0.0disabling the transformation. For example, withmosaic=0.5, each image has a 50% chance of being combined with three other images. - Purpose: Highly effective for improving small object detection and context understanding. For example, in wildlife conservation projects where animals may appear at various distances and scales, mosaic augmentation helps the model learn to recognize the same species across different sizes, partial occlusions, and environmental contexts by artificially creating diverse training samples from limited data.
- Ultralytics' implementation: Mosaic
- Note:
- Even if the
mosaicaugmentation makes the model more robust, it can also make the training process more challenging. - The
mosaicaugmentation can be disabled near the end of training by settingclose_mosaicto the number of epochs before completion when it should be turned off. For example, ifepochsis set to200andclose_mosaicis set to20, themosaicaugmentation will be disabled after180epochs. Ifclose_mosaicis set to0, themosaicaugmentation will be enabled for the entire training process. - The center of the generated mosaic is determined using random values, and can either be inside the image or outside of it.
- The current implementation of the
mosaicaugmentation combines 4 images picked randomly from the dataset. If the dataset is small, the same image may be used multiple times in the same mosaic.
- Even if the
mosaic off | mosaic on |
|---|---|
| 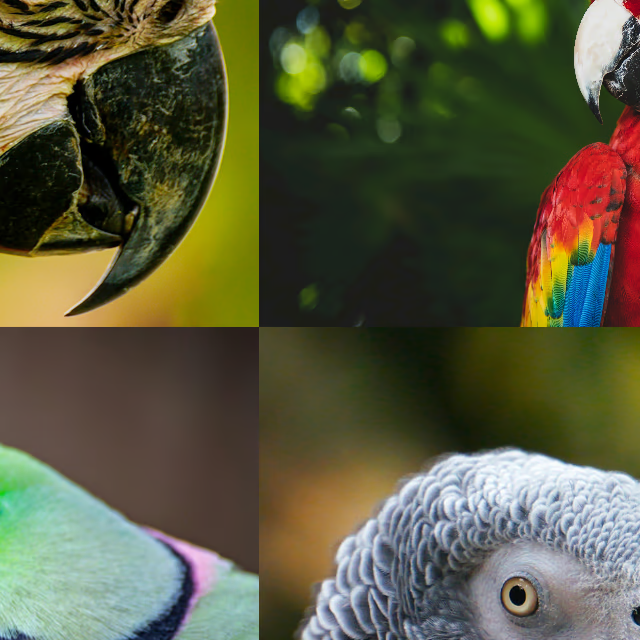 |
Mixup (mixup)
- Range:
0.0-1.0 - Default:
0.0 - Usage: Blends two images and their labels with given probability. The
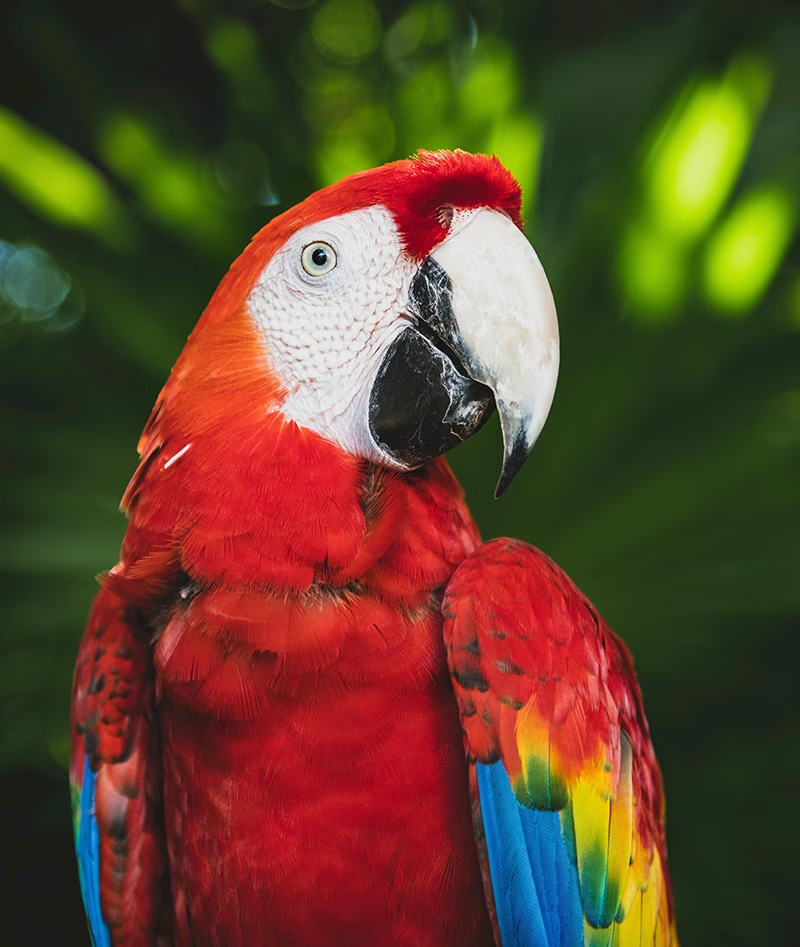
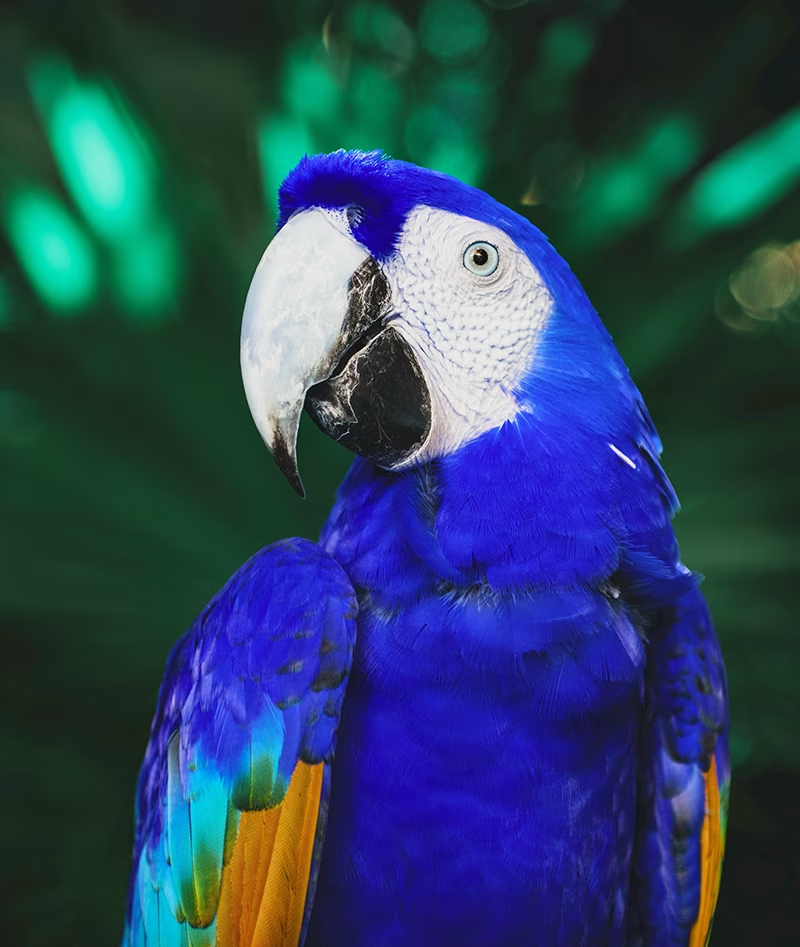
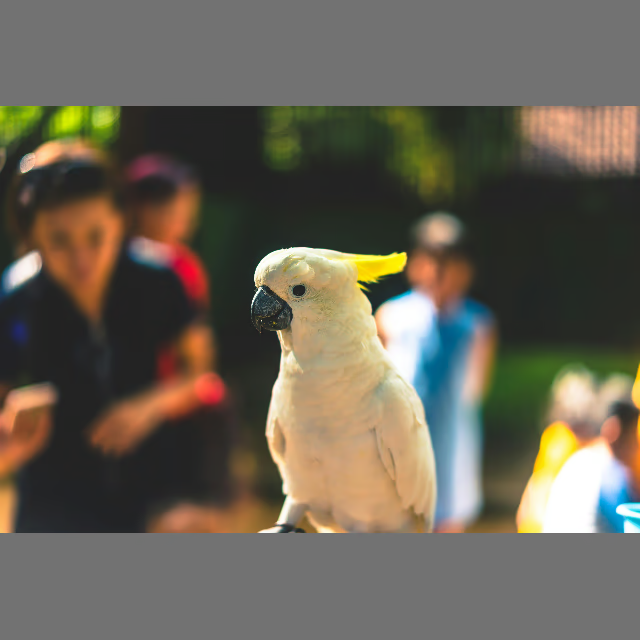
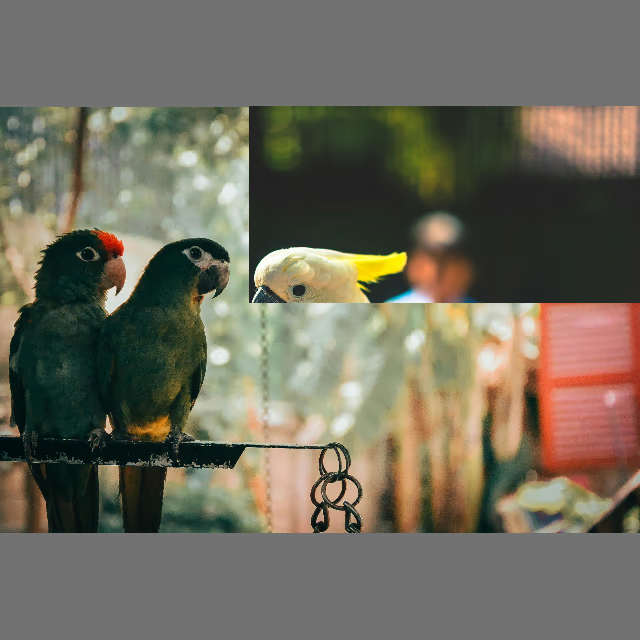
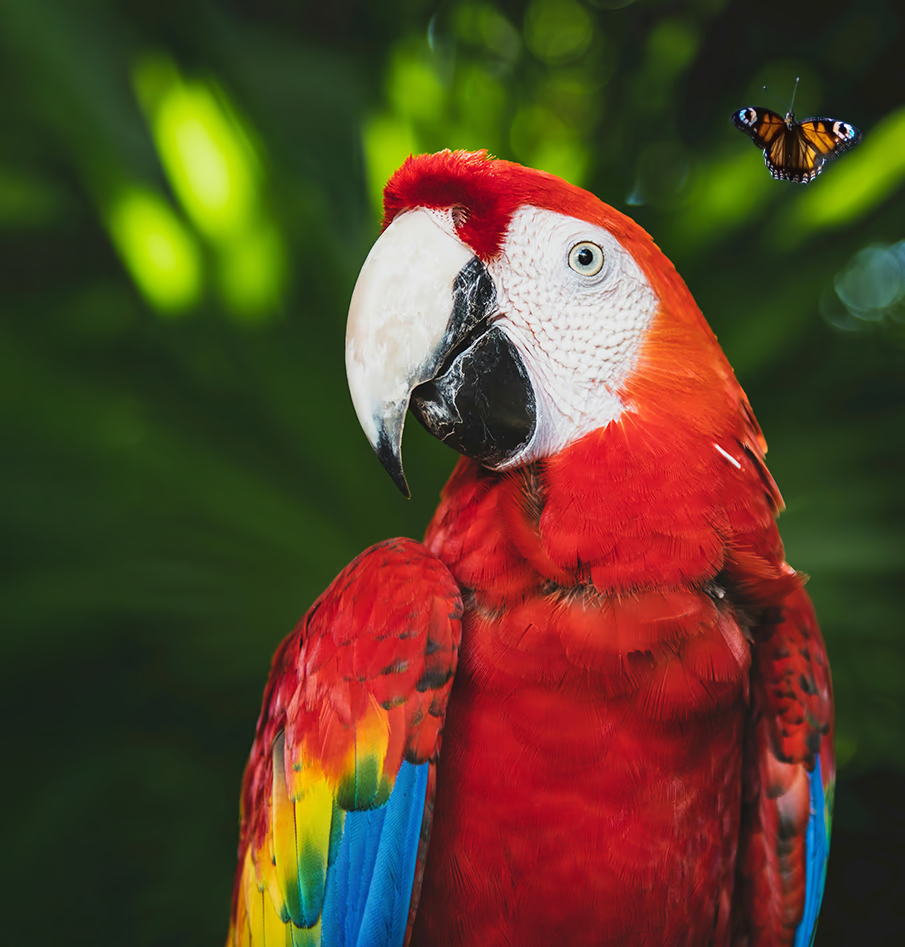
mixuphyperparameter defines the probability of applying the transformation, withmixup=1.0ensuring that all images are mixed andmixup=0.0disabling the transformation. For example, withmixup=0.5, each image has a 50% chance of being mixed with another image. - Purpose: Improves model robustness and reduces overfitting. For example, in retail product recognition systems, mixup helps the model learn more robust features by blending images of different products, teaching it to identify items even when they're partially visible or obscured by other products on crowded store shelves.
- Ultralytics' implementation: Mixup
- Note:
- The
mixupratio is a random value picked from anp.random.beta(32.0, 32.0)beta distribution, meaning each image contributes approximately 50%, with slight variations.
- The
First image, mixup off | Second image, mixup off | mixup on |
|---|---|---|
|  | 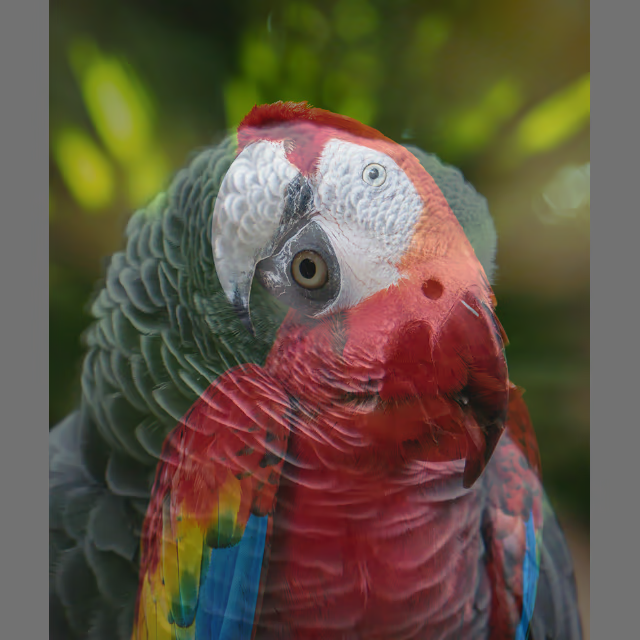 |
CutMix (cutmix)
- Range:
0.0-1.0 - Default:
0.0 - Usage: Cuts a rectangular region from one image and pastes it onto another image with given probability. The
cutmixhyperparameter defines the probability of applying the transformation, withcutmix=1.0ensuring that all images undergo this transformation andcutmix=0.0disabling it completely. For example, withcutmix=0.5, each image has a 50% chance of having a region replaced with a patch from another image. - Purpose: Enhances model performance by creating realistic occlusion scenarios while maintaining local feature integrity. For example, in autonomous driving systems, cutmix helps the model learn to recognize vehicles or pedestrians even when they're partially occluded by other objects, improving detection accuracy in complex real-world environments with overlapping objects.
- Ultralytics' implementation: CutMix
- Note:
- The size and position of the cut region is determined randomly for each application.
- Unlike mixup which blends pixel values globally,
cutmixmaintains the original pixel intensities within the cut regions, preserving local features. - A region is pasted into the target image only if it does not overlap with any existing bounding box. Additionally, only the bounding boxes that retain at least
0.1(10%) of their original area within the pasted region are preserved. - This minimum bounding box area threshold cannot be changed with the current implementation and is set to
0.1by default.
First image, cutmix off | Second image, cutmix off | cutmix on |
|---|---|---|
 |  |  |
Segmentation-Specific Augmentations
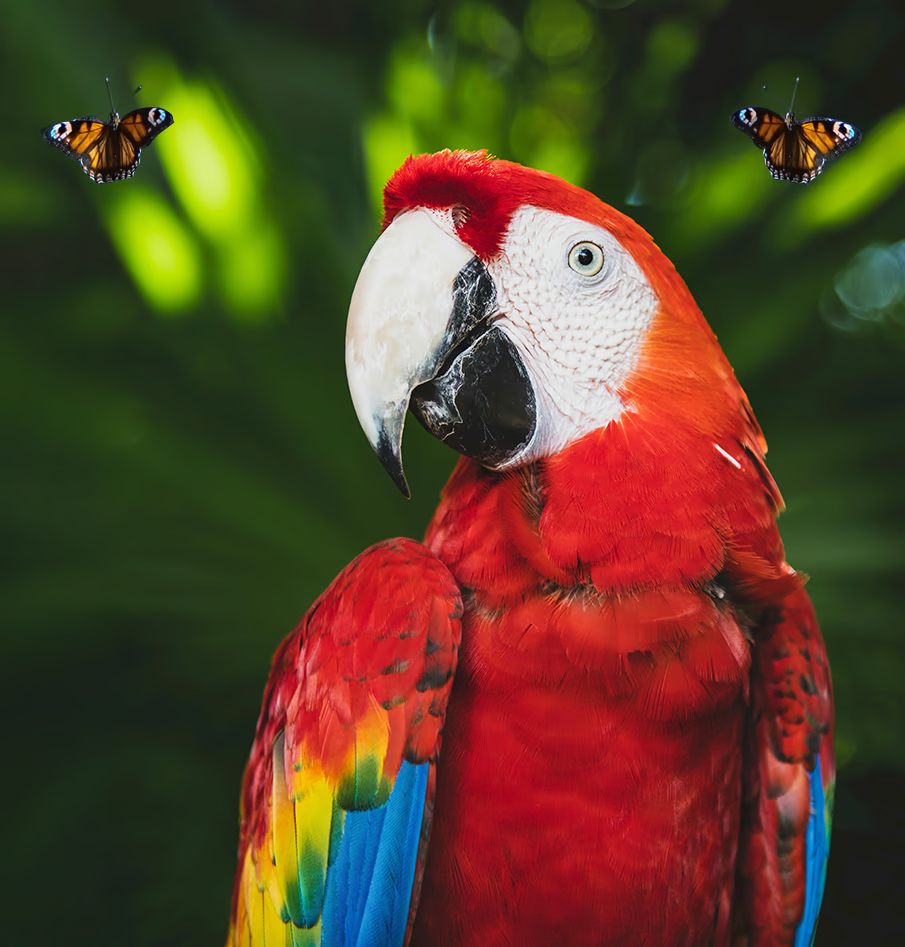
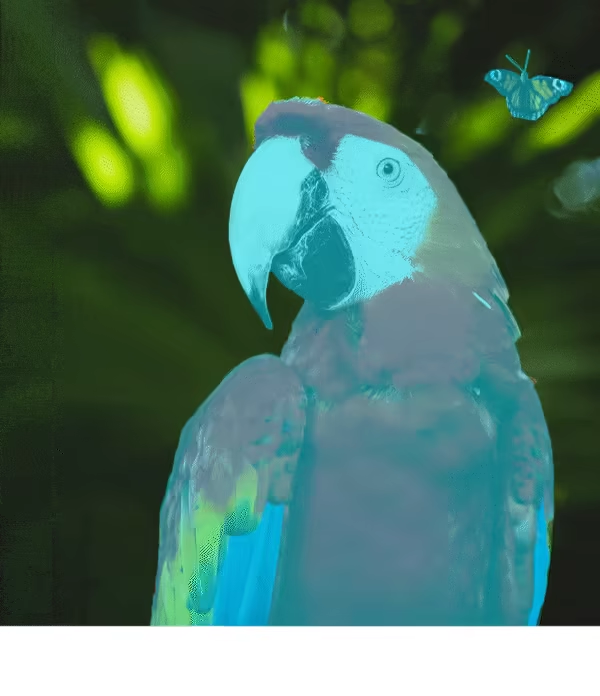
Copy-Paste (copy_paste)
- Range:
0.0-1.0 - Default:
0.0 - Usage: Only works for segmentation tasks, this augmentation copies objects within or between images based on a specified probability, controlled by the
copy_paste_mode. Thecopy_pastehyperparameter defines the probability of applying the transformation, withcopy_paste=1.0ensuring that all images are copied andcopy_paste=0.0disabling the transformation. For example, withcopy_paste=0.5, each image has a 50% chance of having objects copied from another image. - Purpose: Particularly useful for instance segmentation tasks and rare object classes. For example, in industrial defect detection where certain types of defects appear infrequently, copy-paste augmentation can artificially increase the occurrence of these rare defects by copying them from one image to another, helping the model better learn these underrepresented cases without requiring additional defective samples.
- Ultralytics' implementation: CopyPaste
- Note:
- As pictured in the gif below, the
copy_pasteaugmentation can be used to copy objects from one image to another. - Once an object is copied, regardless of the
copy_paste_mode, its Intersection over Area (IoA) is computed with all the object of the source image. If all the IoA are below0.3(30%), the object is pasted in the target image. If only one the IoA is above0.3, the object is not pasted in the target image. - The IoA threshold cannot be changed with the current implementation and is set to
0.3by default.
- As pictured in the gif below, the
copy_paste off | copy_paste on with copy_paste_mode=flip | Visualize the copy_paste process |
|---|---|---|
 |  |  |
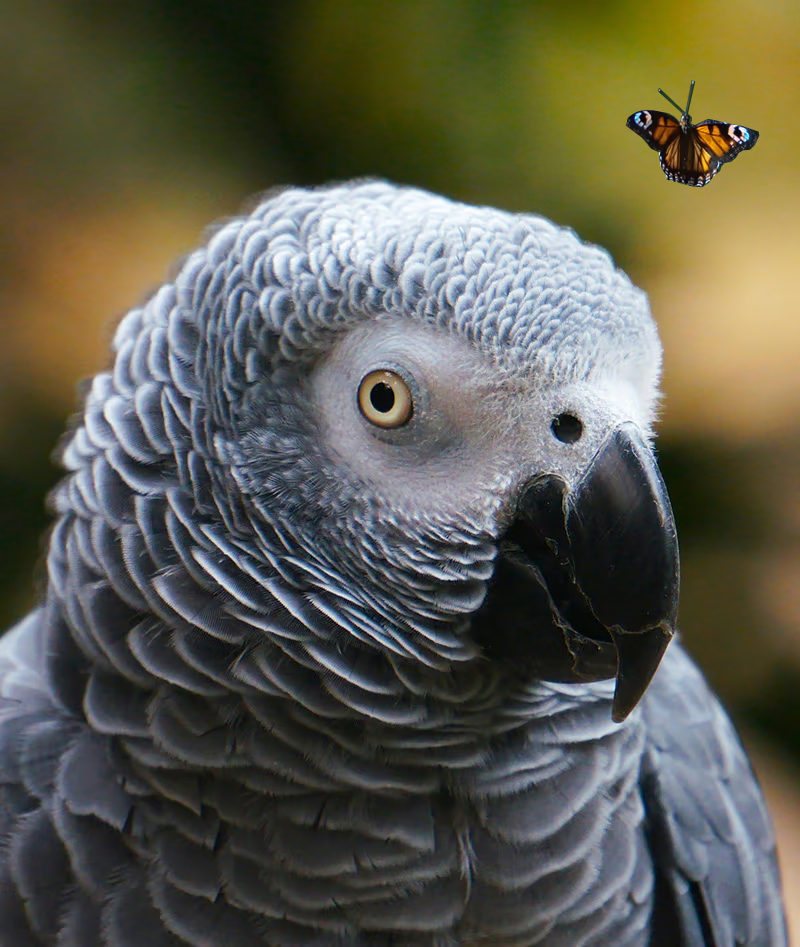
Copy-Paste Mode (copy_paste_mode)
- Options:
'flip','mixup' - Default:
'flip' - Usage: Determines the method used for copy-paste augmentation. If set to
'flip', the objects come from the same image, while'mixup'allows objects to be copied from different images. - Purpose: Allows flexibility in how copied objects are integrated into target images.
- Ultralytics' implementation: CopyPaste
- Note:
- The IoA principle is the same for both
copy_paste_mode, but the way the objects are copied is different. - Depending on the image size, objects may sometimes be copied partially or entirely outside the frame.
- Depending on the quality of polygon annotations, copied objects may have slight shape variations compared to the originals.
- The IoA principle is the same for both
| Reference image | Chosen image for copy_paste | copy_paste on with copy_paste_mode=mixup |
|---|---|---|
| |  |
Classification-Specific Augmentations
Auto Augment (auto_augment)
- Options:
'randaugment','autoaugment','augmix',None - Default:
'randaugment' - Usage: Applies automated augmentation policies for classification. The
'randaugment'option uses RandAugment,'autoaugment'uses AutoAugment, and'augmix'uses AugMix. Setting toNonedisables automated augmentation. - Purpose: Optimizes augmentation strategies automatically for classification tasks. The differences are the following:
- AutoAugment: This mode applies predefined augmentation policies learned from datasets like ImageNet, CIFAR10, and SVHN. Users can select these existing policies but cannot train new ones within Torchvision. To discover optimal augmentation strategies for specific datasets, external libraries or custom implementations would be necessary. Reference to the AutoAugment paper.
- RandAugment: Applies a random selection of transformations with uniform magnitude. This approach reduces the need for an extensive search phase, making it more computationally efficient while still enhancing model robustness. Reference to the RandAugment paper.
- AugMix: AugMix is a data augmentation method that enhances model robustness by creating diverse image variations through random combinations of simple transformations. Reference to the AugMix paper.
- Ultralytics' implementation: classify_augmentations()
- Note:
- Essentially, the main difference between the three methods is the way the augmentation policies are defined and applied.
- You can refer to this article that compares the three methods in detail.
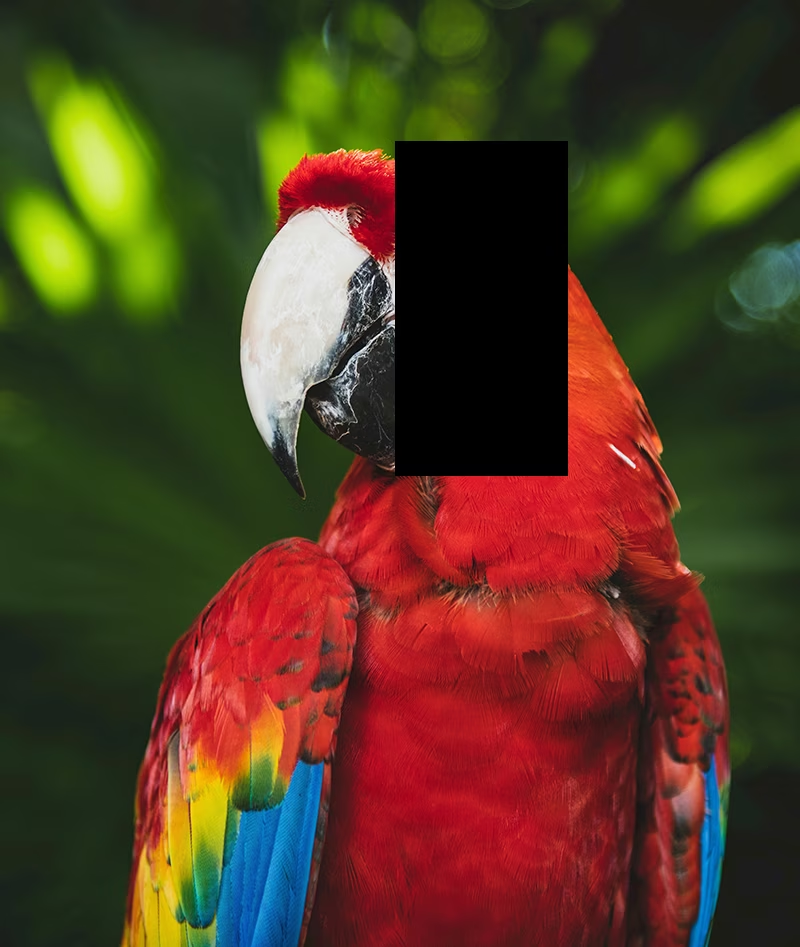
Random Erasing (erasing)
- Range:
0.0-0.9 - Default:
0.4 - Usage: Randomly erases portions of the image during classification training. The
erasinghyperparameter defines the probability of applying the transformation, witherasing=0.9ensuring that almost all images are erased anderasing=0.0disabling the transformation. For example, witherasing=0.5, each image has a 50% chance of having a portion erased. - Purpose: Helps models learn robust features and prevents over-reliance on specific image regions. For example, in facial recognition systems, random erasing helps models become more robust to partial occlusions like sunglasses, face masks, or other objects that might partially cover facial features. This improves real-world performance by forcing the model to identify individuals using multiple facial characteristics rather than depending solely on distinctive features that might be obscured.
- Ultralytics' implementation: classify_augmentations()
- Note:
- The
erasingaugmentation comes with ascale,ratio, andvaluehyperparameters that cannot be changed with the current implementation. Their default values are(0.02, 0.33),(0.3, 3.3), and0, respectively, as stated in the PyTorch documentation. - The upper limit of the
erasinghyperparameter is set to0.9to avoid applying the transformation to all images.
- The
erasing off | erasing on (example 1) | erasing on (example 2) | erasing on (example 3) |
|---|---|---|---|
|  |  |  |
Advanced Augmentation Features
Custom Albumentations Transforms (augmentations)
- Type:
listof Albumentations transforms - Default:
None - Usage: Allows you to provide custom Albumentations transforms for data augmentation using the Python API. This parameter accepts a list of Albumentations transform objects that will be applied during training instead of the default Albumentations transforms.
- Purpose: Provides fine-grained control over data augmentation strategies by leveraging the extensive library of Albumentations transforms. This is particularly useful when you need specialized augmentations beyond the built-in YOLO options, such as advanced color adjustments, noise injection, or domain-specific transformations.
- Ultralytics' implementation: Albumentations
Custom Albumentations Example
import albumentations as A

from ultralytics import YOLO

# Load a model
model = YOLO("yolo26n.pt")

# Define custom Albumentations transforms
custom_transforms = [
    A.Blur(blur_limit=7, p=0.5),
    A.GaussNoise(var_limit=(10.0, 50.0), p=0.3),
    A.CLAHE(clip_limit=4.0, p=0.5),
    A.RandomBrightnessContrast(brightness_limit=0.2, contrast_limit=0.2, p=0.5),
    A.HueSaturationValue(hue_shift_limit=20, sat_shift_limit=30, val_shift_limit=20, p=0.5),
]

# Train with custom Albumentations transforms
model.train(
    data="coco8.yaml",
    epochs=100,
    augmentations=custom_transforms,  # Pass custom transforms
    imgsz=640,
)
import albumentations as A

from ultralytics import YOLO

# Load a model
model = YOLO("yolo26n.pt")

# Define advanced custom Albumentations transforms with specific parameters
advanced_transforms = [
    A.OneOf(
        [
            A.MotionBlur(blur_limit=7, p=1.0),
            A.MedianBlur(blur_limit=7, p=1.0),
            A.GaussianBlur(blur_limit=7, p=1.0),
        ],
        p=0.3,
    ),
    A.OneOf(
        [
            A.GaussNoise(var_limit=(10.0, 50.0), p=1.0),
            A.ISONoise(color_shift=(0.01, 0.05), intensity=(0.1, 0.5), p=1.0),
        ],
        p=0.2,
    ),
    A.CLAHE(clip_limit=4.0, tile_grid_size=(8, 8), p=0.5),
    A.RandomBrightnessContrast(brightness_limit=0.3, contrast_limit=0.3, brightness_by_max=True, p=0.5),
    A.HueSaturationValue(hue_shift_limit=20, sat_shift_limit=30, val_shift_limit=20, p=0.5),
    A.CoarseDropout(
        max_holes=8, max_height=32, max_width=32, min_holes=1, min_height=8, min_width=8, fill_value=0, p=0.2
    ),
]

# Train with advanced custom transforms
model.train(
    data="coco8.yaml",
    epochs=100,
    augmentations=advanced_transforms,
    imgsz=640,
)
Key Points:
- Python API Only: Custom Albumentations transforms are currently supported only through the Python API. They cannot be specified via CLI or YAML configuration files.
- Replaces Default Transforms: When you provide custom transforms via the
augmentationsparameter, they completely replace the default Albumentations transforms. The default YOLO augmentations (likemosaic,hsv_h,hsv_s,degrees, etc.) remain active and are applied independently. - Bounding Box Compatibility: Be cautious when using spatial transforms (transforms that change the geometry of the image). Ultralytics handles bounding box adjustments automatically, but some complex transforms may require additional configuration.
- Extensive Library: Albumentations offers over 70+ different transforms. Explore the Albumentations documentation to discover all available options.
- Performance Consideration: Adding too many augmentations or using computationally expensive transforms can slow down training. Start with a small set and monitor training speed.
Common Use Cases:
- Medical Imaging: Apply specialized transforms like elastic deformations or grid distortions for X-ray or MRI image augmentation
- Aerial/Satellite Imagery: Use transforms optimized for overhead perspectives
- Low-Light Conditions: Apply noise and brightness adjustments to simulate challenging lighting
- Industrial Inspection: Add defect-like patterns or texture variations for quality control applications
Compatibility Notes:
- Requires Albumentations version 1.0.3 or higher
- Compatible with all YOLO detection and segmentation tasks
- Not applicable for classification tasks (classification uses a different augmentation pipeline)
For more information about Albumentations and available transforms, visit the official Albumentations documentation.
FAQ
There are too many augmentations to choose from. How do I know which ones to use?
Choosing the right augmentations depends on your specific use case and dataset. Here are a few general guidelines to help you decide:
- In most cases, slight variations in color and brightness are beneficial. The default values for
hsv_h,hsv_s, andhsv_vare a solid starting point. - If the camera's point of view is consistent and won't change once the model is deployed, you can likely skip geometric transformations such as
rotation,translation,scale,shear, orperspective. However, if the camera angle may vary, and you need the model to be more robust, it's better to keep these augmentations. - Use the
mosaicaugmentation only if having partially occluded objects or multiple objects per image is acceptable and does not change the label value. Alternatively, you can keepmosaicactive but increase theclose_mosaicvalue to disable it earlier in the training process.
In short: keep it simple. Start with a small set of augmentations and gradually add more as needed. The goal is to improve the model's generalization and robustness, not to overcomplicate the training process. Also, make sure the augmentations you apply reflect the same data distribution your model will encounter in production.
When starting a training, a see a albumentations: Blur[...] reference. Does that mean Ultralytics YOLO runs additional augmentation like blurring?
If the albumentations package is installed, Ultralytics automatically applies a set of extra image augmentations using it. These augmentations are handled internally and require no additional configuration.
You can find the full list of applied transformations in our technical documentation, as well as in our Albumentations integration guide. Note that only the augmentations with a probability p greater than 0 are active. These are purposefully applied at low frequencies to mimic real-world visual artifacts, such as blur or grayscale effects.
You can also provide your own custom Albumentations transforms using the Python API. See the Advanced Augmentation Features section for more details.
When starting a training, I don't see any reference to albumentations. Why?
Check if the albumentations package is installed. If not, you can install it by running pip install albumentations. Once installed, the package should be automatically detected and used by Ultralytics.
How do I customize my augmentations?
You can customize augmentations by creating a custom dataset class and trainer. For example, you can replace the default Ultralytics classification augmentations with PyTorch's torchvision.transforms.Resize or other transforms. See the custom training example in the classification documentation for implementation details.


