Ultralytics YOLO mit Conda installieren
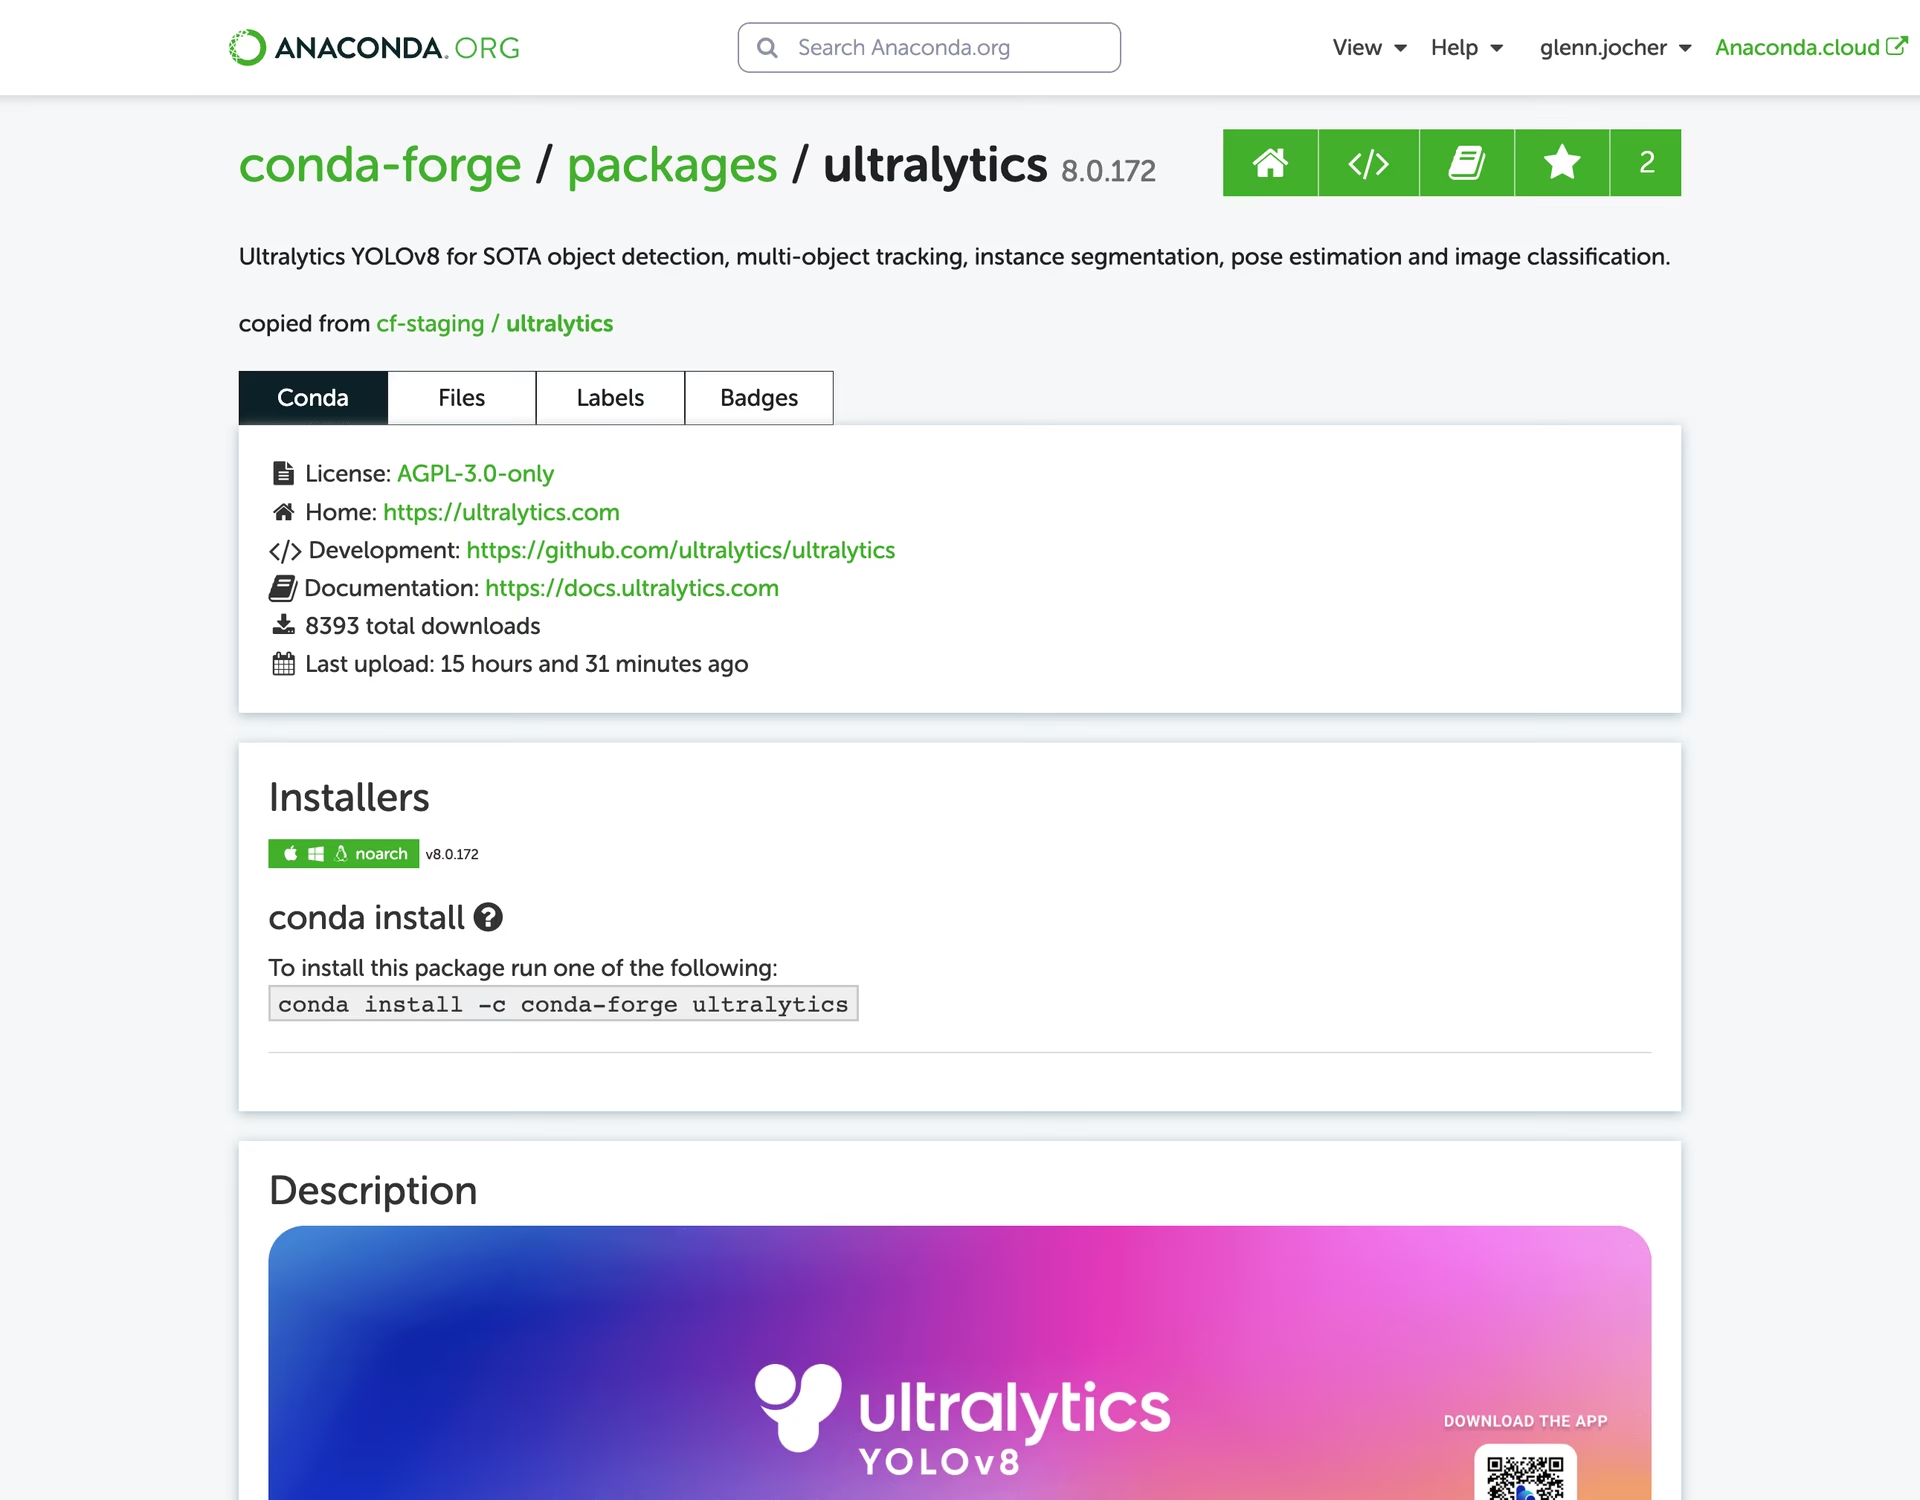
Diese Anleitung führt dich durch die Einrichtung einer Conda-Umgebung für deine Ultralytics-Projekte. Conda ist ein quelloffenes System zur Verwaltung von Paketen und Umgebungen und eine Alternative zu pip, um Pakete und Abhängigkeiten zu installieren. Dank isolierter Umgebungen eignet es sich besonders für Data Science und Arbeiten im Bereich maschinelles Lernen.



Diese Anleitung erklärt, wie du eine Umgebung mit Ultralytics erstellst, Inferenz ausführst, das Conda-Docker-Image verwendest und Installationen mit libmamba beschleunigst.
Voraussetzungen#
Anaconda oder Miniconda muss auf deinem System installiert sein. Falls nicht, lade das Programm von Anaconda oder Miniconda herunter und installiere es.
Ultralytics installieren#
Erstelle eine neue Conda-Umgebung mit Ultralytics aus dem conda-forge-Kanal und aktiviere sie anschließend. Installiere Python, Ultralytics und torchvision (keine Abhängigkeit des conda-forge-Pakets) im selben Befehl, damit conda aktuelle, kompatible Versionen gemeinsam auflöst:
conda create --name ultralytics-env -c conda-forge python=3.11 ultralytics torchvision -y
conda activate ultralytics-envWenn du in einer CUDA-fähigen Umgebung arbeitest, füge das conda-forge-Metapaket pytorch-gpu im selben Befehl hinzu, damit conda einen CUDA-fähigen PyTorch-Build auflöst:
conda create --name ultralytics-env -c conda-forge python=3.11 ultralytics torchvision pytorch-gpu -y
conda activate ultralytics-env
Hinweis zur ROCm-Umgebung (AMD-GPU, Linux)#
Für die AMD-GPU-Beschleunigung unter Linux mit ROCm sind PyTorch-ROCm-Wheels nicht über Conda verfügbar und müssen mit pip installiert werden. Verwende eine Conda-Umgebung zur Isolierung und installiere dann PyTorch ROCm und Ultralytics mit pip:
conda create --name ultralytics-rocm python=3.12 -y
conda activate ultralytics-rocm
pip install "torch[device-all]" "torchvision[device-all]" --index-url https://stable.repo.amd.com/rocm/whl-next/
pip install ultralytics
Auf der Seite Erste Schritte mit PyTorch findest du unterstützte ROCm-Versionen. Die Anleitung zur AMD-GPU beschreibt die Einrichtung der MIGraphX-Inferenz, für die Python 3.11 oder neuer unter Linux x86_64 erforderlich ist.
Ultralytics verwenden#
Nach der Installation von Ultralytics kannst du Objekterkennung, Instanzsegmentierung und weitere Aufgaben im Bereich Computer Vision ausführen. So führst du beispielsweise eine Inferenz auf einem Bild aus:
from ultralytics import YOLO

model = YOLO("yolo26n.pt")  # Modell initialisieren
results = model("path/to/image.jpg")  # Inferenz durchführen
results[0].show() # Ergebnisse für das erste Bild anzeigenUltralytics-Conda-Docker-Image#
Das Conda-Dockerfile verwendet PyTorch 2.13, torchvision 0.28 und CUDA 13.0 von conda-forge. Neue conda-forge-Versionen erscheinen möglicherweise später als die PyTorch-Pip-Versionen, die im standardmäßigen GPU-Image verwendet werden. Die automatische Veröffentlichung von latest-conda ist deaktiviert. Erstelle daher das aktuelle Image lokal:
git clone https://github.com/ultralytics/ultralytics
cd ultralytics
t=ultralytics-conda:local
sudo docker build -f docker/Dockerfile-conda -t $t .
Image ausführen:
# Run the Ultralytics image in a container with GPU support
sudo docker run -it --ipc=host --device nvidia.com/gpu=all $t                         # all GPUs
sudo docker run -it --ipc=host --device nvidia.com/gpu=2 --device nvidia.com/gpu=3 $t # specify GPUs
Unter Linux erfordern CDI-Geräteanforderungen Docker >= 28.2.0 und NVIDIA Container Toolkit >= 1.18. Das veraltete Flag --gpus all kann nach dem Neuladen des Daemons auf dem Host zum Verlust des GPU-Zugriffs führen. Aktualisiere daher ältere Linux-Hosts und verwende stattdessen --device. Weitere Informationen findest du in der Docker-Schnelleinstiegsanleitung.
Installation mit Libmamba beschleunigen#
libmamba ist ein schneller, plattformübergreifender Solver, der Abhängigkeiten berücksichtigt und Condas klassischen Solver ersetzt. Ab Conda 23.10 ist libmamba bereits der standardmäßige Solver, sodass die meisten Installationen direkt schneller sind.
Wenn du eine ältere Conda-Version verwendest, kannst du libmamba manuell aktivieren:
-
Installiere zuerst das Paket
conda-libmamba-solver:conda install conda-libmamba-solver -
Konfiguriere anschließend Conda so, dass
libmambaals Solver verwendet wird:conda config --set solver libmamba
Du hast erfolgreich eine Conda-Umgebung eingerichtet und das Ultralytics-Paket installiert. Jetzt kannst du dessen Funktionen erkunden. Weitere fortgeschrittene Tutorials und Beispiele findest du in der Ultralytics-Dokumentation.
Häufig gestellte Fragen#
Erstelle die Umgebung mit Python und Ultralytics aus dem Kanal conda-forge in einem einzigen Befehl, damit conda beide gemeinsam auflöst, und aktiviere sie anschließend:
conda create --name ultralytics-env -c conda-forge python=3.11 ultralytics torchvision -y conda activate ultralytics-envConda ist ein System zur Paket- und Umgebungsverwaltung, das mehrere Vorteile gegenüber pip bietet. Es verwaltet Abhängigkeiten effizient und stellt sicher, dass alle erforderlichen Bibliotheken kompatibel sind. Die isolierten Umgebungen von Conda verhindern Konflikte zwischen Paketen, was für Data-Science- und Machine-Learning-Projekte entscheidend ist. Außerdem unterstützt Conda die Verteilung von Binärpaketen und beschleunigt so die Installation.
Ja. Erstelle die Umgebung mit
ultralyticsund dem conda-forge-Metapaketpytorch-gpuim selben Befehl, damit eine CUDA-fähige PyTorch-Version gemeinsam damit aufgelöst wird:conda create --name ultralytics-env -c conda-forge python=3.11 ultralytics torchvision pytorch-gpu -y conda activate ultralytics-envDiese Konfiguration ermöglicht die GPU-Beschleunigung, die für aufwendige Aufgaben wie das Training und die Inferenz von Deep-Learning-Modellen entscheidend ist. Weitere Informationen findest du in der Ultralytics-Installationsanleitung.
Das Conda-Dockerfile stellt eine isolierte conda-forge-Umgebung mit CUDA-fähigem PyTorch bereit. Befolge die Anleitung für den lokalen Build und führe das Image anschließend mit den dort gezeigten GPU-Optionen aus. Das standardmäßige veröffentlichte GPU-Image und weitere Alternativen sind in der Docker-Anleitung aufgeführt.
Ab Conda 23.10 wird standardmäßig bereits der schnelle Solver
libmambaverwendet. Bei älteren Conda-Versionen kannst du ihn manuell aktivieren. Installiere dazu zuerst das Paketconda-libmamba-solver:conda install conda-libmamba-solverKonfiguriere anschließend Conda so, dass
libmambaals Solver verwendet wird:conda config --set solver libmambaDiese Einrichtung sorgt für eine schnellere und effizientere Paketverwaltung.


Kommentare6
Stell eine Frage, teile deine Ergebnisse oder hilf jemand anderem.
najwazkiyahh
Hi! I'm the new to using YOLO. I have python 3.12 on my laptop because my previous exam need it-the latest version of python. I want to install ultralytics YOLOv11, should I downgrade my python version from 3.12 into 3.11? Or I should downgrade my python version to the recommended requirement, 3.8? Thank you, hope you (anybody) can answer my confusion.
 Glenn JocherUltralytics
@najwazkiyahh you don't need to downgrade your system Python! 😊 Simply create a Conda environment with Python 3.11 using
conda create --name yolo_env python=3.11, then activate it and install Ultralytics. This keeps your existing Python 3.12 intact while giving you a compatible YOLO11 environment. For full steps, see the Conda Quickstart Guide for Ultralytics.We recommend this approach as it maintains version isolation while allowing you to work with both Python versions seamlessly. Welcome to the YOLO community! 🚀
Malvinlam
Hi is there a way to install the yolov8 dependencies using Anaconda prompt to the virtual environment other than pip install ultralytics? For example I already downloaded the ultralytics package from GitHub and opened it as project folder using PyCharm. Is there a way to only install the required libraries?
- Glenn JocherUltralytics(bearbeitet)
@Malvinlam hi there! 👋
Absolutely, you can install the required dependencies for Ultralytics using Conda without relying on
pip install ultralytics. Here's a step-by-step guide to help you set up your Conda environment and install the necessary libraries:-
Create a New Conda Environment: First, create a new Conda environment with Python 3.11 (or your preferred version):
conda create --name ultralytics-env python=3.11 -y -
Activate the Environment: Activate your newly created environment:
conda activate ultralytics-env -
Install Required Libraries: The repository no longer has a
requirements.txt; its dependencies are declared inpyproject.toml. From the root of your cloned repository, run:pip install -e .Alternatively, if you want to install specific packages manually, you can use:
conda install -c conda-forge numpy pandas matplotlib opencv scikit-learn conda install -c pytorch pytorch torchvision torchaudio -
Note on CUDA Environment: If you're working in a CUDA-enabled environment, it's a good practice to install
pytorchandpytorch-cudatogether to resolve any conflicts:conda install -c pytorch -c nvidia -c conda-forge pytorch torchvision torchaudio pytorch-cuda=11.8 -
Using Ultralytics: With the dependencies installed, you can now start using Ultralytics. For example, to perform inference with YOLO26:
from ultralytics import YOLO

model = YOLO("yolo26n.pt")  # initialize model
results = model("path/to/image.jpg")  # perform inference
results[0].show()  # display results for the first image
For more detailed instructions, you can refer to our Conda Quickstart Guide.
If you encounter any issues or have further questions, feel free to ask. Happy coding! 😊
-
nadinator
Does the python version have to be 3.8? Can it be a newer version? What would/wouldn't break if we used 3.11, for example (I'm thinking of the [ray]tuning feature)?
- Glenn JocherUltralytics
Hey there! 😊
You can definitely use Python versions newer than 3.8, including 3.11. However, it's important to note that while most features should work fine, there might be some compatibility issues with newer Python versions, especially with external libraries or specific features like [ray] tuning.
If you're keen on using Python 3.11, I'd recommend testing the key functionalities you plan to use in your project to ensure everything runs smoothly. For the [ray] tuning feature, you might want to check Ray's documentation or GitHub issues for any known compatibility concerns with Python 3.11.
Here's a quick example of how you might set up your environment with Python 3.11:
conda create --name ultralytics-env python=3.11 -y
conda activate ultralytics-env
conda install -c conda-forge ultralytics
And remember, if you encounter any issues, the Ultralytics community is here to help! 🚀