YOLOv5를 사용한 다중 GPU 훈련
이 가이드는 단일 또는 여러 장비에서 YOLOv5 🚀로 데이터 세트를 훈련하기 위해 여러 GPU를 올바르게 사용하는 방법을 설명합니다.
시작하기 전에
requirements.txt를 복제하고 Python>=3.8.0 환경에 설치합니다. 여기에는 PyTorch>=1.8이 포함됩니다. 모델 및 데이터 세트는 최신 YOLOv5 릴리스에서 자동으로 다운로드됩니다.
git clone https://github.com/ultralytics/yolov5 # clone
cd yolov5
pip install -r requirements.txt # install
ProTip!
Docker 이미지 은 모든 Multi-GPU 학습에 권장됩니다. 다음을 참조하십시오. Docker 빠른 시작 가이드

ProTip!
torch.distributed.run 다음으로 대체됩니다. torch.distributed.launch 에서 PyTorch>=1.9. 다음을 참조하십시오. PyTorch 분산 문서 자세한 내용은 참조하십시오.
훈련
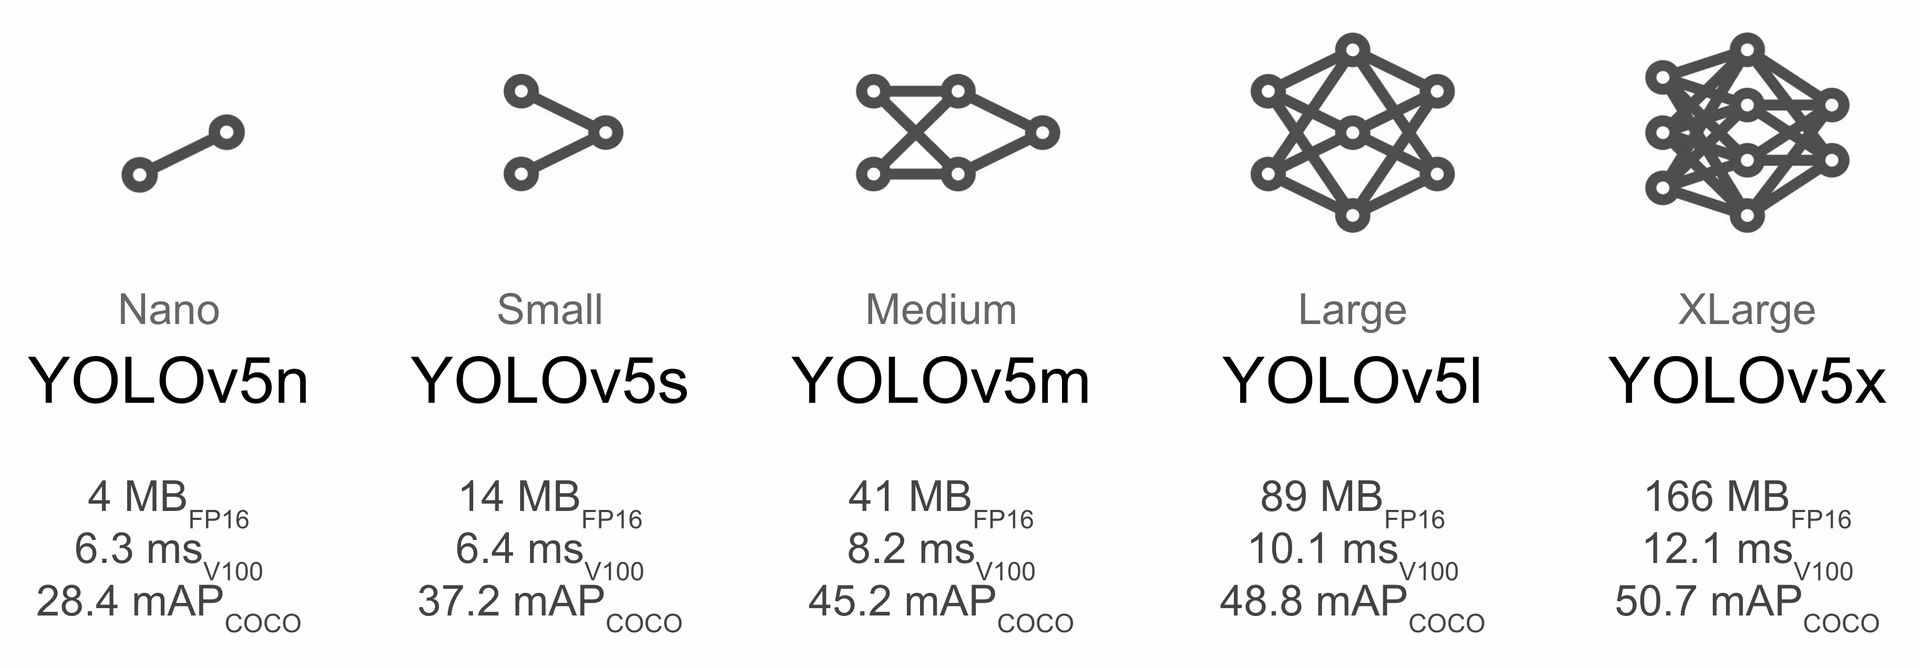
학습을 시작할 사전 학습된 모델을 선택하십시오. 여기서는 사용 가능한 가장 작고 빠른 모델인 YOLOv5s를 선택합니다. 모든 모델의 전체 비교는 README 표를 참조하십시오. 이 모델을 COCO 데이터셋에서 Multi-GPU로 학습시킬 것입니다.
단일 GPU
python train.py --batch 64 --data coco.yaml --weights yolov5s.pt --device 0
Multi-GPU DataParallel 모드 (⚠️ 권장되지 않음)
다음을 늘릴 수 있습니다. device DataParallel 모드에서 여러 GPU를 사용합니다.
python train.py --batch 64 --data coco.yaml --weights yolov5s.pt --device 0,1
이 방법은 느리고 GPU 1개만 사용하는 것에 비해 학습 속도가 거의 향상되지 않습니다.
Multi-GPU DistributedDataParallel 모드 (✅ 권장)
다음을 전달해야 합니다. python -m torch.distributed.run --nproc_per_node다음에 일반적인 인수가 옵니다.
python -m torch.distributed.run --nproc_per_node 2 train.py --batch 64 --data coco.yaml --weights yolov5s.pt --device 0,1
--nproc_per_node사용할 GPU의 수를 지정합니다. 위 예에서는 2입니다.--batch총 배치 크기입니다. 각 GPU에 균등하게 분할됩니다. 위 예에서는 GPU당 64/2=32입니다.
위 코드는 GPU를 사용합니다. 0... (N-1). 설정할 수도 있습니다. CUDA_VISIBLE_DEVICES=2,3 환경 변수를 통해 장치 가시성을 제어하려는 경우 명령을 시작하기 전에 (또는 다른 목록)을 설정하십시오.
특정 GPU 사용 (클릭하여 확장)
`--device` 뒤에 특정 GPU를 전달하여 사용할 수 있습니다. 예를 들어 아래 코드에서는 GPU `2,3`을 사용합니다.python -m torch.distributed.run --nproc_per_node 2 train.py --batch 64 --data coco.yaml --cfg yolov5s.yaml --weights '' --device 2,3
SyncBatchNorm 사용 (클릭하여 확장)
[SyncBatchNorm](https://docs.pytorch.org/docs/master/generated/torch.nn.SyncBatchNorm.html) could increase [accuracy](https://www.ultralytics.com/glossary/accuracy) for multiple GPU training, however, it will slow down training by a significant factor. It is **only** available for Multiple GPU DistributedDataParallel training. It is best used when the batch-size on **each** GPU is small (<= 8). To use SyncBatchNorm, simply pass `--sync-bn` to the command like below:python -m torch.distributed.run --nproc_per_node 2 train.py --batch 64 --data coco.yaml --cfg yolov5s.yaml --weights '' --sync-bn
여러 장비 사용 (클릭하여 확장)
이것은 다중 GPU DistributedDataParallel 훈련에만 **전용**으로 사용할 수 있습니다. 계속하기 전에 모든 머신의 파일, 데이터 세트, 코드베이스 등이 동일한지 확인하세요. 그 후, 머신들이 서로 통신할 수 있는지 확인하세요. 마스터 머신(다른 머신과 대화할 머신)을 선택해야 합니다. 주소(`master_addr`)를 적어두고 포트(`master_port`)를 선택합니다. 아래 예에서는 `master_addr = 192.168.1.1`과 `master_port = 1234`를 사용하겠습니다. 이를 사용하려면 다음과 같이 하면 됩니다:# On master machine 0
python -m torch.distributed.run --nproc_per_node G --nnodes N --node_rank 0 --master_addr "192.168.1.1" --master_port 1234 train.py --batch 64 --data coco.yaml --cfg yolov5s.yaml --weights ''
# On machine R
python -m torch.distributed.run --nproc_per_node G --nnodes N --node_rank R --master_addr "192.168.1.1" --master_port 1234 train.py --batch 64 --data coco.yaml --cfg yolov5s.yaml --weights ''
참고 사항
- Windows 지원은 테스트되지 않았으며, Linux를 권장합니다.
--batchGPU 수의 배수여야 합니다.- GPU 0은 EMA를 유지하고 체크포인트 등을 담당하기 때문에 다른 GPU보다 약간 더 많은 메모리를 사용합니다.
다음과 같은 오류가 발생하면
RuntimeError: Address already in use이는 여러 학습을 동시에 실행하고 있기 때문일 수 있습니다. 이 문제를 해결하려면 다음을 추가하여 다른 포트 번호를 사용하십시오.--master_port아래와 같습니다.python -m torch.distributed.run --master_port 1234 --nproc_per_node 2 ...
결과
8x A100 SXM4-40GB를 갖춘 AWS EC2 P4d 인스턴스에서 YOLOv5l의 1 COCO epoch에 대한 DDP 프로파일링 결과.
프로파일링 코드
# prepare
t=ultralytics/yolov5:latest && sudo docker pull $t && sudo docker run -it --runtime=nvidia --ipc=host --gpus all -v "$(pwd)"/coco:/usr/src/coco $t
pip3 install torch==1.9.0+cu111 torchvision==0.10.0+cu111 -f https://download.pytorch.org/whl/torch_stable.html
cd .. && rm -rf app && git clone https://github.com/ultralytics/yolov5 -b master app && cd app
cp data/coco.yaml data/coco_profile.yaml

# profile
python train.py --batch-size 16 --data coco_profile.yaml --weights yolov5l.pt --epochs 1 --device 0
python -m torch.distributed.run --nproc_per_node 2 train.py --batch-size 32 --data coco_profile.yaml --weights yolov5l.pt --epochs 1 --device 0,1
python -m torch.distributed.run --nproc_per_node 4 train.py --batch-size 64 --data coco_profile.yaml --weights yolov5l.pt --epochs 1 --device 0,1,2,3
python -m torch.distributed.run --nproc_per_node 8 train.py --batch-size 128 --data coco_profile.yaml --weights yolov5l.pt --epochs 1 --device 0,1,2,3,4,5,6,7
| GPU A100 | 배치 크기 | CUDA_mem device0 (G) | COCO train | COCO val |
|---|---|---|---|---|
| 1x | 16 | 26GB | 20:39 | 0:55 |
| 2x | 32 | 26GB | 11:43 | 0:57 |
| 4x | 64 | 26GB | 5:57 | 0:55 |
| 8x | 128 | 26GB | 3:09 | 0:57 |
결과에서 볼 수 있듯이 여러 GPU와 함께 DistributedDataParallel을 사용하면 훈련 속도가 거의 선형적으로 확장됩니다. 8개의 GPU를 사용하면 장치당 동일한 메모리 사용량을 유지하면서 단일 GPU를 사용하는 것보다 훈련이 약 6.5배 더 빠르게 완료됩니다.
FAQ
오류가 발생하면 먼저 아래 체크리스트를 확인하십시오! (시간을 절약할 수 있습니다)
체크리스트 (클릭하여 확장)
- 이 게시물을 제대로 읽으셨나요? - 코드베이스를 다시 복제해 보셨나요? 코드가 **매일** 변경됩니다. - 오류를 검색해 보셨나요? 누군가 이 리포지토리나 다른 리포지토리에서 이미 이 문제를 발견하여 해결책을 가지고 있을 수 있습니다. - 상단에 나열된 모든 요구 사항을 설치했나요(올바른 Python 및 PyTorch 버전 포함)? - 아래 '환경' 섹션에 나열된 다른 환경에서도 시도해 보셨나요? - coco128 또는 coco2017과 같은 다른 데이터 세트로 시도해 보셨나요? 그러면 근본 원인을 더 쉽게 찾을 수 있습니다. 위의 모든 과정을 거쳤다면 템플릿에 따라 최대한 자세히 설명하여 자유롭게 이슈를 제기하세요.지원되는 환경
Ultralytics는 CUDA, CUDNN, Python 및 PyTorch와 같은 필수 종속성이 미리 설치된 다양한 즉시 사용 가능한 환경을 제공하여 프로젝트를 시작할 수 있도록 합니다.
- 무료 GPU 노트북:


- Google Cloud: GCP 빠른 시작 가이드
- Amazon: AWS 빠른 시작 가이드
- Azure: AzureML 빠른 시작 가이드
- Docker: Docker 빠른 시작 가이드
프로젝트 상태
![]()
이 배지는 모든 YOLOv5 GitHub Actions 지속적 통합(CI) 테스트가 성공적으로 통과되었음을 나타냅니다. 이러한 CI 테스트는 학습, 유효성 검사, 추론, 내보내기 및 벤치마크와 같은 다양한 주요 측면에서 YOLOv5의 기능과 성능을 엄격하게 검사합니다. macOS, Windows 및 Ubuntu에서 일관되고 안정적인 작동을 보장하며, 테스트는 24시간마다 그리고 새로운 커밋마다 수행됩니다.
제작자
모든 어려운 작업을 수행한 @MagicFrogSJTU와 저희를 지도해주신 @glenn-jocher에게 감사드립니다.
참고
- 훈련 모드 - Ultralytics를 사용하여 YOLO 모델 훈련에 대해 알아봅니다.
- 하이퍼파라미터 튜닝 - 모델 성능 최적화
- Docker 퀵스타트 가이드 - 학습을 위한 Docker 환경을 설정합니다.


