使用YOLOv5进行多GPU训练
本指南介绍如何正确使用多个 GPU,以便在单台或多台机器上使用 YOLOv5 🚀 训练数据集。
开始之前
克隆仓库并在 Python>=3.8.0 环境中安装 requirements.txt,包括 PyTorch>=1.8。模型和数据集会自动从最新的 YOLOv5 版本下载。
git clone https://github.com/ultralytics/yolov5 # clone
cd yolov5
pip install -r requirements.txt # install
专家提示!
Docker 镜像 建议用于所有 Multi-GPU 训练。请参阅 Docker 快速入门指南
专家提示!
torch.distributed.run 替换 torch.distributed.launch 在 PyTorch>=1.9。请参阅 PyTorch 分布式文档 详情请见。
训练
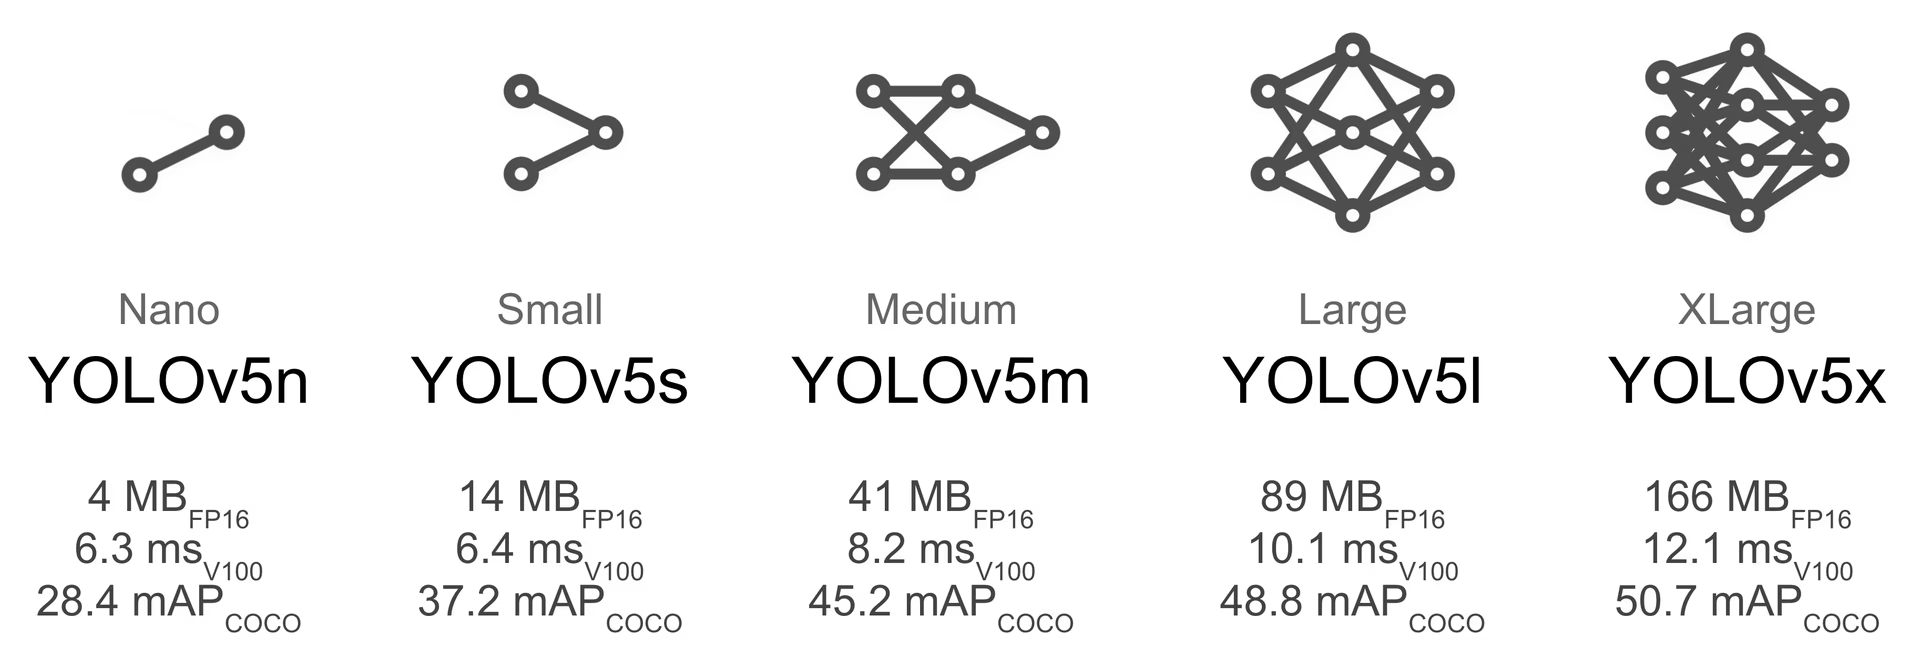
选择一个预训练模型作为训练起点。这里我们选择YOLOv5s,它是可用模型中最小、最快的。请参阅我们的README表格,了解所有模型的完整比较。我们将在COCO数据集上使用多GPU训练此模型。

单 GPU
python train.py --batch 64 --data coco.yaml --weights yolov5s.pt --device 0
多 GPU DataParallel 模式 (⚠️ 不推荐)
您可以增加 device 要在 DataParallel 模式下使用多个 GPU。
python train.py --batch 64 --data coco.yaml --weights yolov5s.pt --device 0,1
与仅使用 1 个 GPU 相比,此方法速度较慢,几乎无法加速训练。
多 GPU DistributedDataParallel 模式 (✅ 推荐)
您将需要传递 python -m torch.distributed.run --nproc_per_node,然后是常用的参数。
python -m torch.distributed.run --nproc_per_node 2 train.py --batch 64 --data coco.yaml --weights yolov5s.pt --device 0,1
--nproc_per_node指定您想要使用的 GPU 数量。在上面的示例中,它是 2。--batch是总的批次大小。它将被平均分配到每个 GPU。在上面的例子中,每个 GPU 的批次大小为 64/2=32。
上面的代码将使用 GPU 0... (N-1)。您还可以设置 CUDA_VISIBLE_DEVICES=2,3 (或任何其他列表),如果您希望通过环境变量控制设备可见性,请在启动命令之前设置。
使用特定的 GPU(点击展开)
您可以通过简单地传递 `--device`,后跟您的特定 GPU 来做到这一点。例如,在下面的代码中,我们将使用 GPU `2,3`。python -m torch.distributed.run --nproc_per_node 2 train.py --batch 64 --data coco.yaml --cfg yolov5s.yaml --weights '' --device 2,3
使用 SyncBatchNorm(点击展开)
[SyncBatchNorm](https://docs.pytorch.org/docs/master/generated/torch.nn.SyncBatchNorm.html) could increase [accuracy](https://www.ultralytics.com/glossary/accuracy) for multiple GPU training, however, it will slow down training by a significant factor. It is **only** available for Multiple GPU DistributedDataParallel training. It is best used when the batch-size on **each** GPU is small (<= 8). To use SyncBatchNorm, simply pass `--sync-bn` to the command like below:python -m torch.distributed.run --nproc_per_node 2 train.py --batch 64 --data coco.yaml --cfg yolov5s.yaml --weights '' --sync-bn
使用多台机器(点击展开)
这**仅**适用于多 GPU 分布式数据并行训练。在继续之前,请确保所有机器上的文件(数据集、代码库等)都相同。之后,请确保机器之间可以相互通信。您需要选择一台主机器(其他机器将与之通信的机器)。记下其地址(`master_addr`)并选择一个端口(`master_port`)。在下面的示例中,我将使用 `master_addr = 192.168.1.1` 和 `master_port = 1234`。要使用它,您可以按以下方式操作:# On master machine 0
python -m torch.distributed.run --nproc_per_node G --nnodes N --node_rank 0 --master_addr "192.168.1.1" --master_port 1234 train.py --batch 64 --data coco.yaml --cfg yolov5s.yaml --weights ''
# On machine R
python -m torch.distributed.run --nproc_per_node G --nnodes N --node_rank R --master_addr "192.168.1.1" --master_port 1234 train.py --batch 64 --data coco.yaml --cfg yolov5s.yaml --weights ''
备注
- Windows 支持未经测试,建议使用 Linux。
--batch必须是 GPU 数量的倍数。- GPU 0 将比其他 GPU 占用略多的内存,因为它维护 EMA 并负责检查点等操作。
如果您得到
RuntimeError: Address already in use,这可能是因为您同时运行了多个训练。要解决此问题,只需通过添加以下内容来使用不同的端口号--master_port如下所示:python -m torch.distributed.run --master_port 1234 --nproc_per_node 2 ...
结果
在配备 8 块 A100 SXM4-40GB 的 AWS EC2 P4d 实例上,针对 YOLOv5l 进行 1 个 COCO epoch 的 DDP 性能分析结果。
代码性能分析
# prepare
t=ultralytics/yolov5:latest && sudo docker pull $t && sudo docker run -it --runtime=nvidia --ipc=host --gpus all -v "$(pwd)"/coco:/usr/src/coco $t
pip3 install torch==1.9.0+cu111 torchvision==0.10.0+cu111 -f https://download.pytorch.org/whl/torch_stable.html
cd .. && rm -rf app && git clone https://github.com/ultralytics/yolov5 -b master app && cd app
cp data/coco.yaml data/coco_profile.yaml

# profile
python train.py --batch-size 16 --data coco_profile.yaml --weights yolov5l.pt --epochs 1 --device 0
python -m torch.distributed.run --nproc_per_node 2 train.py --batch-size 32 --data coco_profile.yaml --weights yolov5l.pt --epochs 1 --device 0,1
python -m torch.distributed.run --nproc_per_node 4 train.py --batch-size 64 --data coco_profile.yaml --weights yolov5l.pt --epochs 1 --device 0,1,2,3
python -m torch.distributed.run --nproc_per_node 8 train.py --batch-size 128 --data coco_profile.yaml --weights yolov5l.pt --epochs 1 --device 0,1,2,3,4,5,6,7
| GPU A100 | 批次大小 (batch-size) | CUDA_mem device0 (G) | COCO 训练 | COCO 验证 |
|---|---|---|---|---|
| 1x | 16 | 26GB | 20:39 | 0:55 |
| 2x | 32 | 26GB | 11:43 | 0:57 |
| 4x | 64 | 26GB | 5:57 | 0:55 |
| 8x | 128 | 26GB | 3:09 | 0:57 |
如结果所示,使用带有多个 GPU 的 DistributedDataParallel 可以在训练速度上提供近乎线性的扩展。使用 8 个 GPU 时,训练完成速度比使用单个 GPU 快大约 6.5 倍,同时保持每个设备的相同内存使用量。
常见问题
如果发生错误,请先阅读下面的检查清单!(这可以节省您的时间)
检查清单(点击展开)
- 您是否正确阅读了这篇文章? - 您是否尝试重新克隆代码库?代码**每天**都在更改。 - 您是否尝试搜索您的错误?可能已经有人在本仓库或其他仓库中遇到过它,并且有解决方案。 - 您是否已安装顶部列出的所有要求(包括正确的 python 和 PyTorch 版本)? - 您是否已在下面“环境”部分列出的其他环境中尝试过? - 您是否尝试过使用像 coco128 或 coco2017 这样的其他数据集?这将更容易找到根本原因。如果您完成了以上所有步骤,请随时按照模板提供尽可能多的详细信息来提出问题。支持的环境
Ultralytics 提供一系列即用型环境,每个环境都预装了必要的依赖项,如 CUDA、CUDNN、Python 和 PyTorch,以快速启动您的项目。
- 免费 GPU Notebooks:
- Google Cloud:GCP 快速入门指南
- Amazon:AWS 快速入门指南
- Azure:AzureML 快速入门指南
- Docker: Docker 快速入门指南
项目状态
此徽章表示所有 YOLOv5 GitHub Actions 持续集成 (CI) 测试均已成功通过。这些 CI 测试严格检查 YOLOv5 在各个关键方面的功能和性能:训练、验证、推理、导出 和 基准测试。它们确保在 macOS、Windows 和 Ubuntu 上运行的一致性和可靠性,测试每 24 小时进行一次,并在每次提交新内容时进行。
鸣谢
感谢 @MagicFrogSJTU 完成了大量繁重的工作,并感谢 @glenn-jocher 在整个过程中给予的指导。
参见
- 训练模式 - 了解如何使用 Ultralytics 训练 YOLO 模型
- 超参数调优 - 优化您的模型性能
- Docker快速入门指南 - 设置您的Docker环境以进行训练


