如何使用 Conda 安装 Ultralytics YOLO
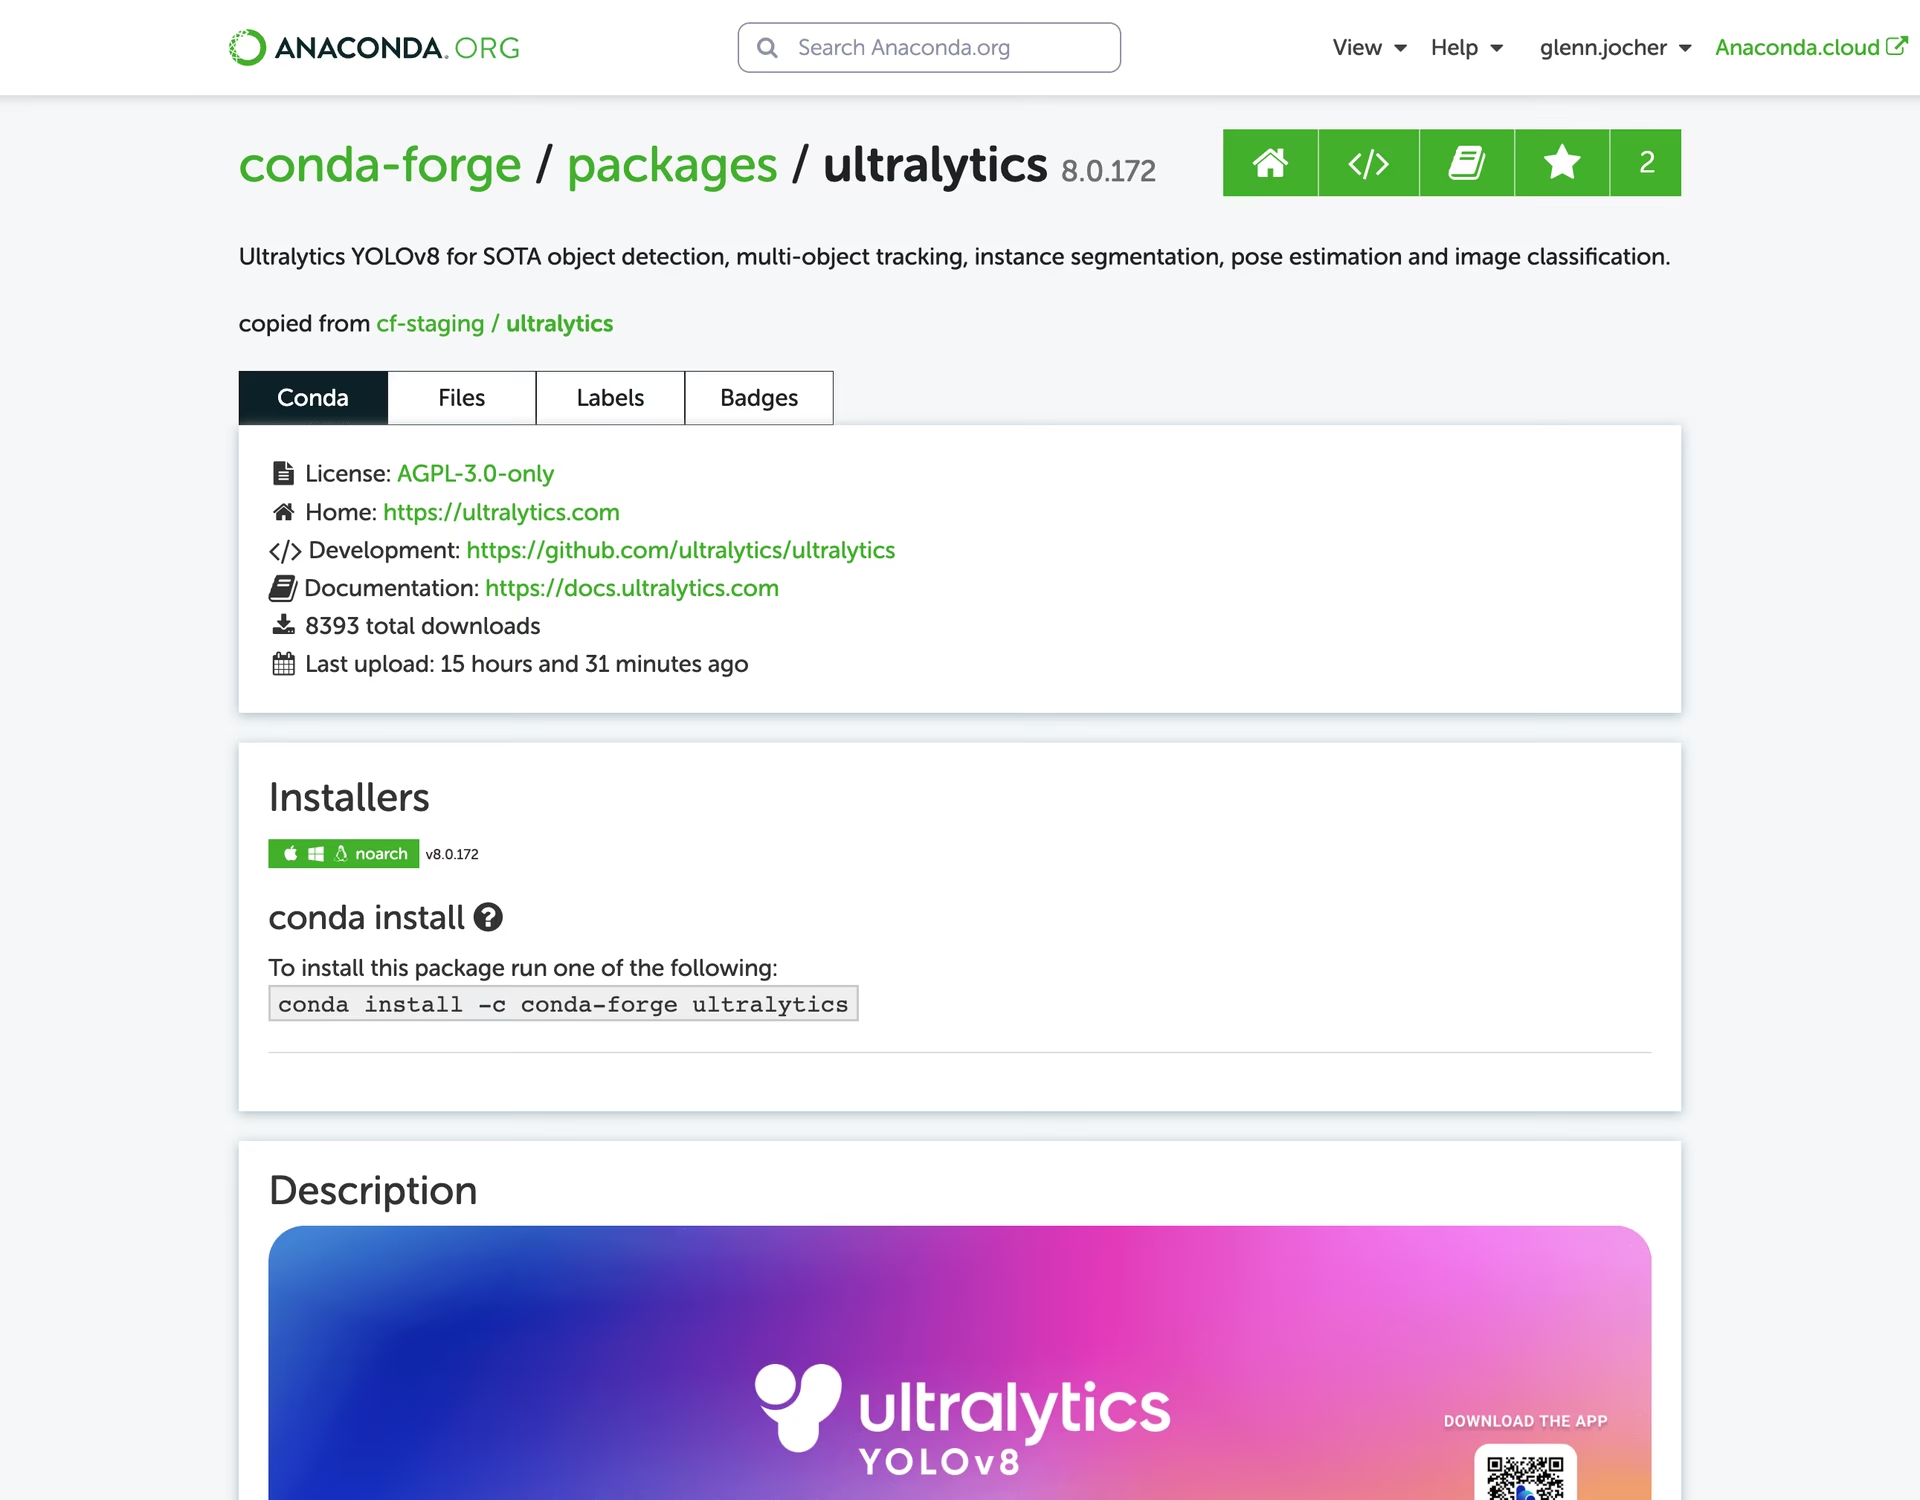
本指南将介绍如何为 Ultralytics 项目设置 Conda 环境。Conda 是一个开源的软件包和环境管理系统,也是用于安装软件包和依赖项的 pip 替代方案。其隔离环境特别适合数据科学和机器学习工作。



本指南介绍如何创建包含 Ultralytics 的环境、运行推理、使用 Conda Docker 镜像,以及借助 libmamba 加快安装速度。
前置条件#
你应该已在系统上安装 Anaconda 或 Miniconda。如果尚未安装,请从 Anaconda 或 Miniconda 下载并安装。
安装 Ultralytics#
从 conda-forge 频道创建一个包含 Ultralytics 的新 Conda 环境,然后激活它。在同一条命令中安装 Python、Ultralytics 和 torchvision(它不是 conda-forge 软件包的依赖项),这样 conda 就能一并解析出当前兼容的版本:
conda create --name ultralytics-env -c conda-forge python=3.11 ultralytics torchvision -y
conda activate ultralytics-env如果你正在使用支持 CUDA 的环境,在同一条命令中添加 conda-forge 的 pytorch-gpu 元包,这样 conda 就能解析出支持 CUDA 的 PyTorch 构建版本:
conda create --name ultralytics-env -c conda-forge python=3.11 ultralytics torchvision pytorch-gpu -y
conda activate ultralytics-env
ROCm 环境说明(AMD GPU,Linux)#
在 Linux 上使用 ROCm 加速 AMD GPU 时,PyTorch ROCm wheel 无法通过 Conda 获取,必须使用 pip 安装。使用 Conda 环境进行隔离,然后通过 pip 安装 PyTorch ROCm 和 Ultralytics:
conda create --name ultralytics-rocm python=3.12 -y
conda activate ultralytics-rocm
pip install "torch[device-all]" "torchvision[device-all]" --index-url https://stable.repo.amd.com/rocm/whl-next/
pip install ultralytics
有关支持的 ROCm 版本,请参阅 PyTorch 入门页面;有关 MIGraphX 推理设置,请参阅 AMD GPU 指南,该设置要求使用 Linux x86_64 上的 Python 3.11 或更高版本。
使用 Ultralytics#
安装 Ultralytics 后,你可以运行目标检测、实例分割和其他视觉任务。例如,要对图像运行推理:
from ultralytics import YOLO

model = YOLO("yolo26n.pt")  # 初始化模型
results = model("path/to/image.jpg")  # 执行推理
results[0].show()  # 显示第一张图像的结果
Ultralytics Conda Docker 镜像#
Conda Dockerfile 使用 conda-forge 的 PyTorch 2.13、torchvision 0.28 和 CUDA 13.0。conda-forge 的版本发布可能落后于标准 GPU 镜像所用的 PyTorch pip 版本。latest-conda 的自动发布已禁用,因此请在本地构建当前镜像:
git clone https://github.com/ultralytics/ultralytics
cd ultralytics
t=ultralytics-conda:local
sudo docker build -f docker/Dockerfile-conda -t $t .
运行镜像:
# Run the Ultralytics image in a container with GPU support
sudo docker run -it --ipc=host --device nvidia.com/gpu=all $t                         # all GPUs
sudo docker run -it --ipc=host --device nvidia.com/gpu=2 --device nvidia.com/gpu=3 $t # specify GPUs
在 Linux 上,CDI 设备请求要求 Docker >= 28.2.0 和 NVIDIA Container Toolkit >= 1.18。旧版 --gpus all 标志在主机守护进程重新加载后可能导致 GPU 访问中断,因此请升级较旧的 Linux 主机,并改用 --device。详情请参阅 Docker 快速入门指南。
使用 Libmamba 加快安装#
libmamba 是一款快速、跨平台且能感知依赖关系的求解器,可替代 Conda 的经典求解器。Conda 23.10 及更高版本已默认使用 libmamba 作为求解器,因此大多数安装开箱即用,速度更快。
如果你使用的是较旧版本的 Conda,可以手动启用 libmamba:
-
首先,安装
conda-libmamba-solver软件包:conda install conda-libmamba-solver -
接下来,将 Conda 配置为使用
libmamba作为求解器:conda config --set solver libmamba
你已成功设置 Conda 环境并安装 Ultralytics 软件包,现在可以开始探索其功能了。有关更高级的教程和示例,请参阅 Ultralytics 文档。
常见问题#
使用一条命令,从 conda-forge 频道创建包含 Python 和 Ultralytics 的环境,让 conda 一并解析它们,然后激活该环境:
conda create --name ultralytics-env -c conda-forge python=3.11 ultralytics torchvision -y conda activate ultralytics-envConda 是一种软件包和环境管理系统,相较于 pip 有多项优势。它能高效管理依赖项,并确保所有必需的库彼此兼容。Conda 的隔离环境可避免软件包冲突,这对数据科学和机器学习项目至关重要。此外,Conda 支持二进制软件包分发,能加快安装过程。
可以。在同一条命令中使用
ultralytics和 conda-forge 的pytorch-gpu元软件包创建环境,以便同时解析支持 CUDA 的 PyTorch 构建版本:conda create --name ultralytics-env -c conda-forge python=3.11 ultralytics torchvision pytorch-gpu -y conda activate ultralytics-env此设置可启用 GPU 加速,这对深度学习模型训练和推理等计算密集型任务至关重要。更多信息请参阅 Ultralytics 安装指南。
Conda 23.10 及更高版本已默认使用快速的
libmamba求解器。对于较旧版本的 Conda,你可以手动启用它:首先安装conda-libmamba-solver软件包:conda install conda-libmamba-solver然后,将 Conda 配置为使用
libmamba作为求解器:conda config --set solver libmamba此配置可实现更快速、更高效的软件包管理。


评论6
提出问题、分享结果,或帮助其他人。
najwazkiyahh
Hi! I'm the new to using YOLO. I have python 3.12 on my laptop because my previous exam need it-the latest version of python. I want to install ultralytics YOLOv11, should I downgrade my python version from 3.12 into 3.11? Or I should downgrade my python version to the recommended requirement, 3.8? Thank you, hope you (anybody) can answer my confusion.
 Glenn JocherUltralytics
@najwazkiyahh you don't need to downgrade your system Python! 😊 Simply create a Conda environment with Python 3.11 using
conda create --name yolo_env python=3.11, then activate it and install Ultralytics. This keeps your existing Python 3.12 intact while giving you a compatible YOLO11 environment. For full steps, see the Conda Quickstart Guide for Ultralytics.We recommend this approach as it maintains version isolation while allowing you to work with both Python versions seamlessly. Welcome to the YOLO community! 🚀
Malvinlam
Hi is there a way to install the yolov8 dependencies using Anaconda prompt to the virtual environment other than pip install ultralytics? For example I already downloaded the ultralytics package from GitHub and opened it as project folder using PyCharm. Is there a way to only install the required libraries?
- Glenn JocherUltralytics(已编辑)
@Malvinlam hi there! 👋
Absolutely, you can install the required dependencies for Ultralytics using Conda without relying on
pip install ultralytics. Here's a step-by-step guide to help you set up your Conda environment and install the necessary libraries:-
Create a New Conda Environment: First, create a new Conda environment with Python 3.11 (or your preferred version):
conda create --name ultralytics-env python=3.11 -y -
Activate the Environment: Activate your newly created environment:
conda activate ultralytics-env -
Install Required Libraries: The repository no longer has a
requirements.txt; its dependencies are declared inpyproject.toml. From the root of your cloned repository, run:pip install -e .Alternatively, if you want to install specific packages manually, you can use:
conda install -c conda-forge numpy pandas matplotlib opencv scikit-learn conda install -c pytorch pytorch torchvision torchaudio -
Note on CUDA Environment: If you're working in a CUDA-enabled environment, it's a good practice to install
pytorchandpytorch-cudatogether to resolve any conflicts:conda install -c pytorch -c nvidia -c conda-forge pytorch torchvision torchaudio pytorch-cuda=11.8 -
Using Ultralytics: With the dependencies installed, you can now start using Ultralytics. For example, to perform inference with YOLO26:
from ultralytics import YOLO

model = YOLO("yolo26n.pt")  # initialize model
results = model("path/to/image.jpg")  # perform inference
results[0].show()  # display results for the first image
For more detailed instructions, you can refer to our Conda Quickstart Guide.
If you encounter any issues or have further questions, feel free to ask. Happy coding! 😊
-
nadinator
Does the python version have to be 3.8? Can it be a newer version? What would/wouldn't break if we used 3.11, for example (I'm thinking of the [ray]tuning feature)?
- Glenn JocherUltralytics
Hey there! 😊
You can definitely use Python versions newer than 3.8, including 3.11. However, it's important to note that while most features should work fine, there might be some compatibility issues with newer Python versions, especially with external libraries or specific features like [ray] tuning.
If you're keen on using Python 3.11, I'd recommend testing the key functionalities you plan to use in your project to ensure everything runs smoothly. For the [ray] tuning feature, you might want to check Ray's documentation or GitHub issues for any known compatibility concerns with Python 3.11.
Here's a quick example of how you might set up your environment with Python 3.11:
conda create --name ultralytics-env python=3.11 -y
conda activate ultralytics-env
conda install -c conda-forge ultralytics
And remember, if you encounter any issues, the Ultralytics community is here to help! 🚀